By George House/18,Jun,2026
A common early planning reference for an alcove bathtub is 60 inches long by 30 or 32 inches wide. That reference is useful when a bathroom plan is still being tested, but it is not a finished opening, plumbing rough-in or purchase specification. The selected product drawing must control the actual dimensions, drain and overflow location, support, flange, deck opening and finished interfaces.
Bathtub depth also needs a definition. Overall height, internal well depth and water depth to the overflow are different measurements. Two tubs with the same outside length and width can provide very different bathing space. Record the overall body and the usable bathing well before comparing models.
Choose the tub as part of the sanitary ware package so the fixture, filler, waste, wall finish, waterproofing and installation method are reviewed together.
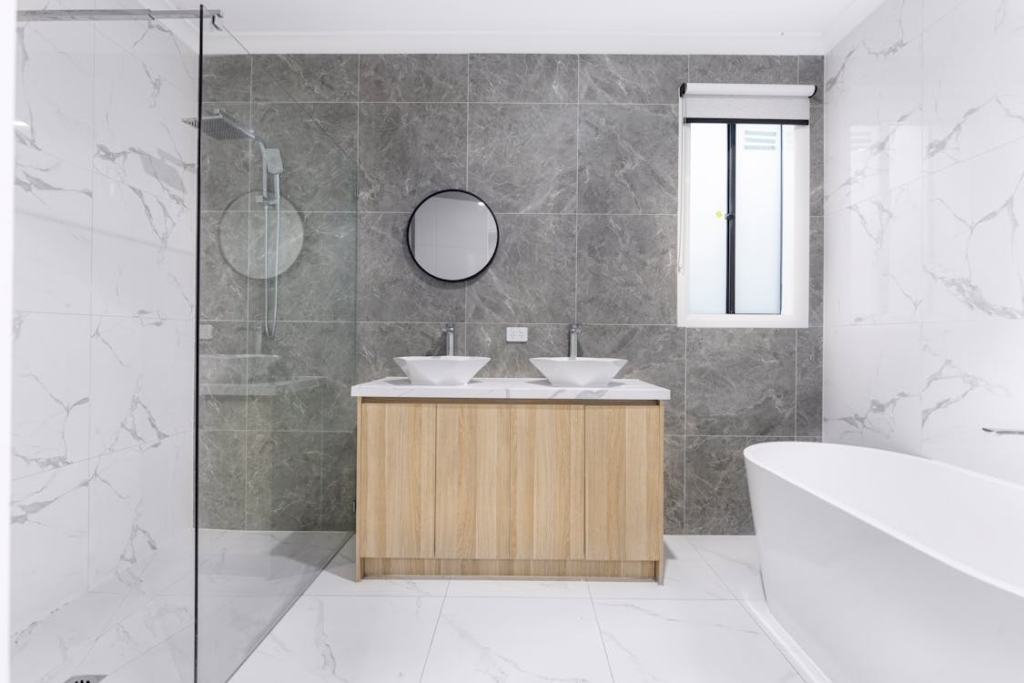
Standard Bathtub Size Quick Reference
The dimensions below are planning references assembled from current manufacturer ranges and common product formats. They help reserve space at concept stage. Replace every range with the current drawing for the exact model before framing, plumbing, waterproofing, deck fabrication or procurement.
| Tub type | Early planning reference | Items that control the final fit |
|---|---|---|
| Alcove and tub shower | 60 x 30 or 32 in (1524 x 762 or 813 mm) is a common nominal format | Left or right drain apron flange actual body tolerances wall finish and shower enclosure |
| Freestanding | Current manufacturer examples span roughly 59 to 66 in long and 29 to 36 in wide | Body profile base footprint filler waste access cleaning route and delivery path |
| Drop in and undermount | 60 x 30 or 32 in is common but 36 and 42 in widths and longer models are available | Manufacturer cutout rim support deck size finish thickness waterproofing and access panel |
| Corner and specialty | Model specific and often substantially wider than a rectangular alcove tub | Widest point platform geometry drain location filled load controls and service space |
| Walk in and hydrotherapy | Model specific | Door operation threshold pumps electrical supply service access capacity and user needs |
A 60 x 30 label does not describe the internal well or water depth. For example, current 60 x 30 alcove products published by major manufacturers show different heights, basin dimensions and overflow depths. Treat the nominal size as a category, then compare the detailed specifications.
Understand Every Bathtub Measurement
A complete bathtub schedule uses several dimensions because each one controls a different part of the work. Do not shorten the schedule to Length Width Depth unless the measurement points are defined.
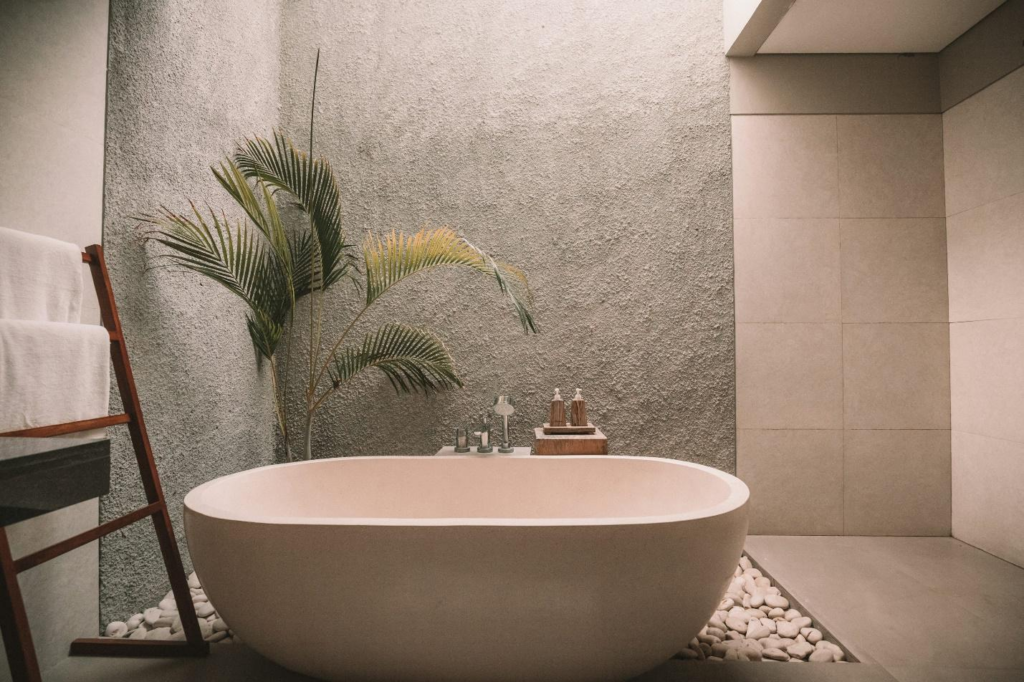
| Measurement | Definition | Why it matters |
|---|---|---|
| Overall length and width | Maximum outside body or rim dimensions | Controls room footprint delivery and surrounding construction |
| Overall height | Finished floor or base to the highest rim point | Affects entry height wall details filler and enclosure |
| Bathing well | Internal dimensions at the top and bottom of the bowl | Shows usable space and may be much smaller than the exterior |
| Water or soaking depth | Vertical distance from the basin floor to the overflow level | Describes usable water depth and is not the same as rim height |
| Base footprint | Area that bears on the floor or support system | Controls support leveling and some floor penetrations |
| Flange and apron | Water retention flange and finished front or side panel | Coordinates wall board waterproofing tile and exposed edges |
| Framed or deck opening | Model specific opening around an alcove or built in tub | Must follow the approved installation drawing and finish build up |
| Finished clearance | Usable space around and in front of the installed tub | Supports entry exit cleaning service and required access |
Bathtub Dimensions by Type
Alcove Bathtubs and Tub Shower Combinations
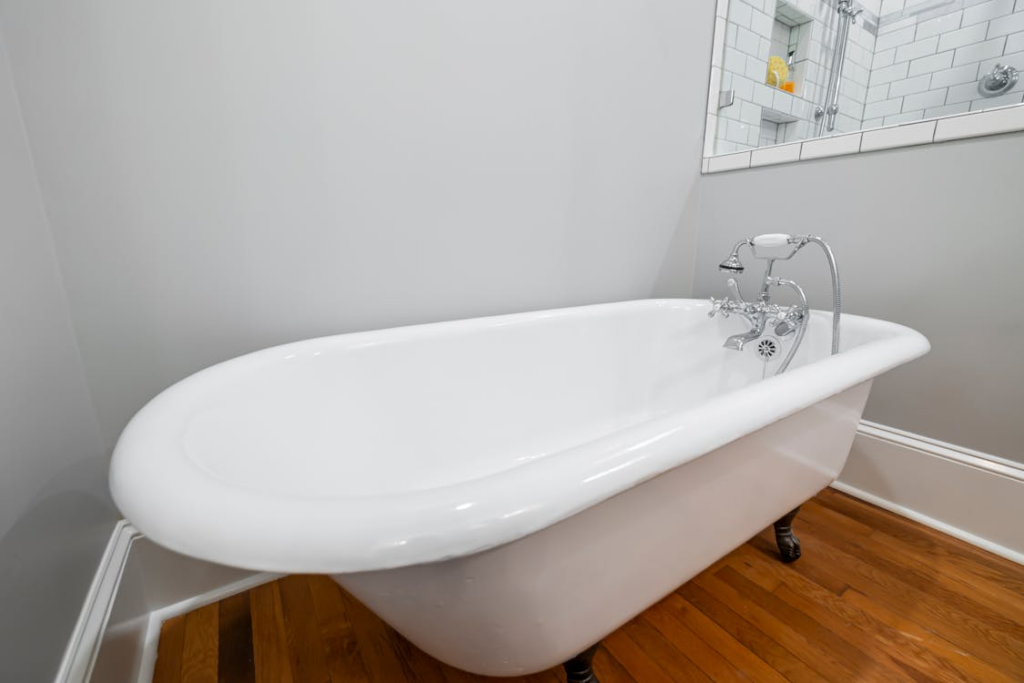
An alcove tub fits between three walls and commonly uses an integral apron on the open side. A nominal 60-inch length with a 30- or 32-inch width is widely available, which makes it a practical starting point for replacement work and compact plans. The exact body may not equal the framed recess. Confirm the installation sequence, flange detail, wall finish thickness and the permitted tolerance at the ends.
When the tub also serves as a shower, coordinate the shower valve, head, enclosure, curtain line and standing area with the tub. Compare the complete assembly with the project requirements described in the standard shower dimensions guide. A tub footprint alone does not establish a compliant or comfortable shower layout.
Freestanding Bathtubs
Freestanding tubs vary in length, width, rim shape and base geometry. Current manufacturer collections include compact models near 59 inches long and larger models around 66 inches or more. A symmetrical outside shell can hide a smaller or offset bathing well, so compare the internal dimensions and back slope as well as the exterior.
Reserve space for the floor mounted or deck mounted filler, the waste connection and any access needed to tighten or service fittings. Check whether the chosen cleaning method can reach behind and below the body. The tub must also pass through the delivery route in the orientation required by the installer. Use the standard doorway widths guide to record the actual clear opening rather than the nominal door leaf.
Drop In and Undermount Bathtubs
A drop-in or undermount tub sits within a constructed deck. The deck is normally larger than the tub and has its own structural, waterproofing and finish requirements. Size the platform from the manufacturer cutout and rim or under-mount support detail, not from the internal well.
Coordinate the cutout template, deck thickness, tile or stone edge, filler reach, overflow, access panel and sealant joints before fabrication. Hydrotherapy models may require larger service openings, ventilation and electrical coordination. Never conceal a pump or connection that the product instructions require to remain accessible.
Corner Walk In and Specialty Bathtubs
Corner, asymmetrical, double-ended, walk-in and hydrotherapy tubs need a model-specific plan and section. Their widest point may not align with the base or drain, and the surrounding platform can occupy more floor area than the catalog length suggests. Record door operation, seating, controls, pumps, capacity, empty weight and filled load where applicable.
Rough In Dimensions and Plumbing Coordination
Bathtub rough-in dimensions locate the drain, overflow, supply and sometimes the filler or controls relative to fixed construction. They are not a second name for the nominal tub size. The manufacturer drawing and installation instructions should identify the controlling reference points. Some manufacturers also direct installers to measure the actual product before rough-in because tolerances and assemblies vary.
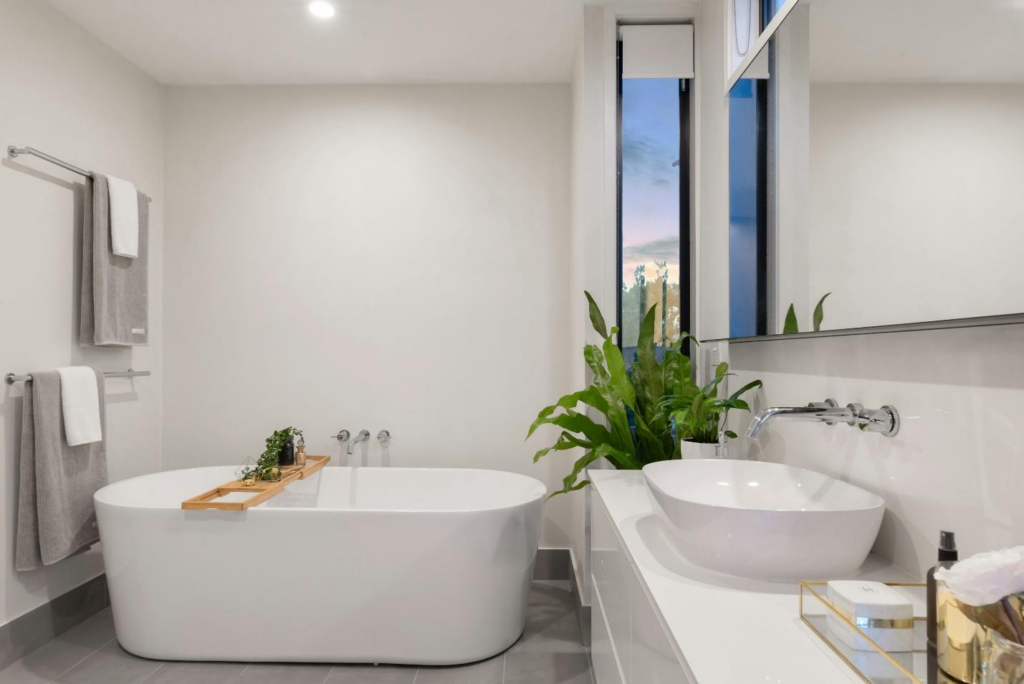
Waste Overflow and Trap
Record whether the waste is left, right or center. Dimension the drain and overflow from stable structural lines, not from unfinished surfaces that may move when wall board, waterproofing or tile is added. Confirm the waste and overflow kit, drain hole, trap depth, pipe size, venting arrangement and the route through joists, a slab or a raised floor with the plumbing designer and applicable code.
An above-floor rough model, a slab installation and a framed floor can require different penetrations and access. Check that the trap and connections can be installed, tested and serviced without cutting a structural member or compromising a rated or waterproofed assembly.
Filler Controls and Service Access
Locate the filler, mixing valve, hand shower and controls so the spout reaches the tub and the user can operate the system safely. Confirm shutoff and service access. A wall mounted filler must clear the rim and finish build-up, while a deck mounted filler needs sufficient flat area, reinforcement and access below.
Use the tub water capacity to review hot water supply and recovery with the plumbing engineer. Do not estimate that requirement from outside dimensions alone. Water depth, user displacement, mixing temperature, system losses and the building demand profile all affect the result.
Waterproofing Support and Finished Interfaces
Alcove Flanges and Wall Finishes
An integral flange helps manage water at an alcove wall, but it does not replace a complete waterproofing design. Show how the wall board or approved backer, membrane, flange, tile and sealant joint overlap or connect. Coordinate fasteners and penetrations so they do not interrupt the water management path.
Tile thickness and bedding can change the apparent recess and the exposed rim. Review the selected bathroom floor tile and wall finish build-up with the tub details. Set the finished floor datum before confirming rim height, apron alignment and any adjacent floor transition.
Decks Bases and Structural Support
Support the tub exactly as the current instructions require. Some products use feet, a base, a mortar bed, a frame or another specified support method. Do not hang the full load from a rim unless the manufacturer explicitly permits it. Keep required leveling points and access openings clear.
Review the tub weight, stated water capacity, occupants, deck and finish with the responsible structural professional when the load is significant or the existing structure is uncertain. A large corner, stone, cast iron or hydrotherapy tub can place a concentrated load that is not evident from its outside dimensions.
Clearances and Installation Access
No single room area or clearance number is correct for every bathtub. Draw the actual body, door swing, vanity, toilet, screens, controls and approach route. Confirm the adopted code and project brief, then add practical space for entry, cleaning and service. Do not reduce a required clearance because the nominal tub fits between the walls.
- Show the bathroom door and cabinet doors in their fully open positions.
- Keep the entry side free of projections that interfere with stepping in or transferring.
- Reserve a practical cleaning route around freestanding and exposed tub surfaces.
- Keep access to the waste overflow filler valves pumps and electrical components required by the product.
- Check the tub rim against windows niches ledges grab bars controls and shower screens.
- Coordinate separate shower drainage and thresholds with the standard shower pan size guide.
For bathrooms with a separate shower, compare the drainage and threshold plan with the standard shower pan size guide before finishes and falls are released.
Accessibility Scope
Accessibility requirements depend on the facility, jurisdiction and project scope. They should not be presented as a blanket rule for every private residential bathroom. For bathtubs covered by the 2010 ADA Standards, Section 607 requires a clearance along the length of the tub that is at least 30 inches wide and includes requirements for seats, grab bars, controls, spray units and enclosures. The enclosure must not obstruct controls or wheelchair transfer.
Use the current 2010 ADA Standards and the project accessibility professional for covered work. Local codes, housing rules or client standards may apply different or additional criteria.
Delivery and Installation Route
Confirm how the tub will reach the room before ordering. Measure the packaged product if that information is available, the bare product, corridors, lifts, stairs, turns, landings and the clear doorway. Check weight limits and lifting equipment. A tub that fits the final plan can still fail at delivery if it cannot rotate through the route or if the required installation face cannot be oriented.
Choose a Tub for the Room and Users
Start with the required use rather than a room square-foot band. A tub shower combination can consolidate functions in a compact plan. A freestanding tub may suit a room with enough access on the exposed sides. A built-in tub can integrate storage or a ledge, but the deck adds area and installation work.
Compare step-over height, internal well, back slope, seat position, slip resistance, control reach and the intended method of entry and exit. Consider children, older users and anyone who may need assistance. Where accessibility criteria apply, use the required configuration rather than assuming a low rim alone makes a tub accessible.
Material also affects weight, heat retention, finish care, repair and handling. Review cast iron, steel, acrylic, composite or solid-surface products with the support design and project maintenance plan. Confirm compatible cleaners and whether access is needed below or behind the body.
Measurement Checklist Before Purchase
- Measure the structural room and record the assumed wall floor and ceiling finishes.
- Choose a specific tub model and obtain its current specification and installation instructions.
- Record overall length width and height plus the bathing well and water depth.
- Confirm the base footprint flange apron deck cutout and every required support point.
- Locate the drain overflow filler controls shutoffs trap and service access from fixed datums.
- Coordinate waterproofing wall board tile or stone thickness sealant joints and floor transitions.
- Check empty weight water capacity filled load and any pump or electrical requirements.
- Draw doors fixtures screens grab bars approach space cleaning access and maintenance routes.
- Test delivery through doors corridors lifts stairs and turning points in the required orientation.
- Verify applicable code accessibility certification and project specific requirements.
- Inspect and test the installed tub and plumbing before closing walls decks or access panels.
- Keep the approved model drawing with the purchase order and site release package.
Build a Bathtub Schedule and Request for Quotation
A complete schedule lets the designer, supplier and installer trace the room requirement to the ordered product and rough-in. Avoid one line that lists only a nominal size.
| Schedule field | What to record | Verification point |
|---|---|---|
| Reference and location | Unique mark room quantity and drawing reference | Matches plans elevations and fixture schedule |
| Product | Manufacturer model type material finish and certification | Current approved data and sample |
| Dimensions | Overall body bathing well water depth base and required opening | Measurement definitions match the product drawing |
| Installation | Alcove freestanding drop in undermount corner or specialty | Support flange deck apron and finish interfaces coordinated |
| Plumbing | Drain hand, overflow, filler, controls, trap and rough-in datums | Matches plumbing drawing and selected accessories |
| Loads and services | Empty weight capacity filled load pump power and access | Structure and services approved where required |
| Accessories | Waste overflow filler hand shower enclosure grab bars and trim | Compatibility finish and quantities confirmed |
| Delivery | Pack size weight route handling and sequence | Site access storage and lifting plan checked |
| Approval records | Drawing revision sample approval and responsible reviewer | Latest revision released to procurement and site |
Common Bathtub Planning Errors
- Treating a nominal 60 x 30 label as the exact framed or finished opening.
- Using overall height as if it were the usable water depth.
- Sizing a deck from the bathing well instead of the manufacturer cutout and rim detail.
- Roughing in a drain from a generic diagram before the model and waste kit are approved.
- Ignoring flange wall finish waterproofing and floor build-up at the tub perimeter.
- Providing no service access for a concealed filler valve pump waste or overflow connection.
- Choosing from room area alone without checking doors fixtures approach space and users.
- Ordering before the delivery route weight support and installation sequence are confirmed.
Frequently Asked Questions
What Is the Standard Bathtub Size
A nominal 60-inch length and 30- or 32-inch width is a common alcove planning reference in the United States. It is not a universal bathtub size. Freestanding, built-in, corner, walk-in and hydrotherapy tubs use many other dimensions. Confirm the exact model drawing.
What Is the Standard Tub Width
Thirty and 32 inches are common nominal widths for residential alcove tubs. Overall width, bathing-well width, base footprint and framed opening are different. State which width is being measured.
How Deep Is a Standard Bathtub
There is no single depth that describes every tub. Product data may list overall height, internal basin depth and water depth to the overflow. Use the water depth for soaking comparison and the overall dimensions for room and installation coordination.
What Are Bathtub Rough In Dimensions
They are the model-specific locations and allowances for the waste, overflow, trap, supply and sometimes the filler, controls, support or opening. Obtain them from the current technical drawing and installation instructions.
How Much Space Should Be Left Around a Bathtub
Use the adopted code, project accessibility requirements and the selected product. The plan should also provide safe entry and exit, practical cleaning, service access and clearance from doors and adjacent fixtures. One universal number does not cover every installation.
Will the Bathtub Fit Through the Bathroom Door
Compare the tub and packaging dimensions with the actual clear opening and every turn on the delivery route. Check the required orientation, weight and lifting method. A nominal door leaf width is not the same as the usable passage.
Prepare the Bathtub Package Before Ordering
A reliable bathtub package connects the chosen product to the room, plumbing, waterproofing, structure, finishes and delivery route. Send the bathroom plan, fixture schedule, preferred tub type, quantities, finish references, project location and required certifications for review. George House Material can coordinate the tub with the wider sanitary ware and finish package. Use the project contact form to submit the drawings and material list.




