Marble floor options should be compared by stone identity, finish, format, exposure, substrate and installation method. Room labels alone do not determine suitability, so samples and project-specific technical review should guide the final selection.
Define the Room and Exposure
Record indoor or outdoor use, wet or dry conditions, expected traffic, cleaning method, sunlight, thresholds and adjacent finishes. Use the wider flooring selection guide to compare marble with other material families.
Compare Marble Families
Light Marbles
Carrara, Calacatta and other light stones vary in background, vein scale and availability. Review the actual source and grade; the Calacatta marble guide explains related selection controls.
Dark and Warm-Toned Marbles
Darker or warmer stones can show dust, scratches, resin fills or tonal variation differently. Compare representative pieces from the proposed production lot.
Select Tile or Slab Format
Choose dimensions, thickness and pattern layout together. Larger formats reduce joint count but increase handling demands, substrate tolerances and the visual effect of natural variation.
Choose the Surface Finish
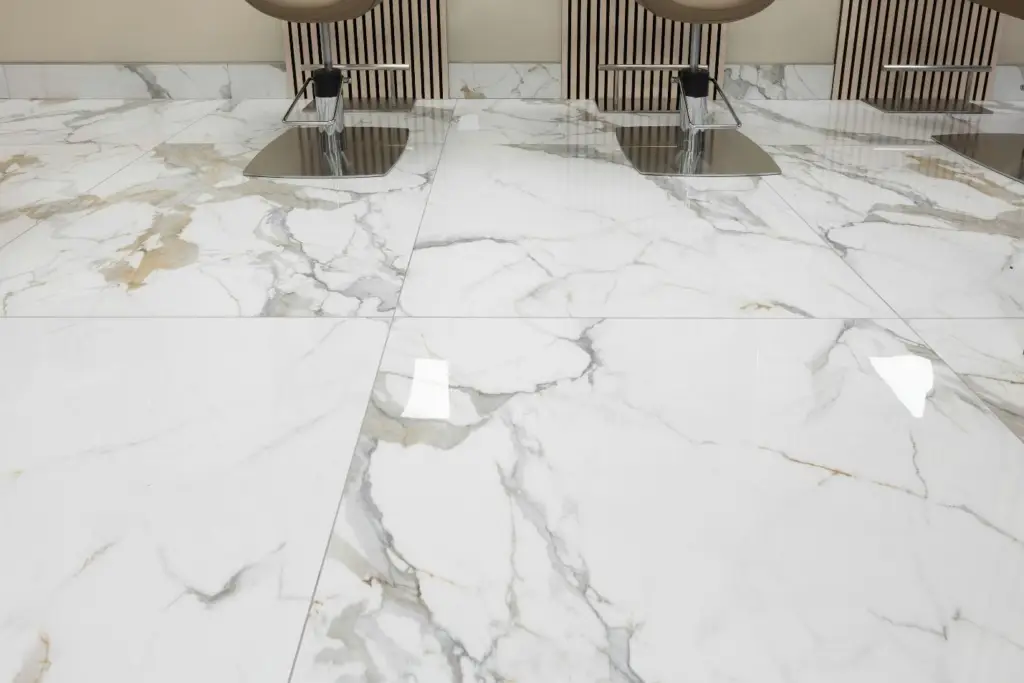
Polished, honed, brushed and textured finishes change appearance, cleaning and traction. Approve the exact finish on the selected stone rather than relying on a generic name.
Evaluate Wet-Area and Slip Needs
For bathrooms, entries or other wet locations, request applicable finish data and review drainage, cleaning and footwear conditions. Do not assume one finish suits every location.
Check the Substrate
Confirm flatness, strength, moisture condition, movement joints and compatible setting materials. The floor assembly must support the chosen stone format and installation method.
Plan Layout and Vein Direction
Set control lines, focal points, border conditions and vein direction before installation. The marble and tile coordination guide helps when materials meet within one space.

Coordinate Joints and Transitions
Show grout joints, movement joints, thresholds, stair edges, skirtings and transitions to other flooring. Confirm profiles and joint colors with the approved sample.
Approve Samples and a Mockup
Review several pieces to capture natural variation. A small mockup can confirm layout, joint width, finish, edge treatment and the appearance of filled areas.
Install and Protect the Floor
Agree on setting materials, workmanship checks, cleaning and curing. Protect completed marble from following trades with a system that will not trap moisture or mark the finish.

Build the BOQ and Quotation
List stone reference, grade, finish, size, thickness, quantity, waste, skirting, profiles, setting materials, sealing if specified, installation and protection. The marble project page provides related supply context.
Final Marble Floor Handover
Retain approved samples, product records and care instructions. For project-specific review, send the floor plan, room schedule and finish requirements.




