
Surface Design Guide
Marble and tile can share a room without competing when one material leads and the other supports it. Coordinate undertones, pattern scale, finish, module sizes, grout and transitions—and confirm that every surface is suitable for its location.
Why Combine Marble and Tile?
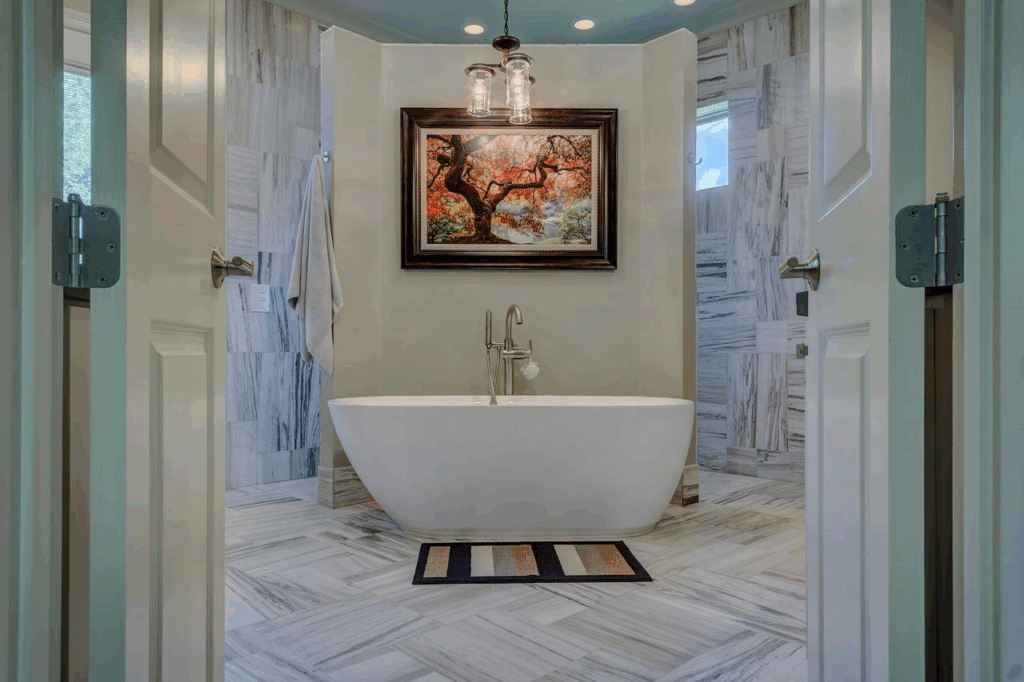
Natural marble offers veining and variation that can create a focal surface. Ceramic or porcelain tile offers a wide choice of formats, textures and application-specific products. Used together, they can define zones, manage the visual budget and respond to different cleaning, traffic or wet-area requirements.
Compatibility should not be assumed. The stone type, tile classification, finish, substrate, adhesive, grout, waterproofing and movement joints all need to suit the application and local project requirements.
Six Steps for a Coordinated Combination
Choose the focal material
Let strongly veined marble lead on an island, vanity, feature wall or border. Keep the supporting tile quieter. If the tile carries a bold pattern, use marble with restrained movement.
Match undertones, not just color names
Two materials described as white can have blue, gray, cream or pink undertones. View full-size samples together under the project lighting and beside cabinetry, paint and metal finishes.
Coordinate scale and layout
Align tile modules, marble joints and architectural centerlines where practical. Review cut sizes at walls, thresholds, niches, drains and corners before installation. Small leftover cuts can make an otherwise premium material combination look unresolved.
Select finishes for the location
A polished finish reflects more light but can show etching, scratching and water marks more readily. Honed, textured or matte surfaces create a different appearance. For floors and wet areas, specify products with slip-resistance and maintenance characteristics appropriate to the location and applicable standards.
Design the transition
Confirm material thickness, substrate build-up and finished levels. A flush joint, metal profile, marble border or deliberate threshold can work well when detailed in advance. Movement joints must not be bridged by a decorative layout.
Approve a sample layout
Natural stone varies from piece to piece, and manufactured tile may vary by batch. Review actual slabs or an agreed range, tile batch, grout color and a dry layout or mock-up before installation.
Marble and Tile Ideas by Space
Kitchen
Use marble as a countertop or island focal point and coordinate a quieter backsplash or floor tile. Check stain and acid sensitivity, edge profiles, support, joint locations and cleaning expectations before confirming natural stone.
Bathroom
Pair a marble vanity or selected wall area with tile designed for the wet zone. Coordinate waterproofing, falls, drains, penetrations, grout and movement joints. Select floor products according to the required slip performance.
Living room
A marble feature wall, fireplace surround or floor border can sit beside large-format neutral tile. Repeat a vein color in the tile or furnishings and control reflections under the planned lighting.
Entrance and corridor
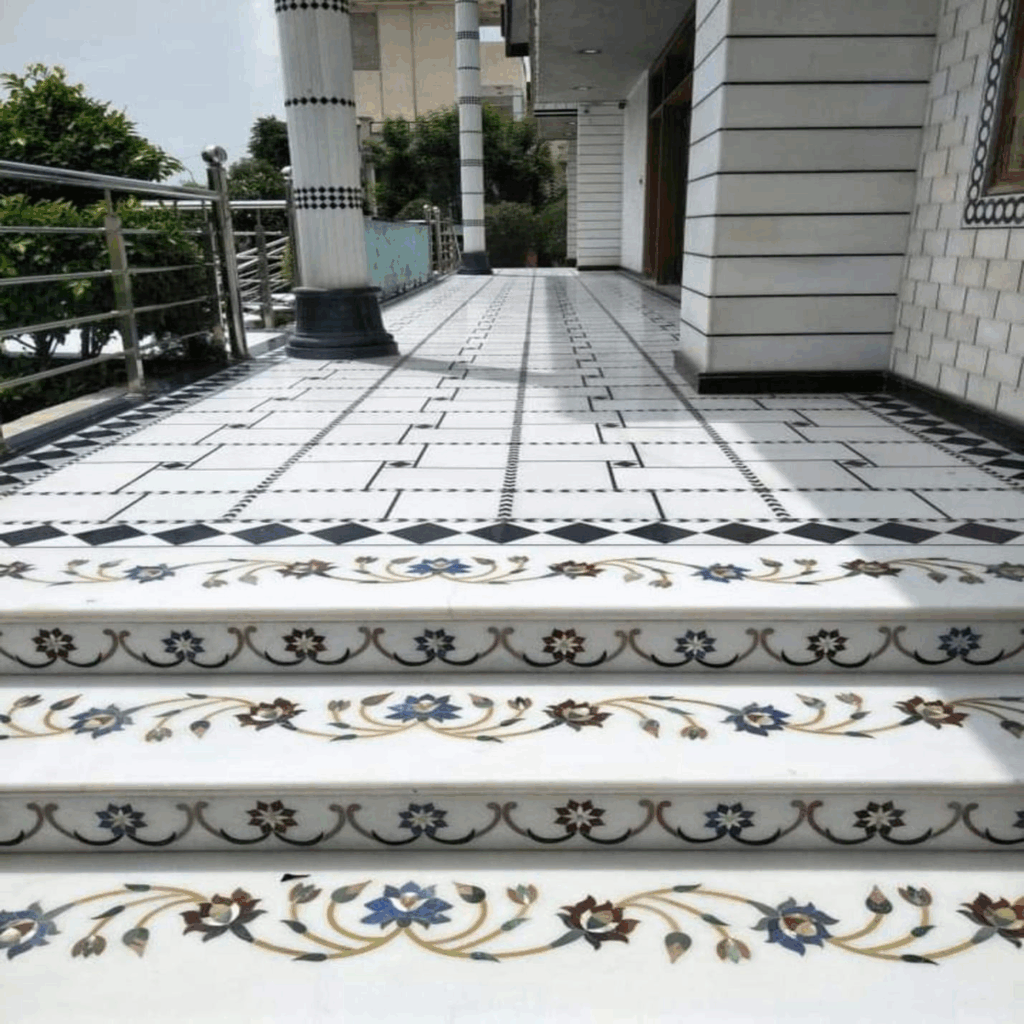
A stone border can frame a tile field or guide circulation. Review traffic, tracked-in grit, cleaning, thresholds and replacement access. Avoid tiny cuts at doors and corners.
Feature wall
Use book-matched or directionally arranged stone only after approving slab images and seam positions. Let adjacent tile remain visually calm and coordinate backing, anchors or adhesive with the surface weight and substrate.
Open-plan spaces
Material changes can define functions without adding walls. Align the transition with cabinetry, a ceiling line or a circulation boundary so it appears intentional from the main viewpoints.
Grout, Joints and Edge Details
Grout color changes how the composition reads. A close match reduces the visual grid; contrast emphasizes it. Joint width must respond to the tile and stone dimensions, manufacturing tolerances, substrate and installation requirements. At external corners and exposed edges, decide between a finished stone edge, miter, trim profile or another approved detail.
Do not treat grout as a substitute for movement joints. The installer and design team should coordinate perimeter, field and structural joints with the applicable system requirements.
Care and Maintenance
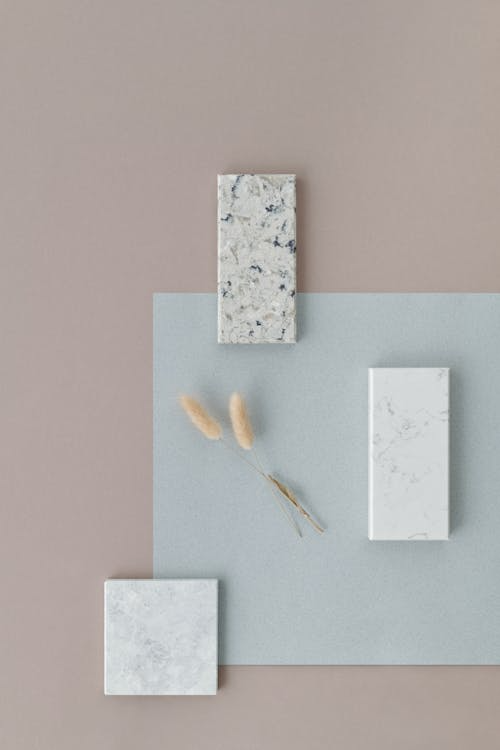
- Follow the stone, tile, grout and sealer manufacturers’ care instructions.
- Test cleaners in an inconspicuous area. Avoid acidic or abrasive products on acid-sensitive natural stone.
- Wipe spills promptly and use entrance mats or furniture pads where appropriate.
- Do not apply a fixed resealing schedule to every marble surface. Need and frequency depend on the stone, finish, sealer, exposure and use; assess according to supplier guidance.
- Investigate cracks, loose units, persistent staining or failed joints before cosmetic repair.
What to Include in a Surface RFQ
- Plans, elevations, room use and wet/dry zone identification
- Stone name, finish, thickness, edge details and variation criteria
- Tile type, format, finish, batch/shade requirements and layout
- Grout color, joint widths, movement joints and transition profiles
- Substrate, waterproofing, drainage and finished-level information
- Required samples, slab selection, mock-up and approval sequence
Review the Materials as One System
Send plans, elevations, surface schedules and finish references so the stone, tile, grout and transition details can be reviewed together. Final product suitability and performance should be confirmed in the quotation, technical data and approved submittals.
Explore marble options Explore tile options Send project details




