
By George House/22,Jun,2026
Decorative wood panels for walls can add grain, rhythm and depth to an interior, but the visible face is only one part of the system. Substrate, backing, finish, panel joints, edges, services and fixing details determine whether the installation can be coordinated and maintained.
Use broad wall paneling ideas to establish the visual direction, then prepare a wood-specific specification. Confirm where the panels start and stop, how they meet floors and ceilings, and which performance documents are required for the project.
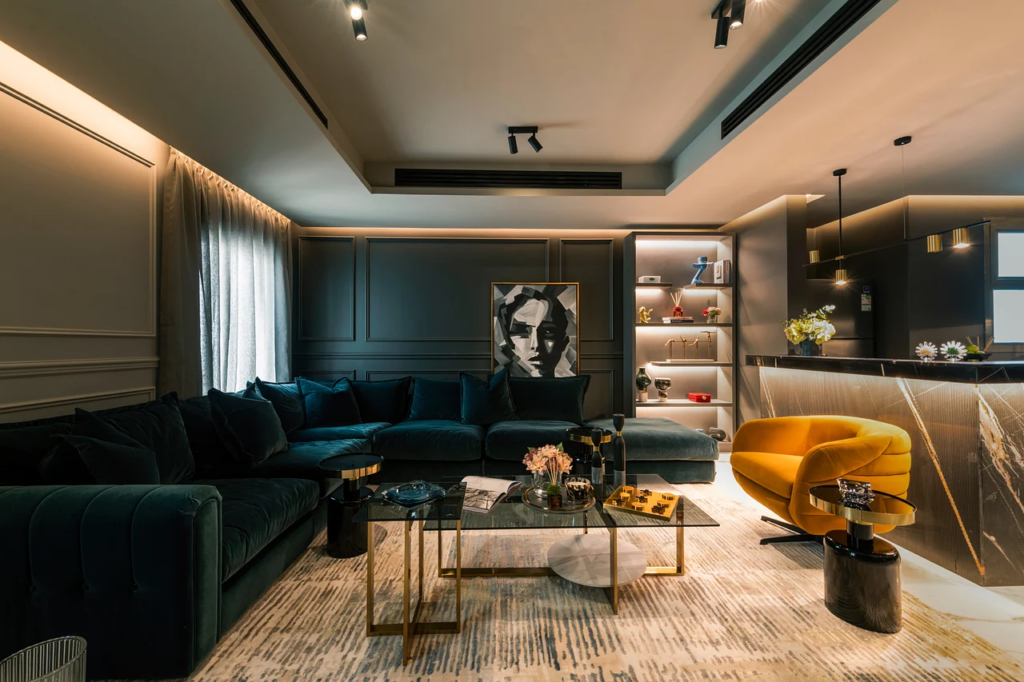
Define the panel construction before selecting a style
A wood appearance may be produced with solid timber, veneer, engineered board, laminate or a wrapped profile. Ask for a section drawing that identifies the face material, core, backing, finish, overall thickness and fixing method. Record the intended environment, cleaning method and areas exposed to sunlight, humidity or impact.
Natural timber and veneer vary in grain and color. Approve a representative range instead of one selected board, and define how pieces will be mixed across the wall. Manufactured surfaces can be more uniform, but joints, repeated patterns and edge treatments still need review.
Compare common wood panel formats
Slatted panels
Slatted panels create regular vertical or horizontal lines. Confirm slat width, depth, spacing, backing color and module size. At corners and openings, decide whether the pattern wraps, terminates with trim or finishes against a reveal. If a felt or porous backing is promoted for sound absorption, request test information for the complete tested assembly.
Fluted and ribbed panels
Fluted or ribbed surfaces produce closer shadow lines and can be applied to feature walls, islands or joinery fronts. Verify the profile radius, edge detail and method used to join modules. Deep grooves may require a specific cleaning approach and can make sockets, switches and access panels harder to align.
Veneered sheets and geometric modules
Large veneered sheets can present continuous grain, while geometric modules create deliberate seams and changing grain direction. Prepare a numbered elevation if the design depends on sequence or book matching. Confirm panel size, transport limits and how damaged pieces could be replaced later.
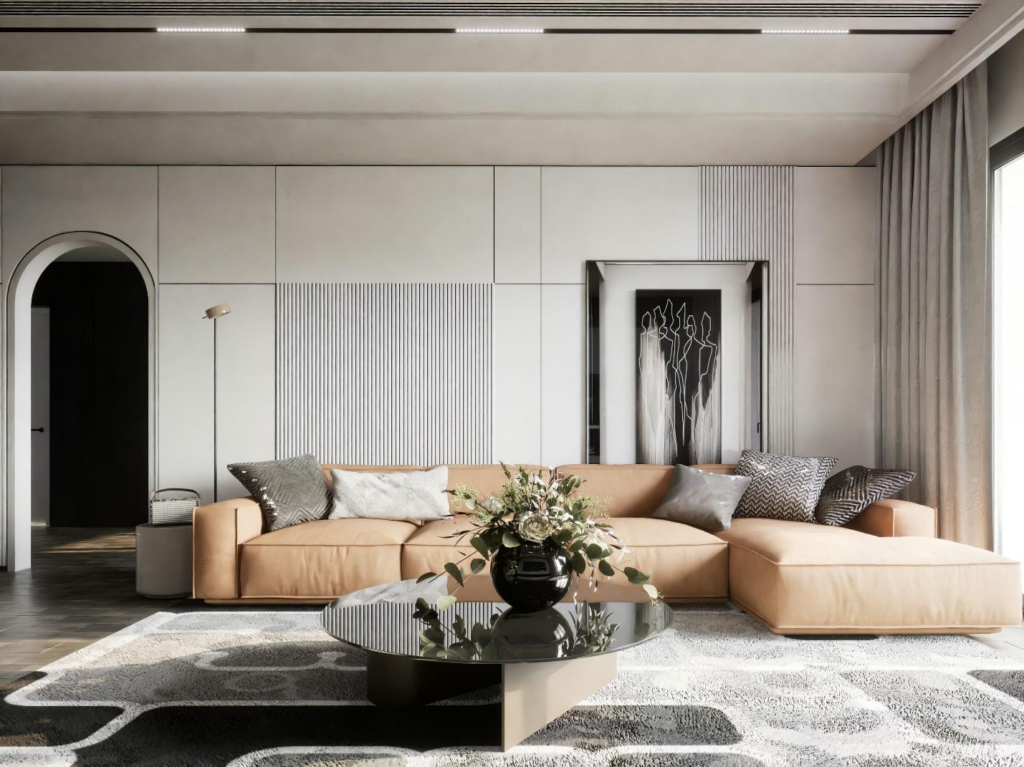
Coordinate color, furniture and adjacent finishes
Compare the wood panel with flooring, doors, cabinetry, upholstery, metals and wall paint. Similar wood tones can conflict when their undertones or grain scale differ. A controlled contrast may be easier to coordinate than trying to make several unrelated products look identical.
The sample-led method in the guide to furniture with wall and floor finishes can be used to set dominant and supporting materials. For rooms that combine contemporary lines with traditional detailing, review the proportion and material approach in modern traditional interior design.
Inspect the wall and resolve services first
Check the substrate for moisture, movement, contamination, loose material and irregularity. Panels should not be used to conceal an unresolved leak, active crack, unsafe surface or service defect. The responsible designer or contractor should determine the required repair and preparation before panel installation.
Map sockets, switches, thermostats, speakers, ventilation grilles, television mounts, access panels and concealed wiring. Provide backing where equipment requires support. Removable panels or labeled access points may be needed for valves, connections or controls that must remain serviceable.
Request project-relevant fire and acoustic documents
Wood-based finishes and backings do not share one fire classification. Requirements depend on the building, location, substrate, complete assembly and local rules. Ask for reports or classifications that match the proposed product and assembly, and have the responsible project team confirm suitability.
An acoustic claim also needs a defined test and assembly. A decorative slat over a porous backing may absorb some sound, while a hard sheet may mainly reflect it. Do not transfer a result from one panel thickness, cavity or backing to another without supporting documentation.
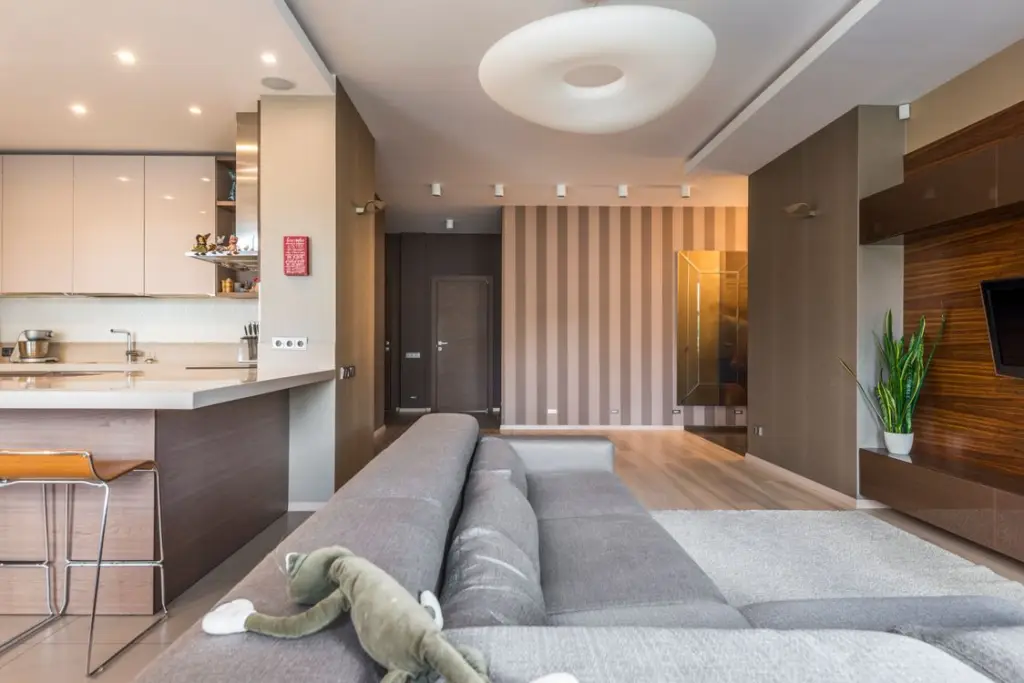
Plan lighting, shadows and reflections
Grazing light emphasizes texture but can also reveal uneven joints, substrate variation or repeated modules. Downlights, wall washers, concealed strips and television screens create different highlights. Coordinate fixture locations, color quality and controls using the principles in proper interior lighting.
Review a sample under the specified lighting. If the panel includes a glossy finish or metal detail, check reflections from main viewing positions. Show channels, drivers and access locations on the elevation so lighting can be maintained without damaging the finish.
Approve a full-size corner or interface mock-up
| Item | Approval information |
|---|---|
| Panel | Face material, core, backing, dimensions, profile and weight |
| Finish | Species or pattern, color, sheen, variation range and cleaning method |
| Performance | Required fire, acoustic and environmental documents for the assembly |
| Layout | Module sequence, joints, grain direction, corners, openings and terminations |
| Services | Outlets, switches, lighting, equipment supports and access panels |
| Installation | Substrate preparation, fixings, adhesive, tolerances and protection |
Issue the approved panel package
Keep the signed sample and approved mock-up available during production and installation. Reference panel codes on elevations, sections, finish schedules and the BOQ. Inspect the first installed area before releasing the remaining work, especially where the design depends on aligned slats or continuous grain.
For quotation, provide wall dimensions, drawings, required finishes, performance criteria and delivery constraints through the project material enquiry. A complete package allows suppliers to price the panel, backing, trims, fixings and interface details on the same basis.




