
By George House/20,Oct,2025
Coordinating furniture with wall and floor finishes is a composition task, not a requirement to match every color. The room usually works better when the dominant surfaces, supporting tones, furniture scale, textures and lighting have clear roles. A sample-led process also makes the design easier to communicate to suppliers and installers.
Start with space planning. Mark circulation, doors, windows, focal views, seating groups, storage and task zones before choosing finishes. A strong palette cannot correct furniture that blocks a walkway or does not fit the intended use.
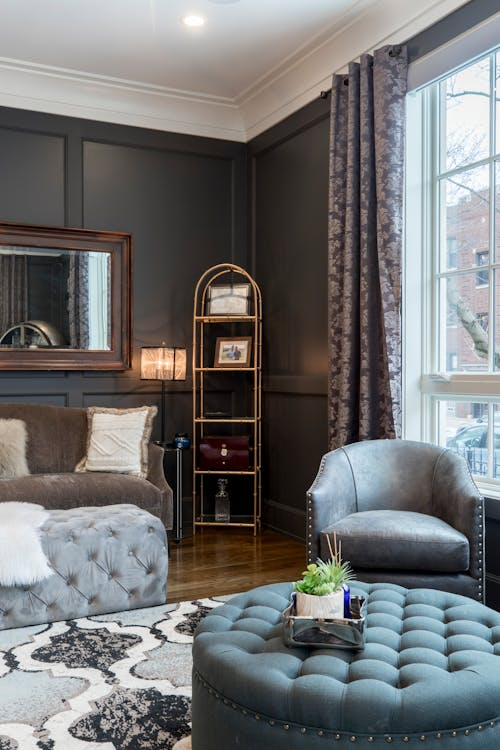
Build the palette from the largest fixed surfaces
Floors and major wall finishes cover more area and are usually harder to replace than loose furniture. Record their material, color family, undertone, pattern scale, joint pattern and sheen. Then identify which furniture pieces are fixed, already owned or selected as focal items. This creates a practical order for decisions.
If the floor is still open for selection, compare the maintenance, module and visual effects in the floor tile guide. A highly patterned floor may call for quieter upholstery, while a nearly uniform floor leaves more room for expressive furniture. These are composition choices rather than universal rules.
Compare undertone and contrast in the actual light
Two materials can both be called beige, gray or white and still clash because one leans warm and the other cool. Place furniture-fabric, timber, paint and flooring samples together. Review them near the relevant wall and at floor level under daylight and proposed artificial lighting. Photograph the arrangement, but retain the physical approved samples because screens alter color.
Contrast helps separate forms. A chair close in tone to the wall may look quiet and continuous; a darker or lighter chair creates a clearer outline. Neither result is automatically better. The right level depends on the focal hierarchy, room size, visual accessibility and the desired atmosphere.
Coordinate texture, pattern and sheen
Texture is affected by distance and light. Bouclé, open-grain wood, honed stone, glossy lacquer and metallic trim reflect or absorb light differently. Limit the number of strong patterns visible from one viewpoint, then repeat smaller cues such as a timber tone or metal finish to connect the room.
A wall can be a quiet background or an intentional feature. Paint provides a broad color field; panels introduce joints and depth; wallpaper adds pattern or texture. The wallpaper selection guide gives a useful framework for substrate, seams, cleaning and sample review that can also inform other rooms.
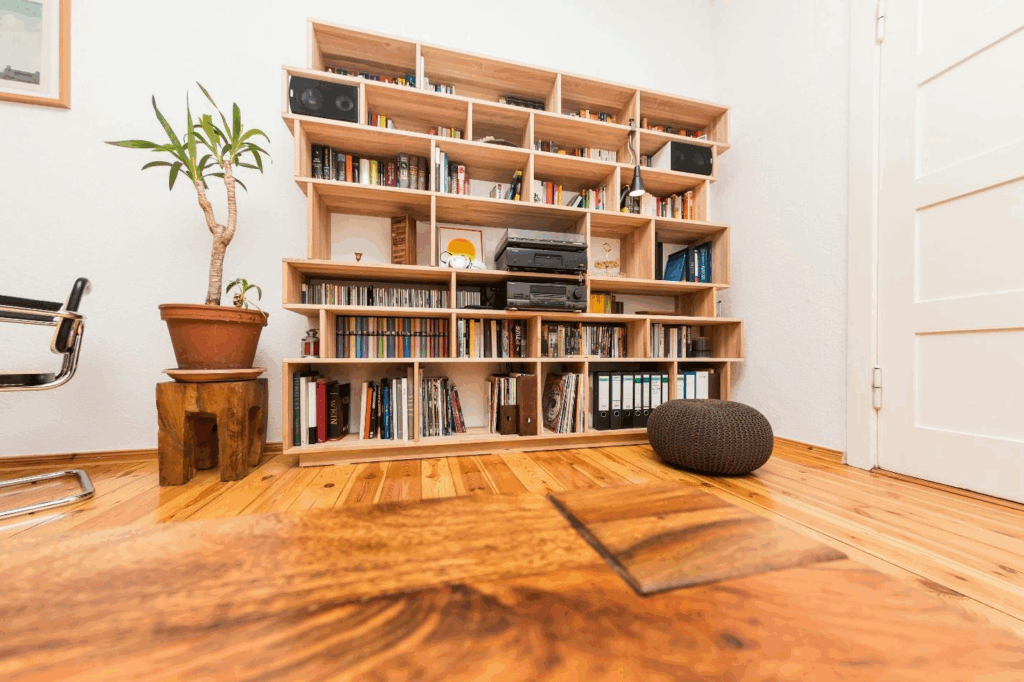
Use proportion and repetition to create order
Check the visual weight of sofas, tables, cabinets and chairs against ceiling height, window size and open floor area. Large, dark or visually solid pieces feel heavier than slim frames or raised furniture. Repeat a small number of material cues across the room, but avoid forcing identical timber or metal finishes from unrelated suppliers.
Mixed styles can still be coherent when scale, lines and materials are deliberate. The modern traditional interior guide shows how familiar profiles and restrained contemporary elements can share a controlled palette.
Check practical interfaces
- Allow door, drawer and curtain movement without furniture collisions.
- Protect floors with suitable glides or pads approved for the surface finish.
- Check rug thickness at doors and under chairs that need to move.
- Coordinate wall-mounted furniture, outlets, switches and lighting positions.
- Confirm cleaning products for upholstery, timber, stone, paint and flooring separately.
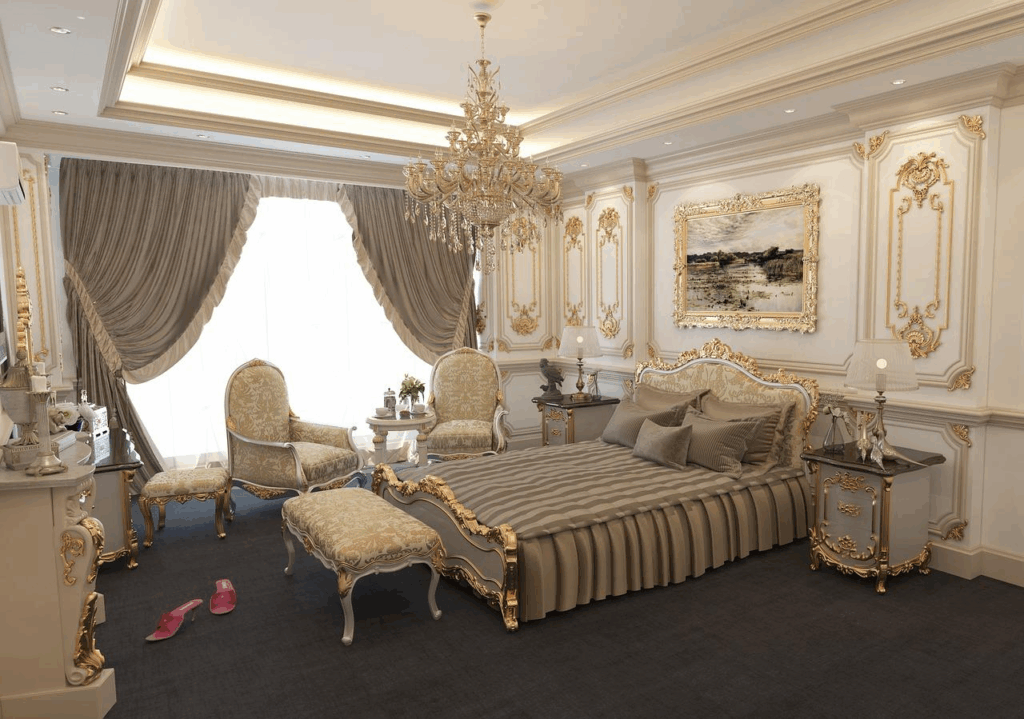
Create a finish schedule and sample board
| Element | Approval information |
|---|---|
| Floor | Product code, batch or range, module, joint, sheen and transition |
| Wall | Color or product code, substrate, sheen, panel or seam layout |
| Furniture | Dimensions, orientation, upholstery, timber, metal and hardware |
| Lighting | Fixture position, beam effect, dimming and agreed color appearance |
| Interfaces | Clearances, protection, fixing points and cleaning requirements |
Label every sample with supplier, product code, room and approval date. View a representative furniture item or material mock-up against the intended floor and wall before ordering the full package. The custom furniture project guide explains how dimensions, finishes and approvals can be recorded for production.
During installation, compare the first completed area with the approved board before repeating it throughout the room. Check floor transitions, panel joints, furniture orientation and visible hardware from the main entrances and seated viewpoints. Record any approved adjustment on the finish schedule so later rooms follow the same decision.
Final design guidance
A coordinated room grows from hierarchy, evidence and practical fit. Establish the layout, compare the largest surfaces, tune undertone and contrast, control texture and pattern, and keep a signed finish schedule. This produces a palette that can be procured and inspected without depending on subjective color names alone.




