A wardrobe schedule template connects each fitted wardrobe number with its location, overall dimensions, panel specifications, hardware and approval records. Use it to coordinate the same item across the room plan, joinery drawings, quotation and production information.
The editable Excel workbook includes blank project tables and a separate filled example. It is designed for owners, designers and contractors preparing a wardrobe package for quotation or review. For the product information that accompanies the schedule, see our custom wardrobe planning guide.
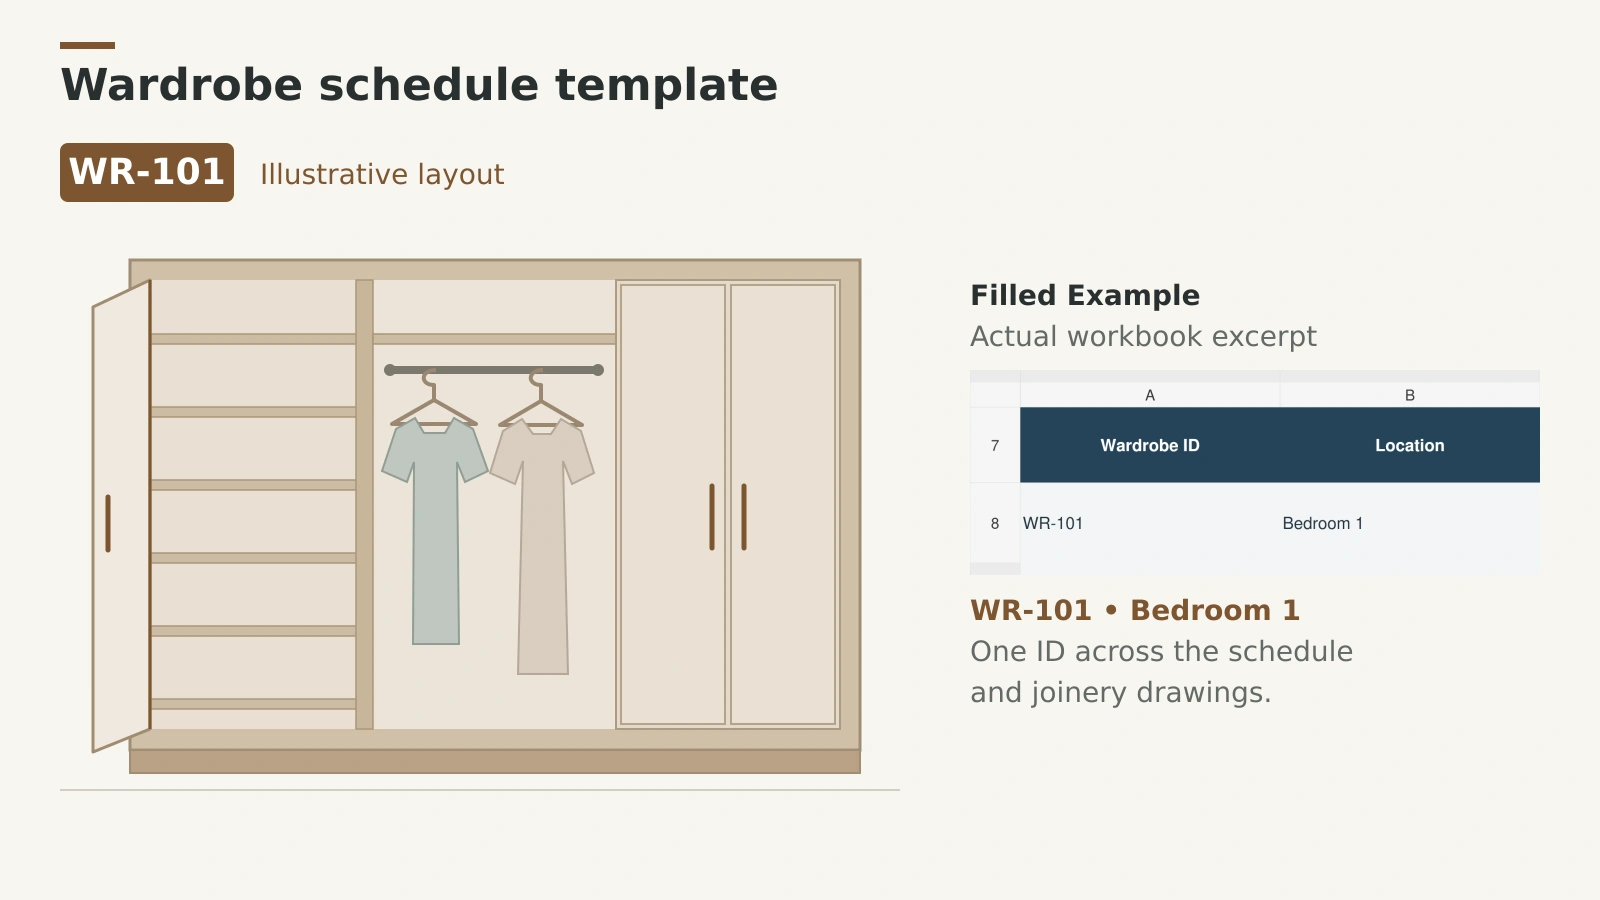
Download the Wardrobe Schedule Template in Excel
Download the Wardrobe Schedule Template XLSX and review the Filled Example before entering project data. Keep the fictional example separate from the live schedule, and replace its references with the marks used on your drawings.
Download Wardrobe Schedule Template Excel
| Worksheet | What to record |
|---|---|
| Wardrobe Schedule | Wardrobe ID, location, configuration, overall dimensions, drawing reference, selected review and manual production release |
| Site & Layout | Available site dimensions, measurement source and status, room interfaces and layout references |
| Component Register | Components, panel substrate and thickness, faces, edges, samples and review references |
| Hardware Register | Fitting location, model, quantity and unit, moving-part information, technical references and compatibility review |
| Review Log | Separate submission records with scope, document or sample reference, revision, decision and follow-up |
| Filled Example | Two fictional wardrobes with matching component, hardware and review records |
| Instructions | Filling order, field definitions, formula checks and table extension instructions |
Filters and frozen headings help you work through the list. Selected dropdowns and formula checks flag some missing or duplicate references; they do not confirm that the design, hardware or approval is correct. Follow Instructions when extending the prepared tables.
Wardrobe Schedule Example
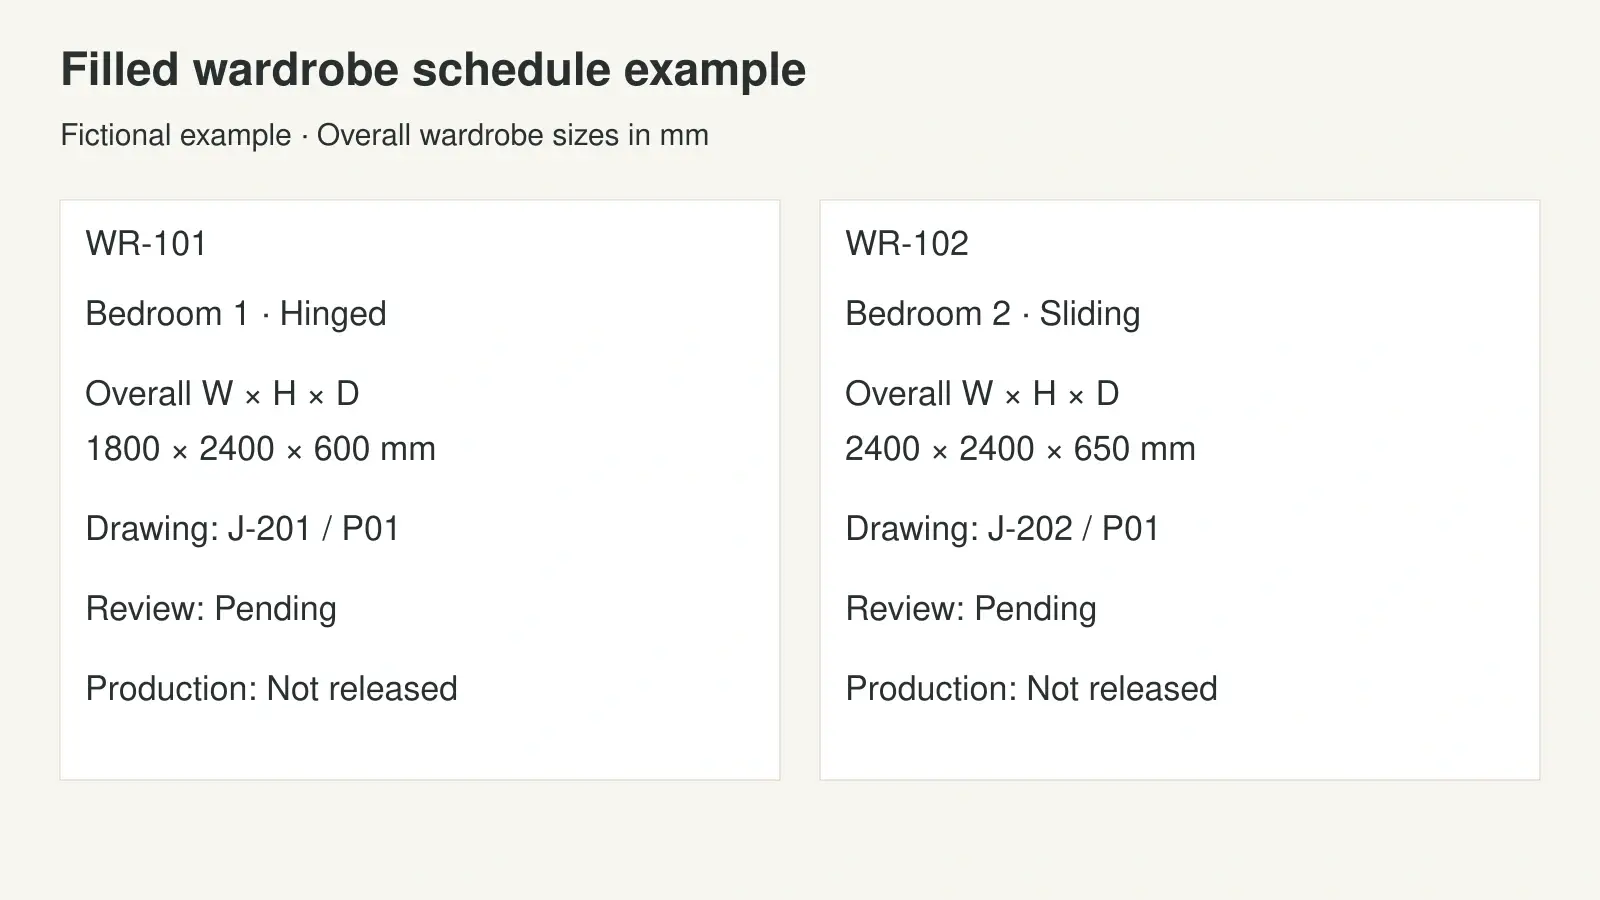
The example below shows two individual wardrobes. All dimensions are fictional overall wardrobe dimensions in millimetres, entered only to demonstrate the template. They are not recommended sizes or measurements for a production order. Site space and installation allowances remain to be confirmed.
| Field | WR-101 | WR-102 |
|---|---|---|
| Location | Bedroom 1 | Bedroom 2 |
| Configuration | Hinged doors | Sliding doors |
| Overall width by height by depth | 1800 by 2400 by 600 mm | 2400 by 2400 by 650 mm |
| Materials and hardware | Component and hardware records linked by WR-101 | Component and hardware records linked by WR-102 |
| Drawing reference | J-201 revision P01 | J-202 revision P01 |
| Review status | Pending | Pending |
| Production release | Not released | Not released |
Each wardrobe keeps its own ID even if some components or hardware are identical. The component records describe the carcass, fronts and other parts separately. Hardware records identify the fittings being proposed and the product information still required. The review log records the relevant item, document or sample, revision and decision.
Assign Wardrobe Numbers That Match the Drawings
Define What Each Wardrobe ID Includes
Use one unique wardrobe ID for each physical installation in this template. State whether that installation includes a loft, side panels, fillers, internal drawers or separate accessory units. A wardrobe assembled from several carcasses can keep one installation ID while the shop drawing identifies its modules and parts.
Keep a repeated design type separate from the individual wardrobe number. For example, several rooms may share a layout type but still need individual location records and confirmed site dimensions. If the project already uses joinery marks, retain them and document any mapping rather than silently renumbering the drawing set.
Our cabinet and wardrobe coordination overview explains how the cabinet body, fronts, hardware and room interfaces form one package. Use those categories to define the scheduled scope before requesting a price.
Connect the Plan Elevation and Detail References
Show the wardrobe ID on the room plan and corresponding joinery elevation. Record the drawing number and revision, then identify the detail or section needed to explain the internal arrangement, edges, supports and installation. A file link is useful only if readers can identify the correct issue.
When a drawing changes, retain the earlier issued file and identify the replacement revision. Update the affected schedule and review entries together. A change to a front, internal drawer or handle may affect more than the elevation appearance, so list the wardrobes to which the change applies.
Record Overall Dimensions and Site Conditions
Separate Wardrobe Size From Available Space
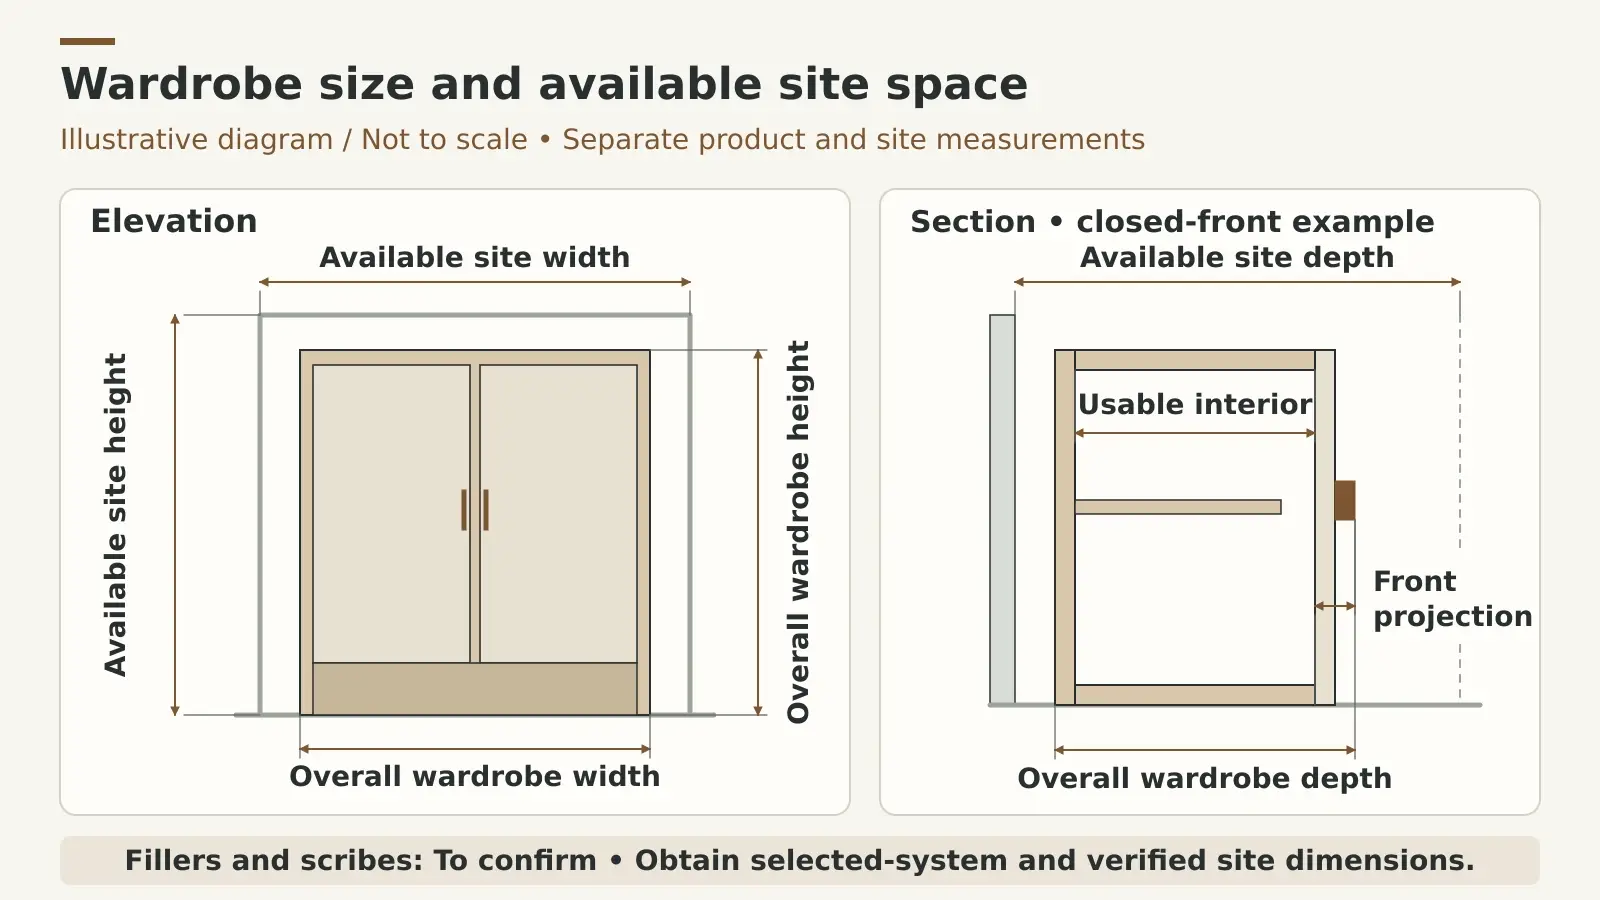
Enter overall width, height and depth in the stated units. Describe the measurement basis, including whether the depth includes fronts, handles or tracks and whether the height includes a plinth or loft. Keep usable internal dimensions on the referenced drawing so they cannot be confused with the outside size.
Record the available site space separately, with a survey or drawing reference and a measurement status. Check finished floor levels, wall alignment, ceiling variation, skirting and adjacent openings. An overall wardrobe width is not automatically the wall-to-wall opening width. Fillers, scribes, adjustment space and assembly access need project-specific detailing.
The closet depth planning guide provides broader storage context. Confirm the actual hanging space, front system and room conditions instead of copying a generic depth into every wardrobe row.
Check Door Movement and Internal Access
Coordinate hinged door swings with walls, handles, beds and other furniture. For sliding doors, identify the panel arrangement and the opening available when a panel is parked. Check whether internal drawers and pull-outs can operate through that opening without hitting a door, hinge or track.
Show shelf layouts, hanging rails, drawers and accessories on the joinery drawings. Include lighting, switches, power supplies and maintenance access where these are part of the scope. Agree who confirms final dimensions and fixing details before production; the spreadsheet does not generate manufacturing dimensions or a cutting list.
Specify Panels Finishes and Edge Treatments
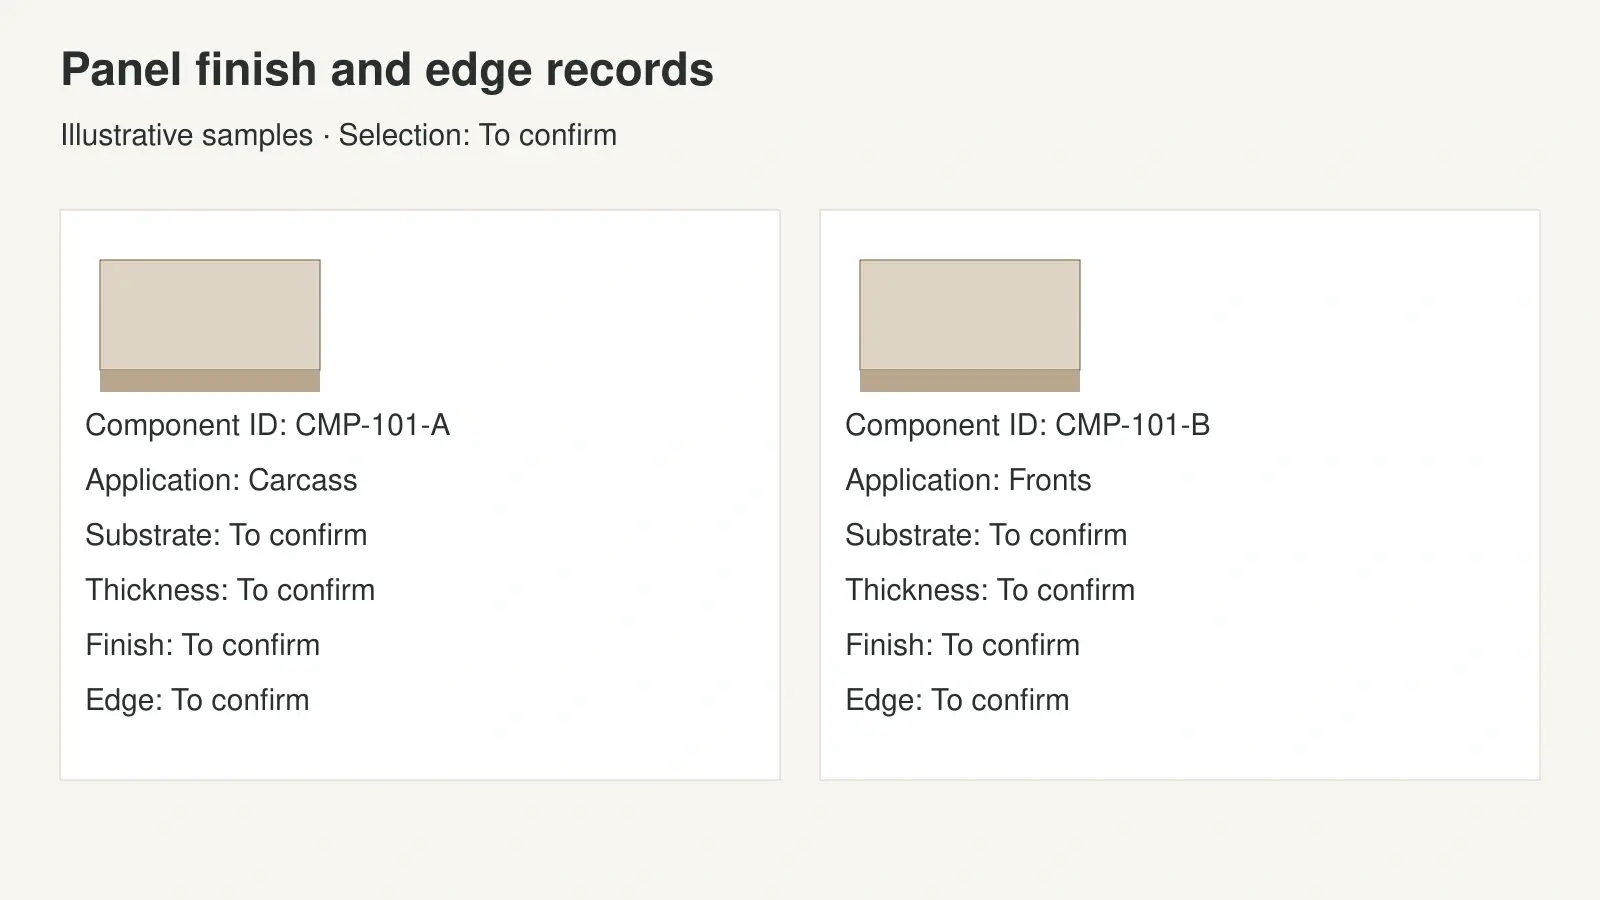
Record Materials by Component
Separate the carcass, doors, drawer fronts, shelves, back and exposed end panels where their specifications differ. For each component, identify the substrate or construction, grade or product reference, thickness, surface finish and relevant specification. A single entry such as wood board does not define the proposed assembly.
Use our plywood and MDF cabinet comparison when developing the material shortlist. The actual panel, fastening method, span, finish and exposure determine suitability. Record any required product evidence rather than assuming that a material family name proves performance.
Keep core material and decorative finish as separate fields. A laminate, veneer, acrylic or painted surface describes a finish or facing system; it does not by itself identify the substrate. For front appearance and edge review, our acrylic and laminate finish comparison covers the selections to resolve.
Link Edge Banding and Samples to the Selection
Identify which edges receive treatment, along with the proposed edge material, thickness, colour or decor code and joint appearance where relevant. Use a component or drawing reference to distinguish exposed edges from concealed ones. Confirm the selected panel and edge system together instead of assuming that a similar colour code guarantees a visual match.
Record the sample ID, finish reference, grain direction and sheen. A physical sample or agreed mockup can clarify the appearance more reliably than an uncalibrated screen image. The finish schedule template can hold the wider project’s finish codes and sample records; reference those codes consistently in the wardrobe package.
Match Hardware to the Proposed Wardrobe
Identify the Model Location and Quantity Basis
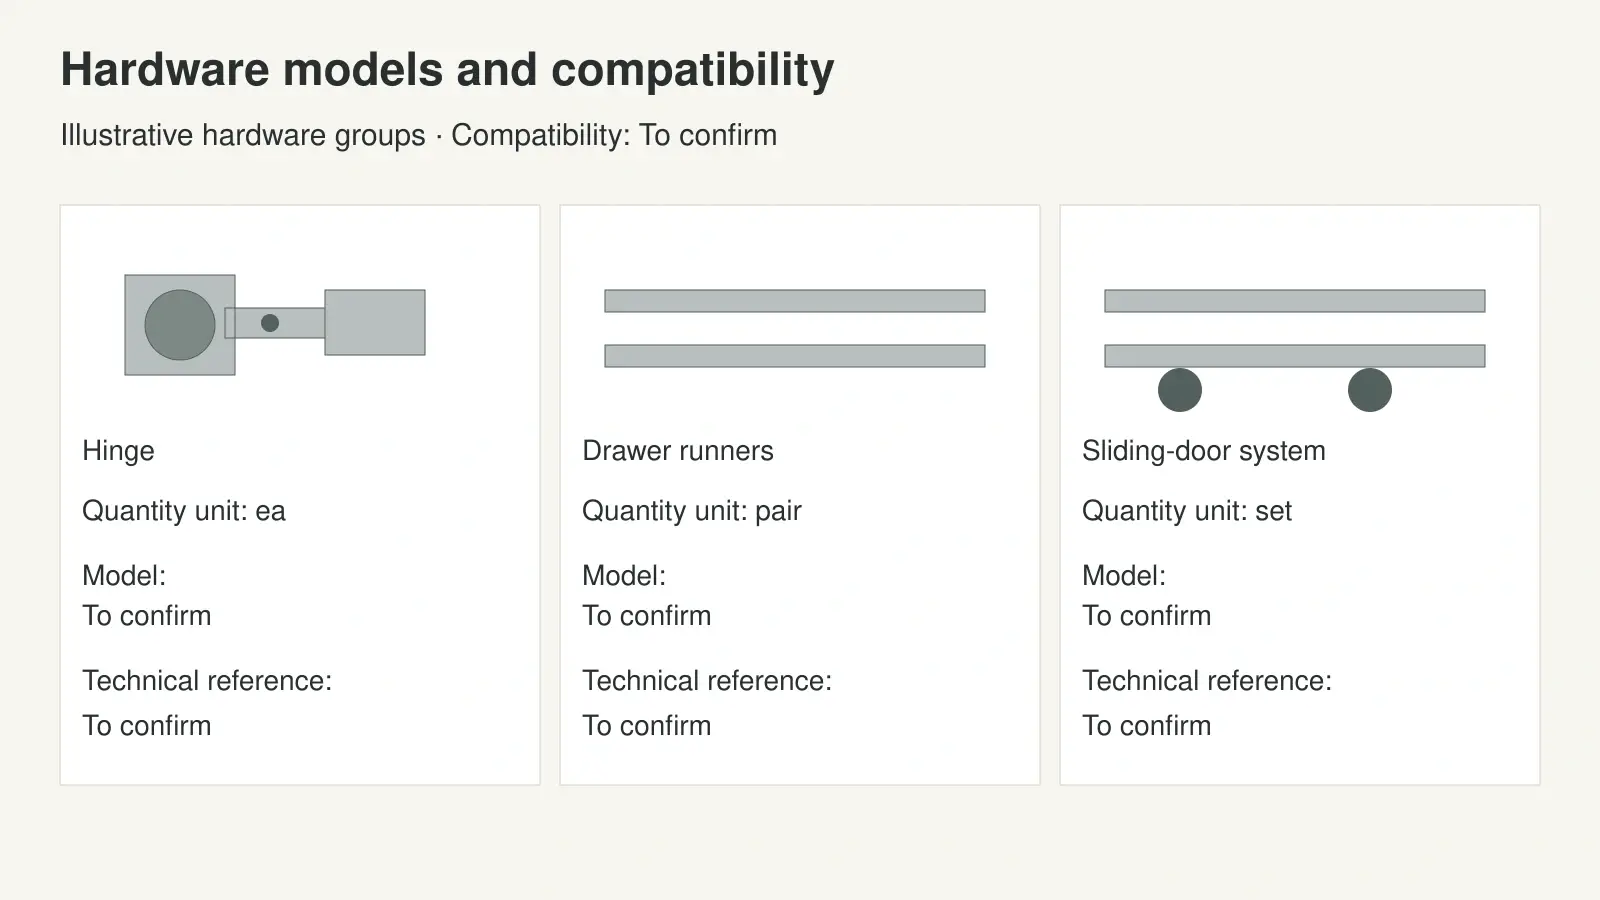
List hinges, runners, handles, hanging rails, sliding systems and accessories by wardrobe ID and component or location. Include the proposed manufacturer and model when selected, finish, quantity and quantity unit. State whether a quantity means individual hinges, a pair of runners or one complete sliding-door set.
A description such as soft close does not define the fitting. Retain the selected product’s technical reference and confirm the compatible mounting method, door or drawer construction and required clearances. If a model is pending, mark it as pending instead of filling the cell with an assumed equivalent.
Check Weight Dimensions and System Compatibility
Hinge selection and quantity depend on the particular front and hinge system, including the front’s size and weight. Drawer runners need the correct length, installation dimensions and load basis. Sliding systems have their own door dimensions, thicknesses, weights, track arrangements and mounting requirements.
Use the exact model’s current planning information and confirm the complete assembly with the supplier. Added mirrors, handles or decorative layers can change the front weight. Do not copy a capacity or hinge count from a different product, and do not treat a completed hardware row as a compatibility check.
Keep Approval History and Production Release Separate
Record the Scope Revision and Outstanding Actions
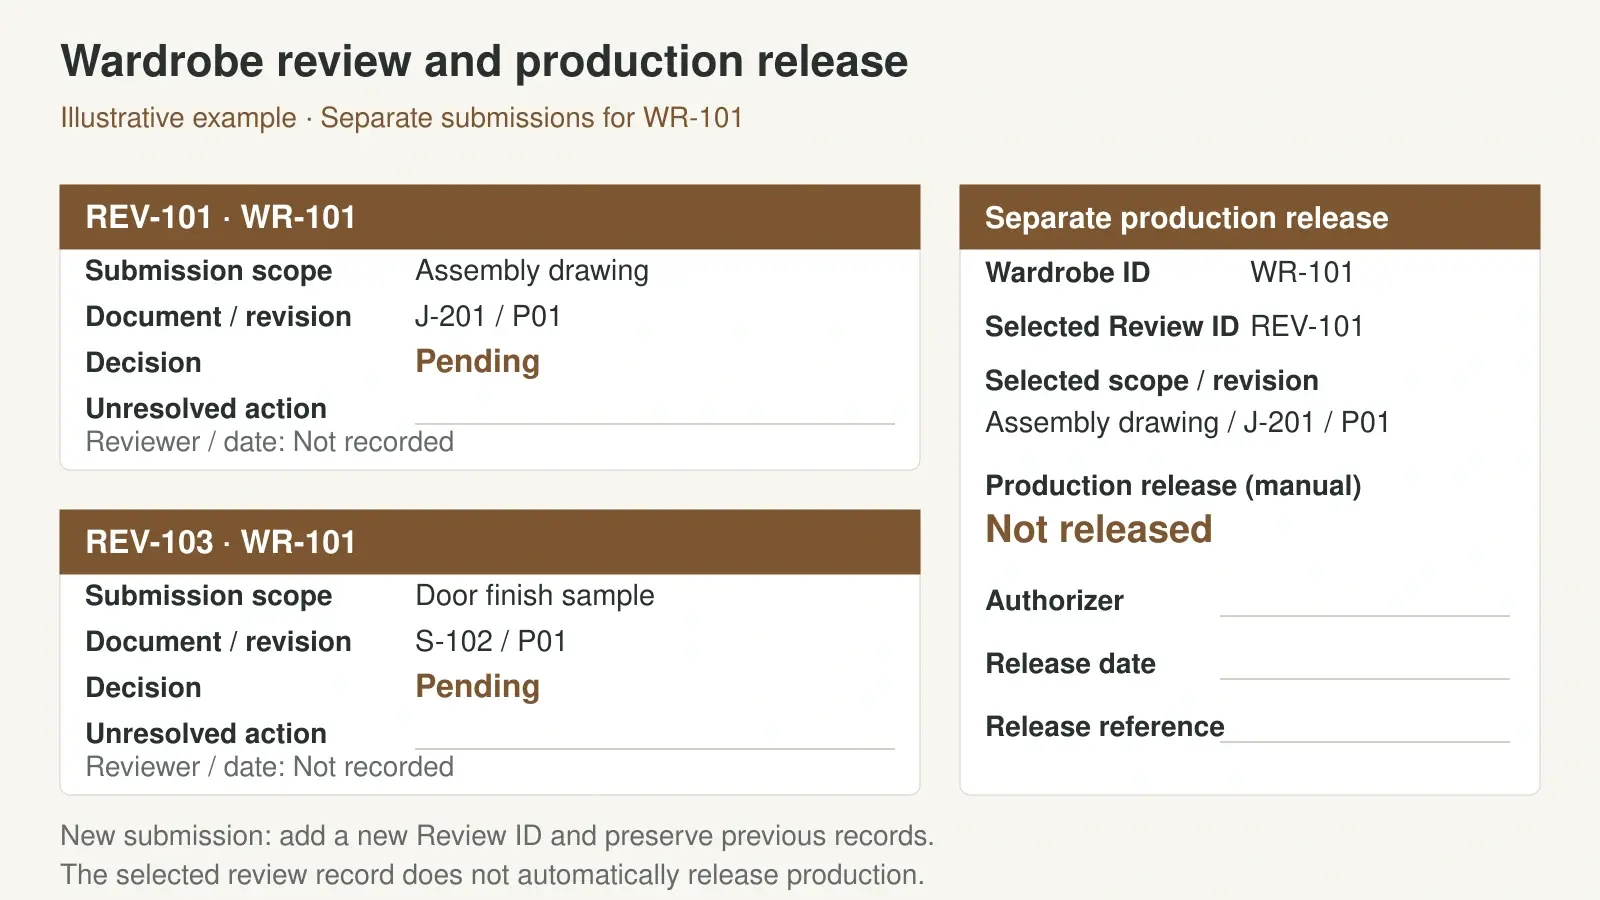
Add a review-log entry for each drawing, material, hardware or sample submission. Identify the wardrobe or affected scope, submission reference, revision, reviewer, decision and date. Record the comments, responsible party and follow-up action. Use a new entry for a resubmission so the earlier decision remains visible.
The main schedule’s Current Review ID points to a deliberately selected log entry; its displayed decision applies only to that entry’s scope and revision. A finish sample decision does not automatically approve dimensions or hardware. If a material, size or model changes, identify the affected items and obtain the required review of that change. Keep formal approval documents with the project records.
Confirm the Information Released for Manufacture
Record production release manually, with its authorized party, date and supporting reference. Identify the coordinated schedule, drawing revisions and selections covered by that release. Pending actions and exclusions should remain visible until they are resolved through the project’s agreed process.
Before issue, compare the schedule with the current plan, elevations, component list, hardware information and sample records. Check that quotation inclusions are clear, including measurement, delivery, assembly, installation, fixing provisions and electrical work where applicable. Resolve differences between quotations against the same scope.
George House Material supports drawing and sample coordination within the agreed procurement scope. Final approval remains with the client or appointed project consultant. To prepare an enquiry, send your wardrobe schedule and drawings for review with the project location, quantities, finish direction and delivery requirements. Identify information that is still pending.
Frequently Asked Questions
What Should a Wardrobe Schedule Include
Include the wardrobe ID, location, configuration, dimension basis, overall dimensions, component materials, finish and edge references, hardware, drawing revisions and review records. State the scope of each wardrobe and retain a separate production-release record.
Is This an Editable Wardrobe Schedule Excel Template
Yes. The XLSX download contains blank input tables and a separate fictional example. Keep the formula columns intact and follow the instructions when adding records beyond the prepared ranges. The workbook does not synchronize with CAD or BIM files.
Is a Wardrobe Schedule the Same as a Cutting List
A wardrobe schedule summarizes installations and their specified requirements. A cutting list identifies individual manufactured parts and their processing dimensions. The fabricator develops that information from the coordinated design, construction method, hardware and approved production documents.
Can I Use One Size for Repeated Wardrobes
Use a shared type reference for genuinely repeated designs, but retain the individual locations and dimension verification needed for each installation. Site variations, handed layouts, services and adjacent walls can require different details even when rooms appear similar.