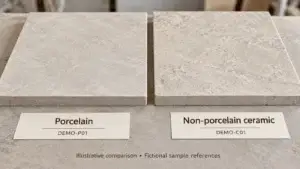
Large format tile can reduce the number of visible joints and create broad continuous surfaces, but it also places greater demands on substrate preparation, handling, cutting, adhesive coverage and movement-joint coordination. Product and installation decisions should be reviewed together.
Define What Large Format Means for the Project
Record the actual tile dimensions, thickness, finish, edge type and intended location. Do not rely on a general size label, because panel handling and installation methods vary substantially across formats.
Select the Tile for Its Use Area
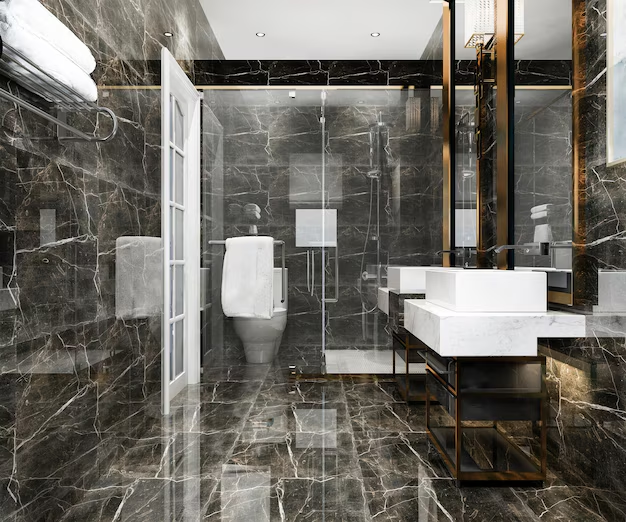
Confirm whether the tile is intended for floors, walls, wet areas, facades or counters. Request relevant supplier data for the specified application and check finish requirements for the expected conditions.
Approve Color, Pattern and Finish
Review physical samples for color, gloss, texture and edge appearance. Patterned products need an agreed layout approach, especially where book-matching, continuous veining or prominent focal areas are planned.
Check Caliber, Rectification and Batch
Confirm nominal and actual dimensions, edge treatment, shade references and batch consistency. The procurement schedule should allow time to review production samples before the full quantity is released.

Prepare a Suitable Substrate
Large units are less able to follow substrate irregularities. Survey flatness, level, strength, moisture condition and cracks before installation, then use a project-approved preparation method.
Coordinate Adhesive and Coverage
Select adhesive, primer and grout as compatible systems based on the tile, substrate and environment. Installation procedures should address trowel direction, back-buttering where required and coverage verification.
Plan Joints and Movement
Grout Joints
Set the joint width from the product, substrate and project requirements rather than assuming that a rectified edge permits a joint-free installation.
Movement and Perimeter Joints
Coordinate structural, movement and perimeter joints with the tile layout. They should not be concealed by rigid finishes without an approved detail.
Plan Handling and Cutting
Confirm lifting frames, suction equipment, cutting tools, storage racks and installer capability. Large panels require protected routes from delivery to the final installation area.

Coordinate Wet Areas and Transitions
Show falls, drains, waterproofing interfaces, thresholds and transitions to adjacent finishes. Compare floor coordination issues with the kitchen floor tile guide.
Use a Mockup and Inspection Plan
A representative mockup can verify tile appearance, joint width, lippage expectations, cut edges and cleaning. Record inspection points for substrate acceptance, adhesive coverage and finished protection.
Prepare the Tile RFQ
- Tile schedule, dimensions and quantities
- Finish, edge, shade and batch requirements
- Layout drawings and joint details
- Adhesive, grout and substrate scope
- Samples, mockup and inspection requirements
- Packing, handling, wastage and spare quantities
Coordinate Quantities and Delivery Sequence
Calculate quantities from approved layouts and include agreed cutting waste and spare tiles. Sequence deliveries by work area, protect batch identity and confirm storage capacity. Align the tile package with the wider project material scope.
Final Selection Check
Approve large format tile only with the substrate, installation system and layout. Related products can be compared through the tile category, the light wood floor guide and the SPC flooring guide.