Two-tone kitchen cabinets work best when the contrast supports the room layout instead of becoming a decorative afterthought. Define the palette, cabinet zones, substrate, finish, surrounding materials and approved samples before production.
Define the Two-Tone Palette
Choose two specific colors or finishes and record their references, sheen and acceptable variation. Use the cabinet color selection guide to compare undertones under the project lighting.
Decide Where the Contrast Sits
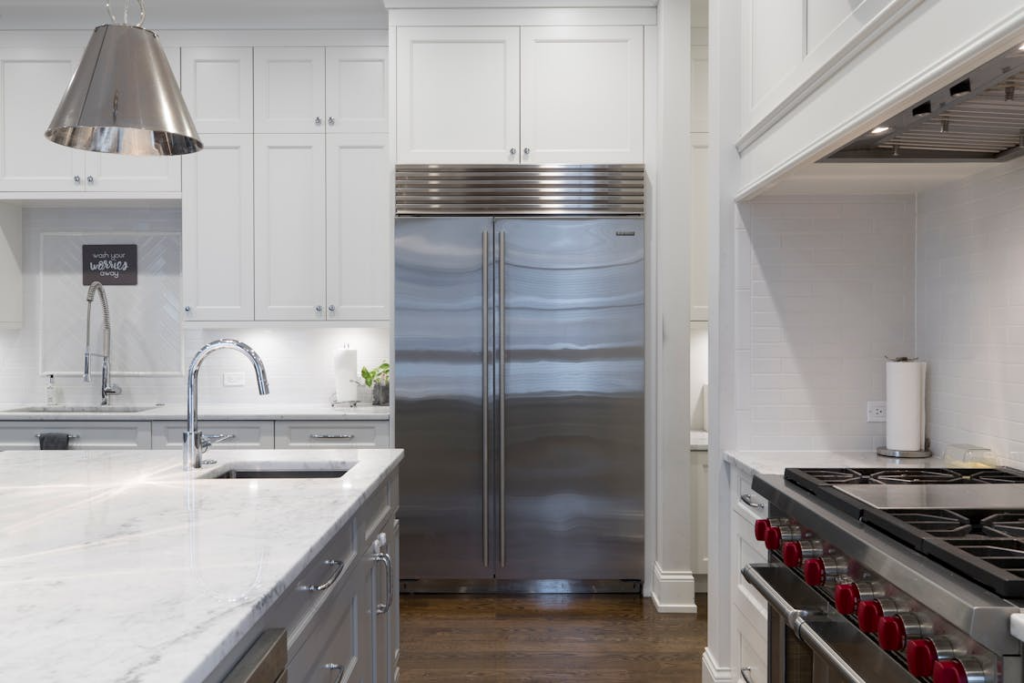
Assign the second finish to upper cabinets, base cabinets, an island, tall units or a defined feature zone. Mark every transition on the elevations so suppliers price the same arrangement.
Start With the Fixed Materials
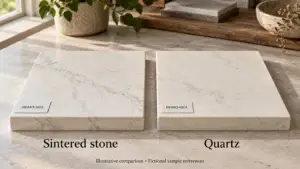
Review flooring, wall color, appliances and the selected countertop material. Compare samples together because nearby colors can change how each cabinet finish appears.
Choose the Cabinet Finish
Painted and Laminated Surfaces
Specify the exact coating or decorative surface, sheen, edge treatment and cleaning guidance. Confirm whether both colors use the same door profile and texture.
Timber and Wood-Look Finishes
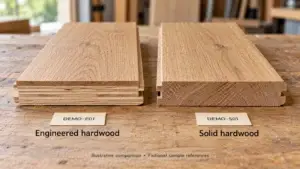
Record species or decor reference, grain direction and acceptable variation. The white oak cabinet guide shows why construction and sample range matter alongside color.
Coordinate Countertop and Backsplash
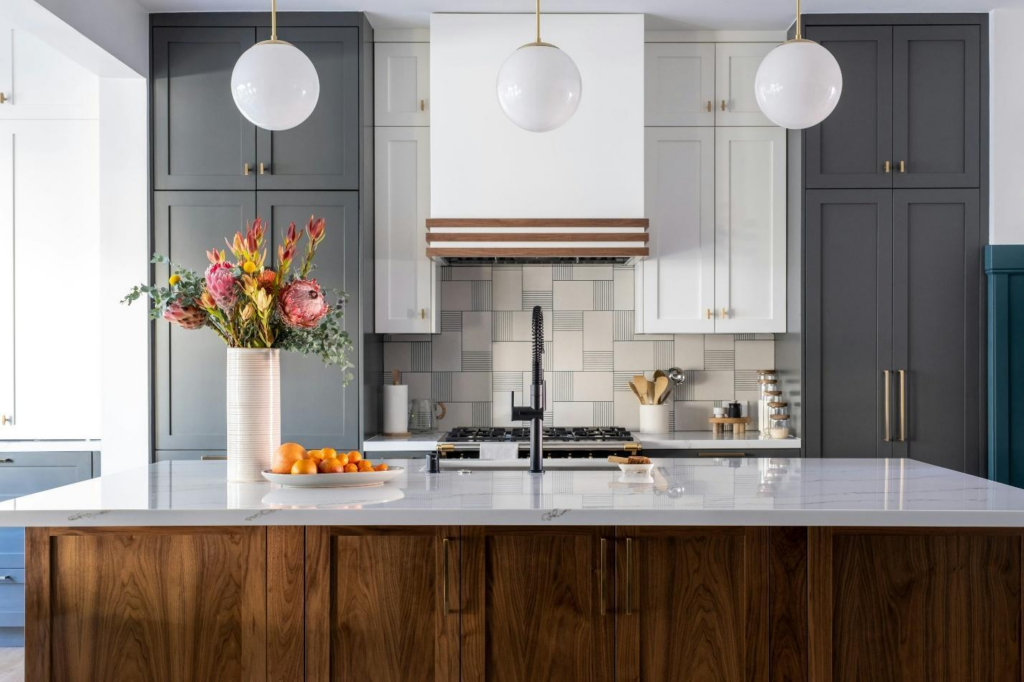
Use countertop and backsplash samples to bridge or separate the two cabinet tones. Record joint positions, upstands and end-panel returns on the coordinated kitchen drawings.
Review Daylight and Task Lighting
View the approved samples in morning, afternoon and artificial light. Check under-cabinet lighting because color temperature and reflections can shift the perceived contrast.
Verify Layout and Elevations
Confirm appliance panels, fillers, scribes, exposed ends and island backs. A complete kitchen cabinet design should identify the finish of every visible component.
Select Hardware for Both Finishes
Test handles, pulls, hinges and profiles against both tones. Keep the hardware schedule consistent unless a deliberate change is shown and approved.
Approve Representative Samples
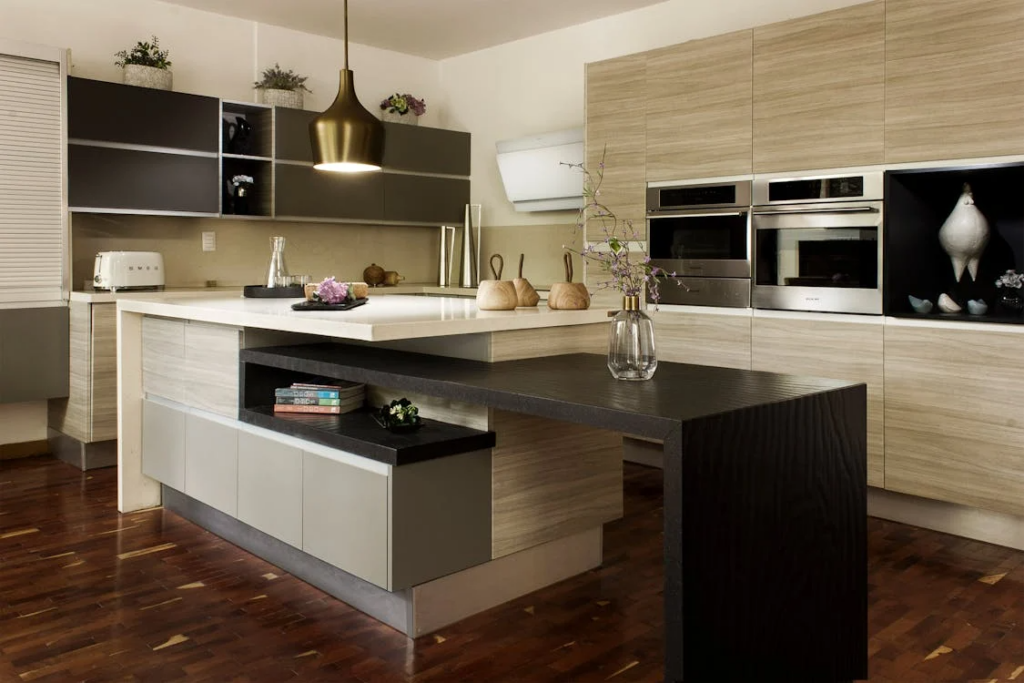
Approve production-representative door samples for both finishes. Label each sample with project, room, finish code, sheen, date and approval status.
Prepare a Cabinet Finish Schedule
List each cabinet reference, location, door profile, substrate, finish, edge, grain direction, hardware and quantity. Issue the same schedule and drawings to every bidder.
Inspect Installation and Touch-Ups
Check color placement, grain direction, panel alignment, edge quality and damage before handover. Use only the approved repair method for each finish.
Final Two-Tone Cabinet Check
Release production when elevations, finish schedule, samples, hardware and adjacent materials agree. For coordinated sourcing support, send the cabinet schedule and sample brief.