
By George House/09,Dec,2025
A 36-inch bathroom vanity is a nominally sized cabinet that can provide a single sink, useful worktop space and organized storage. The label does not guarantee one exact overall dimension. Cabinet width, countertop overhang, side splashes, fillers, handle projection and installation tolerance can all change the space required.
Plan the vanity as part of the complete sanitary ware and bathroom fixture package. The basin, tap, trap, valves, mirror, lighting, outlets, waterproofing and adjacent finishes must share one coordinated elevation.
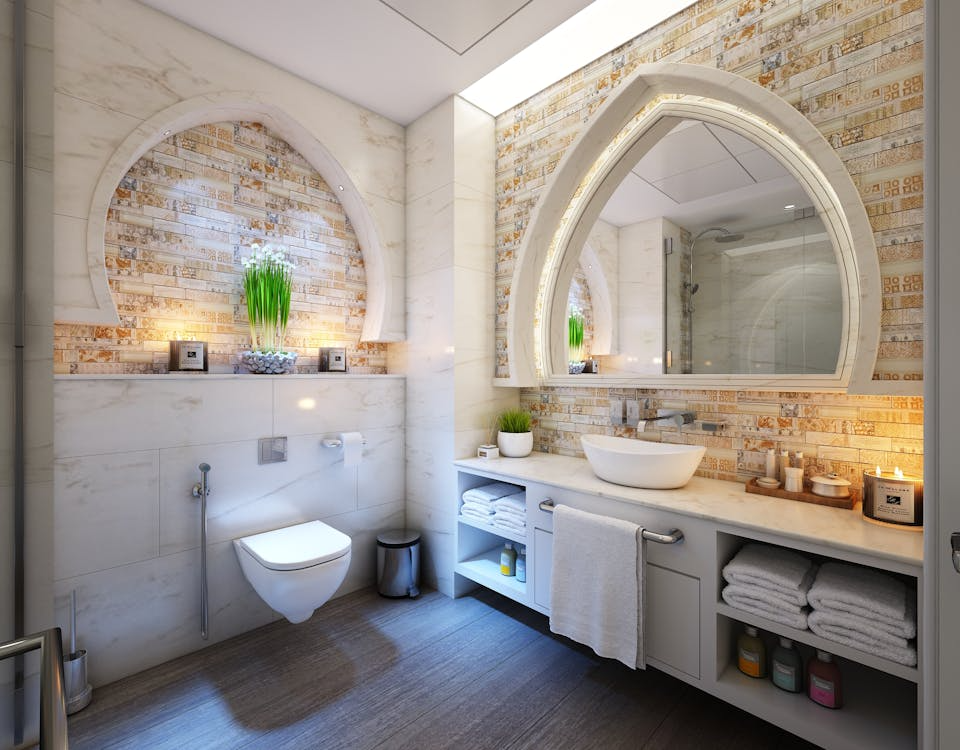
Verify the exact installed dimensions
Ask for the cabinet, door or drawer, hardware and top dimensions separately. A top may project at the front and sides, and a side splash can require a straight wall. Measure the finished opening at more than one height and record wall irregularities, skirting, door trim and tile thickness. Do not order from a rough wall dimension alone.
Check the vanity depth and finished height against the room, user brief and selected basin. If nearby fixtures are still being planned, use the tub dimension guide and shower dimension guide to organize the required product data. Local rules and the project designer determine applicable clearances and accessibility requirements.
Coordinate the sink, top and plumbing
Identify whether the basin is undermount, drop-in, vessel or integrated. Record the cut-out, bowl depth, overflow, tap-hole arrangement and drain position. A deep bowl or centered waste can conflict with drawers, while a wall-mounted tap requires accurately coordinated services and blocking.
Show hot and cold supplies, shut-off valves, waste, trap and any electrical or heating interfaces on the shop drawing. Provide access for connection and later maintenance. The custom vanity top guide helps structure decisions about material, edge, cut-outs, joints and upstands.
Choose storage around the service zone
Full-width doors offer simple access but need clear swing space. Drawers organize smaller items but require a verified plumbing route or shaped drawer boxes. A combination of doors and side drawers can protect the central service area. Confirm internal dimensions rather than counting drawer fronts, and check whether removable panels are provided for maintenance.
Open shelves reduce the visual mass of the cabinet and keep towels accessible, but exposed items need more regular organization and protection from splashes. Compare these options with the made-to-measure approach in the custom bathroom vanity guide.
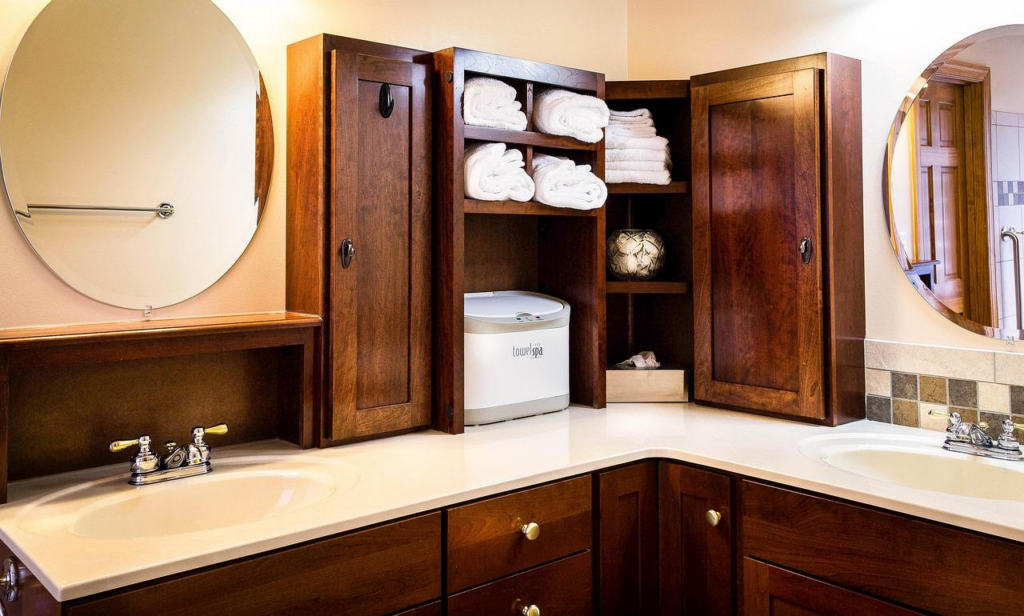
Check doors, drawers and room clearances
- Draw every door and drawer in the open position on the plan.
- Check conflicts with the room door, shower screen, toilet, towel rail and skirting.
- Allow for handle projection and comfortable standing space at the basin.
- Confirm mirror-cabinet doors and lighting do not conflict with the tap or tall items.
- Verify access, reach and knee or toe-space requirements from the project brief and applicable rules.
Select construction and finish for the bathroom
Ask the supplier to identify the cabinet substrate, edge treatment, coating or laminate, internal finish, hardware and wall-contact details. Moisture-resistant labeling does not make a cabinet waterproof. Leaks, standing water, unsealed cut edges and poorly ventilated conditions can still damage components.
For wall-hung units, confirm the wall construction, blocking, brackets, fasteners and load path. For floor-standing units, check level adjustment, toe-kick details and the interface with floor finishes. Sealant selection and application should follow the countertop, basin, wall finish and sealant manufacturers’ compatibility requirements.
Confirm the delivery route before the vanity leaves production. Doorways, stairs, lifts and turning spaces may limit whether the cabinet and top arrive assembled. If the top is shipped separately, define who templates, transports, fits and seals it, and who is responsible for damage at each stage.
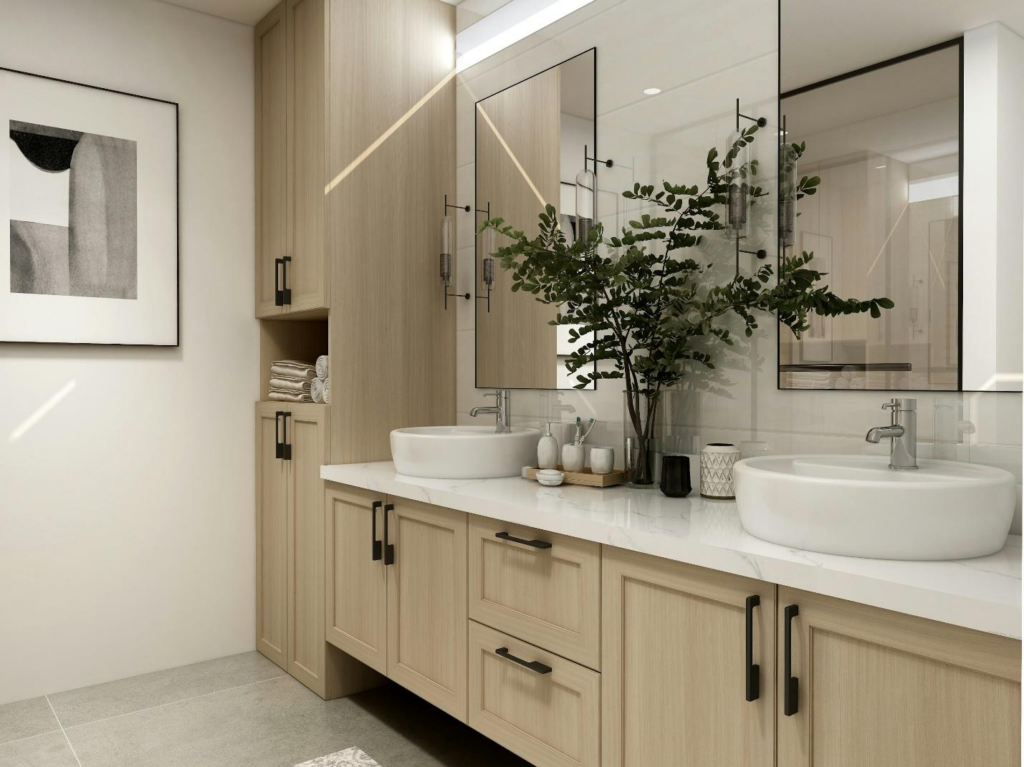
Prepare one approval package
| Item | Required confirmation |
|---|---|
| Room | Finished dimensions, wall build-up, floor level and adjacent clearances |
| Vanity | Exact width, depth, height, fillers, doors, drawers and hardware |
| Top and basin | Material, overhang, edge, cut-out, bowl and tap details |
| Services | Supply, waste, valves, outlets, lighting and maintenance access |
| Installation | Support, fixing, sealing, protection and inspection points |
| Finish | Signed sample, variation limits and approved cleaning instructions |
Final planning guidance
A 36-inch vanity works only when its exact dimensions and interfaces suit the room. Verify the finished opening, coordinate sink and services, test every moving part on the plan, and approve construction and finish samples before production. That information can be transferred directly into the BOQ, shop drawing and installation checklist.
At handover, test doors and drawers, inspect joints and sealant, check for leaks with the installer, and retain the product codes and care instructions. Spare hardware and a labeled finish sample can simplify later adjustments or replacement requests.
Record the final installed dimensions as well.




