For an accessible door in the United States, the operable part of the handle, pull, latch or lock is generally positioned 34 to 48 inches (865 to 1,220 mm) above the finished floor. A 36-inch centerline is common on many residential door preparations, but it is not a universal requirement. The approved door schedule, local code and hardware manufacturer’s template should control the final location.
Door handle height affects accessibility, lock preparation, visual alignment and coordination with other hardware. Confirm it before the door leaf is drilled or factory-prepared, especially when a project uses several door types, floor finishes or hardware sets.
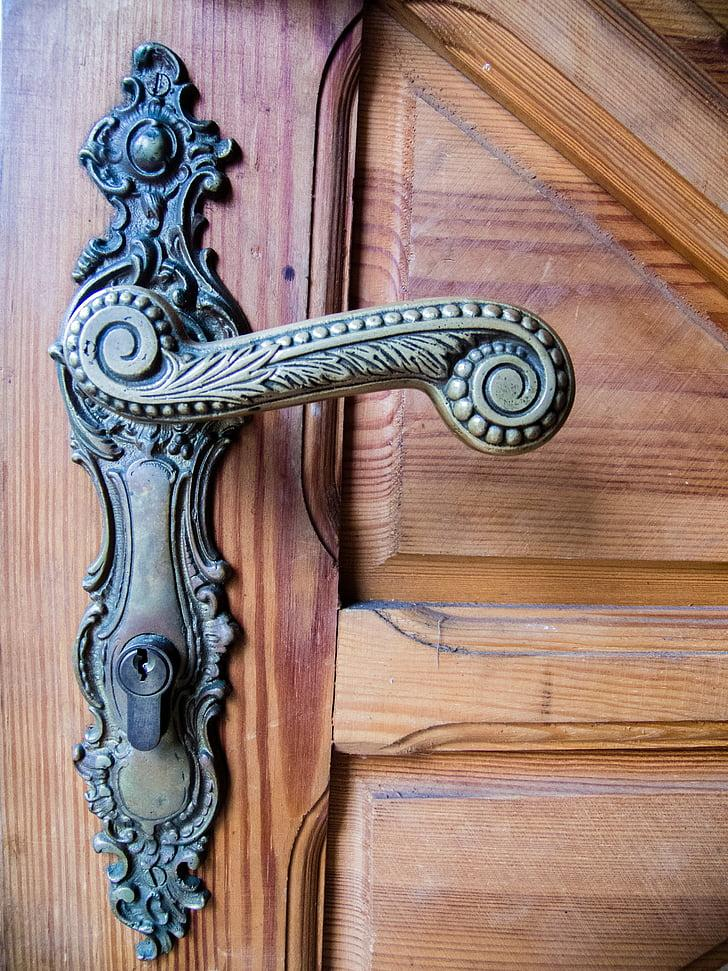
Door Handle Height: The Direct Answer
| Door condition | Planning position | What controls the final location |
|---|---|---|
| Accessible door in a U.S. project | Operable part 34–48 in above finished floor | Applicable accessibility and building requirements, approved door schedule and hardware set |
| Typical residential interior door | 36 in is a common preparation centerline, not a universal rule | Door and lock manufacturer template, owner requirement and local code |
| Custom, child-focused or assisted-living use | May require project-specific coordination | Accessibility strategy, user brief, code and responsible designer |
| Existing door replacement | Often follows the existing preparation if compliant and reusable | Existing bore, backset, latch alignment, replacement hardware and renovation scope |
The U.S. Access Board’s ADA Standards, §404.2.7, state that operable parts of hardware on accessible doors and gates are 34 to 48 inches above the finish floor or ground. Projects outside the United States, and doors not covered by that provision, should be checked against the rules adopted for the project location.
Measure from the Finished Floor
Measure vertically from the top of the final floor finish to the centerline or operable part identified in the hardware template. Do not measure from an unfinished structural slab unless the floor build-up has been added to the dimension.
- Confirm the final floor level on both sides of the opening.
- Identify the exact lockset, lever, pull, panic hardware or access-control device.
- Read the manufacturer’s door-preparation template and note the backset and bore sizes.
- Mark the hardware centerline from the finished floor with a tape and level.
- Check alignment with the latch, strike, stile width, glazing and other hardware.
- Record the approved height in the door and hardware schedules before fabrication.
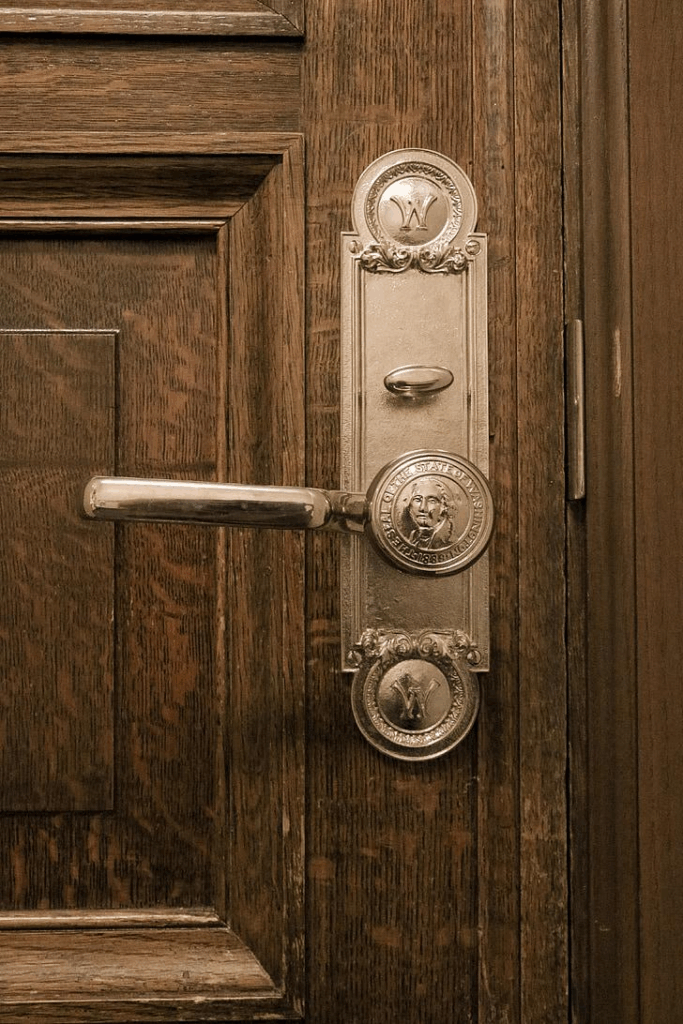
Factors That Change Hardware Placement
Door construction and stile width
Timber, metal, aluminum-framed and glass doors use different lock preparations. Narrow stiles may restrict the lock body, cylinder and backset. Fire-rated or tested door assemblies should only use preparations and hardware permitted for that assembly.
Hardware function
Lever handles, knobs, pull handles, panic devices and access-control readers are not interchangeable. Accessibility provisions also address how hardware is operated; a compliant height alone does not make a hardware set accessible.
Floor transitions
Tile, stone, timber and carpet build-ups can create different finished levels. Where levels vary at an opening, the responsible designer should identify the reference side and ensure thresholds, clearances and hardware remain coordinated.
Multiple hardware items
Deadbolts, privacy turns, card readers, door viewers and pull handles can create a vertical group. Check reach ranges, clearances and the manufacturer’s fixing zones instead of spacing items by appearance alone.
Coordinate the Door and Hardware Schedule
A coordinated schedule prevents different suppliers from using conflicting assumptions. Start with the opening size and frame condition, then record the door leaf, handing, hardware function, finish and preparation. For related opening information, see the guide to measuring a door jamb and the door and window product range.
| Schedule field | Information to confirm |
|---|---|
| Door mark and room | Unique opening reference and location |
| Leaf and frame | Material, thickness, stile width, handing and fire/acoustic requirement where applicable |
| Finished floor | Datum, build-up and threshold condition |
| Lockset | Manufacturer, series, function, backset, bore and strike |
| Mounting height | Dimension to the defined operable part or centerline |
| Additional devices | Deadbolt, reader, panic device, closer, hold-open, viewer and door stop |
| Approval evidence | Hardware data, template, sample, finish reference and coordinated drawing |
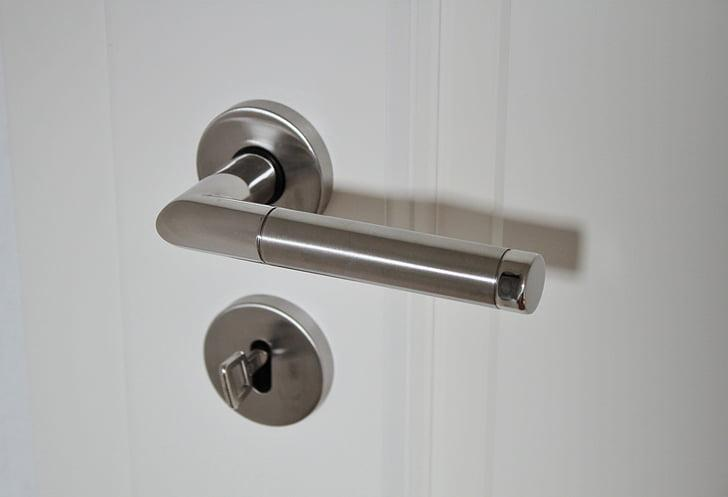
Installation Checks Before Handover
- Check the handle against the approved schedule and finished-floor datum.
- Confirm the latch enters the strike without forcing or lifting the leaf.
- Verify the lever or knob returns correctly and fixings are secure.
- Check seals, closers and access-control devices without changing approved door clearances.
- Operate each door from both sides and record defects by door mark.
- Use the manufacturer’s cleaning and lubrication instructions; avoid products that can damage the finish or lock mechanism.
Door Hardware RFQ Checklist
- Door and frame schedule with opening marks
- Plan, elevation and finished-floor information
- Door material, thickness, stile dimensions and handing
- Required lock functions and access-control interfaces
- Applicable accessibility, fire, egress or acoustic requirements
- Hardware finish, keying plan and sample requirements
- Approved mounting heights and manufacturer templates
- Quantities, spares, labeling, packing and delivery destination
George House Material can coordinate door and hardware selections as part of a wider material package. Send the available schedules, drawings and hardware requirements through the project enquiry page so missing inputs can be identified before quotation.
Frequently Asked Questions
What is the standard door handle height?
For accessible doors covered by U.S. ADA requirements, the operable hardware is 34 to 48 inches above the finished floor. A 36-inch preparation is common on many residential doors, but the project rules and selected hardware template should be checked.
Do you measure from the slab or finished floor?
Measure from the final finished floor. If the floor has not been installed, add the approved build-up to the structural slab level and record the datum on the door schedule.
Can every handle be moved to a preferred height?
No. The lock body, stile width, glazing, reinforcement, certification and existing bore can restrict the preparation. Confirm the exact door and hardware system before drilling or ordering a custom preparation.