By George House/23,Sep,2025
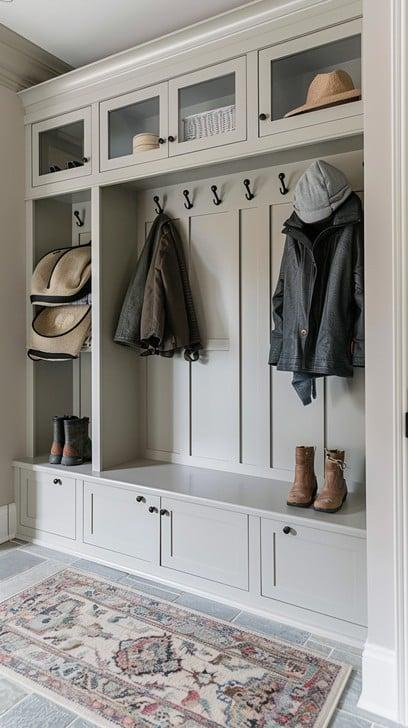
A mudroom bench can combine seating, shoe storage, hooks and enclosed cabinets in one entry zone. Its usefulness comes from fitting the household, room and construction—not from a universal “best” design or an assumed increase in property value. The following planning method helps turn an inspiration image into a coordinated bench package.
Measure the Entry Before Choosing a Layout
Start with a measured plan and wall elevation. Record the available width, ceiling height, door swing, baseboards, outlets, switches, vents and any window trim. Keep required circulation and door clearances open. Bench height and depth should suit the intended users and project requirements; they should not be copied from a photograph without checking the room.
Count the people and items the bench needs to serve. A household storing boots, school bags and sports equipment needs a different configuration from a compact apartment entry. Decide whether wet footwear will be kept inside the unit and how the area will be cleaned.
Choose the Mudroom Bench Type
Built-In Bench
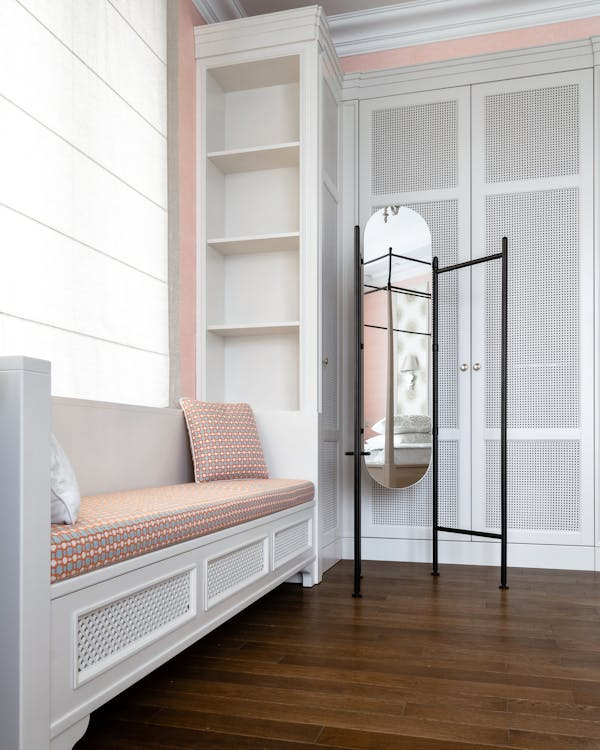
A built-in bench can use the full wall and align with tall cabinets, overhead storage and wall panels. It requires accurate site dimensions, coordination with skirting and services, and a clear fixing method. Confirm whether installation happens before or after finished flooring and painting.
Freestanding Bench
A freestanding unit is easier to reposition and may suit rental or phased projects. Check stability, floor protection and whether the unit needs restraint against tipping, especially when it includes tall storage or hooks.
Bench With Open or Closed Storage
Open cubbies provide quick access but expose visual clutter. Drawers and doors hide contents but need handle clearance and room to operate. For damp shoes or outdoor gear, confirm ventilation, removable trays and moisture-resistant interior surfaces rather than assuming a closed box will remain dry.
Materials, Finishes and Hardware
Specify the carcass, visible panels, seat top, edge treatment and back panel separately. Painted MDF, plywood, laminates, solid wood and metal each have different appearance, repair and moisture considerations. Request physical finish samples and cleaning instructions. If shoes regularly bring in water or salt, identify those exposure conditions in the RFQ so the supplier can propose suitable panels, edges and hardware.
Hardware should be selected by function and verified against the supplier’s load and installation instructions. State drawer type, hinges, hooks, handle projection and any soft-close requirement. Wall-mounted components need a fixing design appropriate to the actual wall construction; decorative wall panels alone should not be treated as structure.
Coordinate the Bench With the Entry
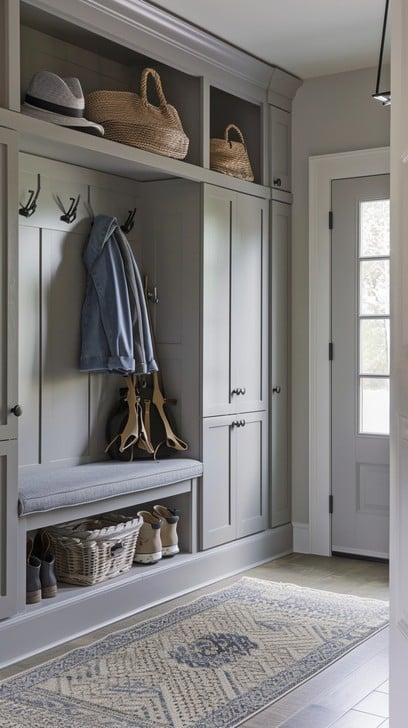
Use the same finish schedule for the bench, adjacent front door, wall paint, flooring and nearby cabinetry. A durable floor finish and a planned cleaning zone often matter more than adding decorative details. If the bench connects to a cabinet package, coordinate it through the cabinet and wardrobe hub.
Mudroom Bench RFQ Checklist
- Dimensioned plan, wall elevation and site photos
- Door swings, circulation, outlets, vents and trim locations
- Bench users, storage quantities and wet-item conditions
- Carcass, seat, exposed panel and interior materials
- Color, sheen, edge details and approved samples
- Drawer, door, hook and restraint requirements
- Wall construction, fixing responsibility and installation sequence
- Shop drawings, sample approval, packing and delivery scope
For a coordinated entry package, review decorative front door options and closet planning considerations. To request a bench quotation, send the measured drawings and finish references.