By George House/09,Sep,2025
Replacing an old, drafty door with a shiny new one is one of the most satisfying DIY projects one can take. If you’re up to the task and have a little bit of handy knowledge, it’s actually not that difficult to do. Especially with pre-hung doors, which come with the frame, hinges, and slab as a single unit.
This blog will be your guide to hanging an exterior door, breaking down the process into manageable phases, so you can absolutely handle it yourself.
Phase 1: Pre-Installation Prep & Tools You’ll Need
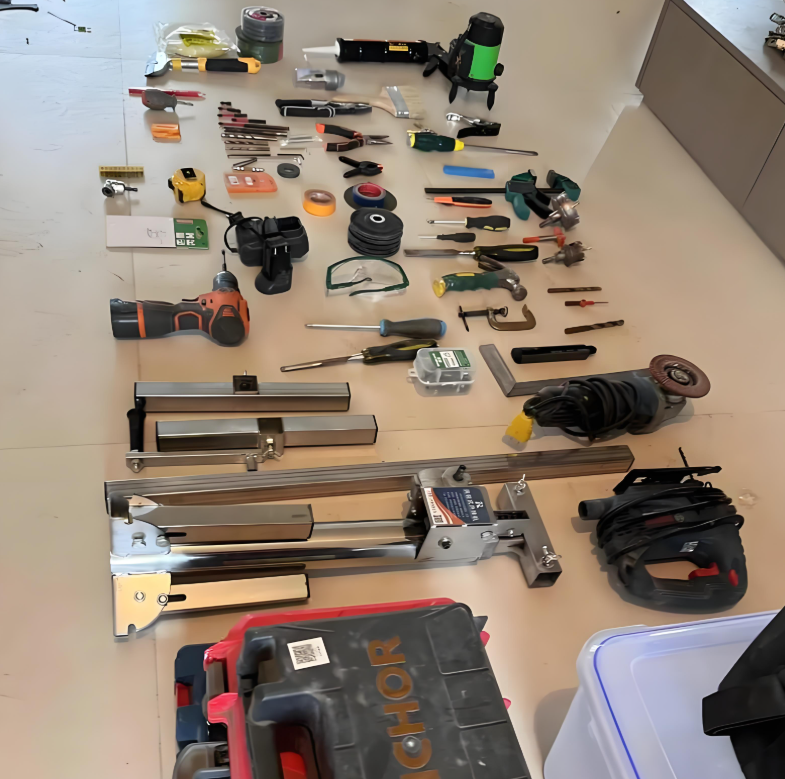
Let’s start with preparation so you’re not scrambling in the mid-project. You’ll need:
- Tape measure
- Hammer or pry bar
- Level (a 4-foot level is best)
- Utility knife
- Screwdriver or drill
- Shims
- Exterior caulk and gun
- Nails or screws suitable for framing (at least 3 inches long)
Once you’ve got your gear, measure the rough opening. Measure the width and height of the opening from the rough framing (the studs, not the old trim). Your new exterior door will be at least 2 inches narrower and 2.5 inches shorter than these measurements to allow space for shimming and adjusting. Here is a short guide on door sizes.
Double and triple-check these numbers before you start. If it goes wrong afterwards, you’ll need extensive fixing to adjust the new door.
Phase 2: Removing the Old Door and Prepping the Opening
This part needs a bit of strength and handling, so better get someone to help if you can.
1: Remove the Old Door
Begin by removing the door from its hinges. Remove the hinge pins and lay the slab aside carefully. Reserve the hardware if you wish to reuse it, but most new pre-hung units are shipped with new hardware.
2: Remove the Old Frame
Pre-hung doors are installed as one unit, so the whole old frame will have to come out.
First, carefully pull out the interior trim (casing) using your pry bar. Start by scoring the paint on the edge of the trim with a utility knife first to achieve a clean break and preserve the finish on your wall.
Next, pry the old jambs out of the rough opening using your hammer and pry bar. Usually, they are fastened to the framing studs with nails. Try not to splinter the wood or harm the nearby structure by working slowly.
3: Inspect and Clean
You can see your wall’s skeleton once the frame is removed. Check for warping, rotting, or water damage on the sill and surrounding studs. Repair any issues you find now. Clear away any remaining nails, caulk, or debris so that the new frame lies flat.
4: Dry-Fit the New Door
Before you lock anything, set the pre-hung door into the opening to ensure proper fit. It should be relatively plumb and level by itself, with an equal gap around the whole unit. If you need to make adjustments, you’ll discover now instead of halfway through installation.
Phase 3: The Step-by-Step Installation Process
Now for the main event: getting your new door perfectly seated, square, and secure.
Step 1: Apply Flashing and a Bead of Caulk
Before setting the new door, protect the sill area from moisture. Apply a strip of self-adhesive flashing tape across the top of the rough sill, extending a few inches up the jack studs. Then, run a generous bead of exterior-grade silicone or polyurethane caulk along the back of the door’s brick molding (the exterior trim) and on the sub-sill. This creates a watertight base for your pre-hung unit.
Step 2: Set the Door in Place
Lift the pre-hung door into the opening and center it carefully on the sill. Having a helper makes this step much easier. Push it snugly against the caulk and check that the hinge side of the frame is tight against the studs.
Step 3: Check for Plumb and Level
Using your 4-foot level, ensure the hinge side is dead plumb (completely straight up and down). Check the head jamb (top) for plumb as well to ensure it is level. Adjust the frame if either side is not level. Your door won’t function properly if this groundwork isn’t correct, so be patient.
Step 4: Secure the Hinge Side
After the hinge side is plumb, partially screw single 3-inch screws through the jamb into the top hinge area of the framing stud. Begin at the top hinge, work down toward the bottom, checking it for plumb in between. Tighten all, once it all looks great. Only hold this side in place for now—you’ll make the final adjustments to the other sides later, after shimming.
Step 5: Shim and Secure the Latch Side and Head
On the latch side, place shims behind the jamb at the latch points and the head jamb. These shims ensure the frame remains square and won’t warp. Install screws through the jamb and shims into the studs, cutting off excess shim material afterwards.
Step 6: Check Operation
Swing the door open and closed several times. It should move smoothly without rubbing or binding. Check the latch and make sure the reveal (door gap) is even. If anything doesn’t feel right, adjust the shims before continuing.
Step 7: Insulate and Airtight
Lastly, plug the jamb gaps with low-expanding spray foam or fiberglass batts. Don’t overfill it—this can bow the frame. Once it hardens, add flashing tape around the exterior sides as an additional weather seal.
Phase 4: Finishing Touches
The door is now secure, and it’s time to put the finishing touches.
- Mount the handle set and deadbolt by following the manufacturer’s instructions.
- Replace or reattach outside trim to conceal gaps and create a clean appearance.
- Inside, add interior casing to fill the rough opening edges.
- Seam caulk and touch up with stain or paint if necessary.
These last steps polish the project and make it professionally finished.
Conclusion
Hanging an exterior door requires patience, accuracy, and a little muscle, but it’s an easily accomplishable DIY job. The preparation, removal, installation, and finishing procedures mentioned above will result in a secure, weatherproof door that improves curb appeal and energy efficiency. Go slow, measure twice, and you’ll have finishes you can boast about every time you enter your new entrance.
If you’re ready to get new exterior doors, check out a vast collection by George Group. They also provide professional consultations to make sure your doors don’t just look good—but also fit perfectly.