
By George House/05,Feb,2026
The most useful outdoor lighting ideas begin with the space, not the fixture. An entrance needs clear wayfinding, a patio needs comfortable ambient light, an outdoor kitchen needs focused task light, and a façade may need restrained accent light. Treating each zone separately—and then coordinating the zones as one system—helps avoid glare, dark gaps and an inconsistent nighttime appearance.
For a new build or renovation, review the lighting layout alongside architecture, landscape, electrical and drainage drawings. The project-specific fixture schedule can then align mounting locations, power, controls, finishes and access for maintenance. George House Material’s project lighting solutions page explains how fixture selection and technical coordination can fit into a wider building-material package.
Plan Outdoor Lighting as a System
Start by marking circulation routes, changes in level, doors, seating, food-preparation areas and architectural features. Assign one purpose to each light: ambient, task, accent or wayfinding. A fixture can serve more than one purpose, but the drawing should show why it is there. This prevents decorative fittings from being expected to solve every visibility requirement.
Next, divide the property into control zones. Entries, paths, dining areas and feature lighting rarely need the same operating schedule. Switching, dimming, timers, sensors and smart controls should be confirmed before conduits and junction boxes are fixed. For existing buildings, the planning questions in this LED retrofit guide are also useful when surveying circuits, access and compatibility.
Five Checks Before Selecting Fixtures
1. Define the Lighting Purpose
Record the activity, viewing direction and operating time for each zone. Path lighting should help people read edges and level changes; task lighting should reach the work surface; accent lighting should reveal a selected material or form without becoming the brightest element in view.
2. Confirm Exposure and Rating
A covered porch, open garden, coastal site and poolside zone do not create the same exposure. Ask the electrical designer or supplier to confirm the required outdoor or wet-location rating, material, sealing method and corrosion-resistance requirements for the actual site. The selected rating should appear on the fixture schedule and product submittal rather than being assumed from appearance.
3. Control Glare and Spill
Shielding, beam angle, mounting height and aiming all affect visual comfort. Review the likely line of sight from doors, windows, seating and neighboring properties. A photometric layout or a site mock-up can help verify coverage before the full quantity is ordered.
4. Coordinate Style and Finish
Match the fixture scale and geometry to the architecture, then compare finish samples with doors, windows, railings, stone and other exterior materials. A coordinated family of wall, ceiling and landscape fittings usually creates a clearer result than unrelated decorative pieces.
5. Plan Access and Maintenance
Confirm how drivers, lamps, batteries, lenses and seals will be inspected or replaced. Avoid locations that require unnecessary removal of ceilings, cladding or fixed furniture. For grouped fixtures, document replacement components and finish references so later maintenance does not introduce visible mismatches.
Nine Outdoor Lighting Ideas by Area
1. Porch Ceiling Pendants
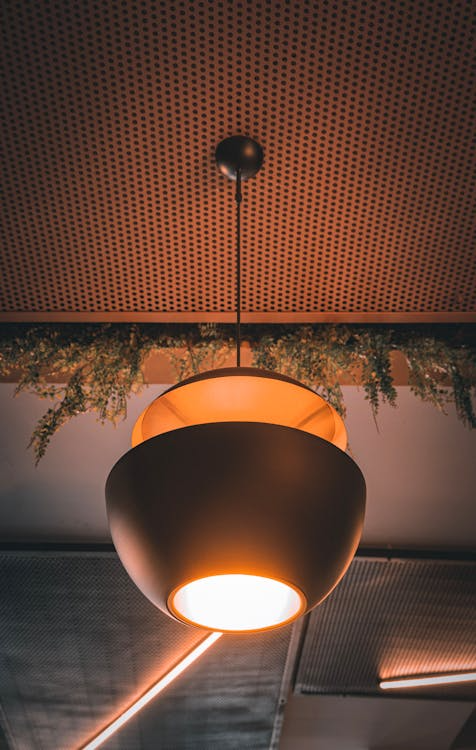
A pendant can define a covered entrance and provide a visual center above the approach. Check ceiling height, door swing, wind exposure and the view from inside. Pair the pendant with discreet wall or path lighting when one central source cannot cover the full route.
2. Layered Patio Lighting
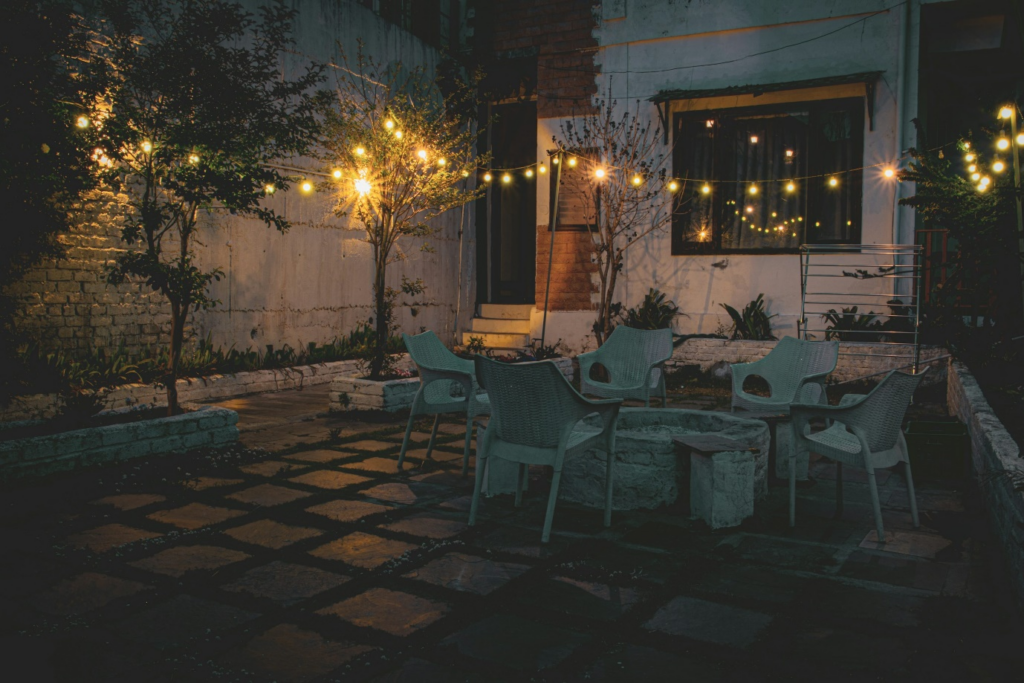
Combine a soft ambient layer with light at steps, doors and serving points. String lights can establish a ceiling plane, while shielded wall or landscape fixtures improve orientation around the perimeter. Keep direct sources outside the main seated sightlines.
3. Outdoor Kitchen Task Lighting
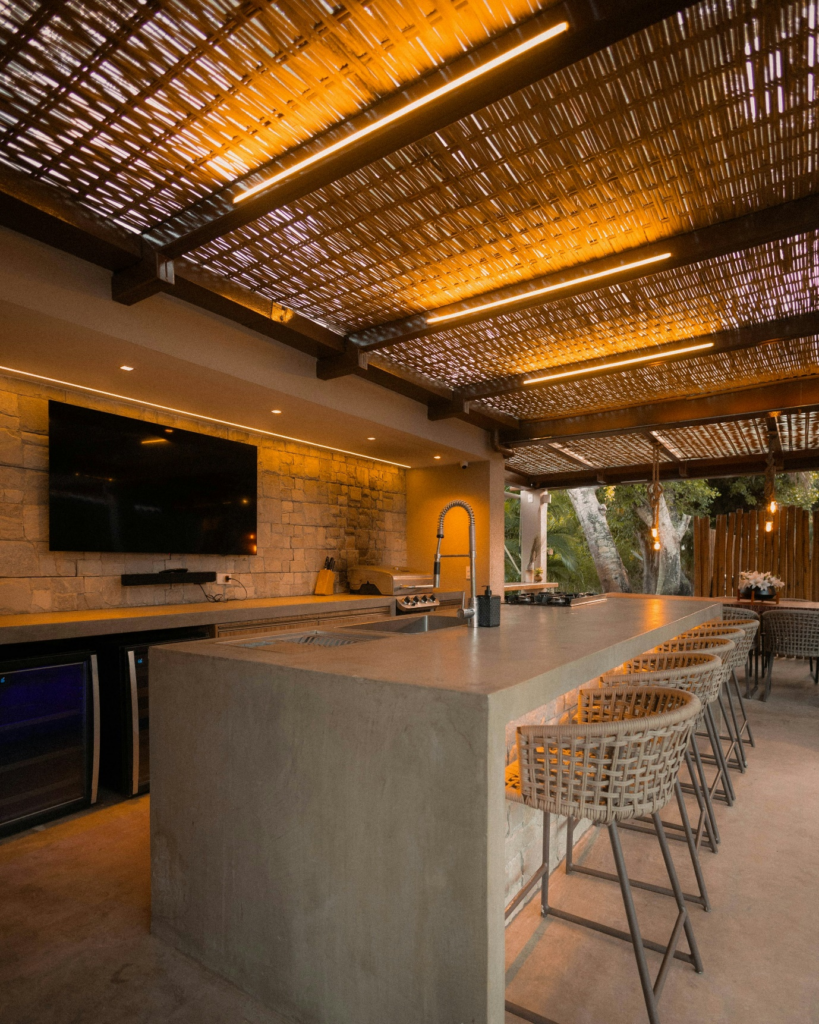
Place task light so the user does not cast a shadow across the counter or grill. Coordinate the luminaire with the hood, appliance clearances, heat sources and cleaning routine. Separate cooking-zone controls from general patio lighting so the work surface can be brighter without over-lighting the seating area.
4. Wraparound Porch Lighting
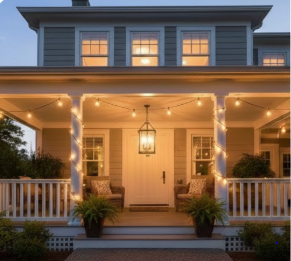
Use a repeatable spacing module around long porches, then adjust at corners, doors and steps. Wall lights can support vertical brightness while ceiling fixtures fill the circulation zone. Review the full elevation to prevent a crowded rhythm or dark corners.
5. Portable Floor Lanterns
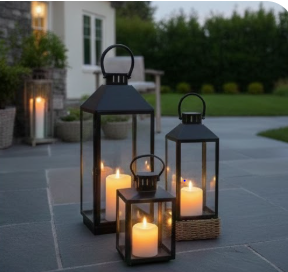
Portable lanterns add a low decorative layer beside seating or planting. Keep them outside circulation routes and confirm stability, charging access and exposure limitations. Solar versions also need adequate daytime sun at the final position; they should not be the only light for a critical path or step.
6. Integrated Pergola Lighting
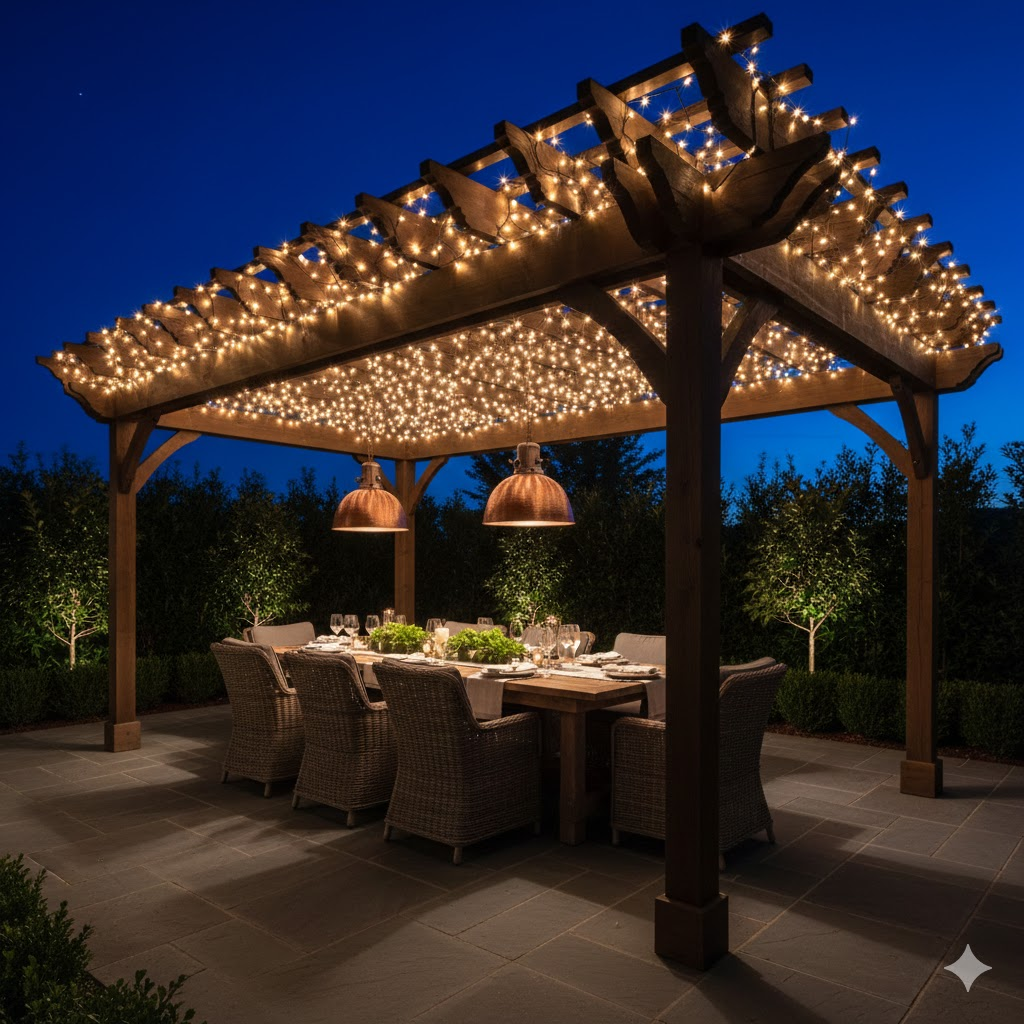
Downlights, concealed linear light or suspended decorative fittings can be coordinated with the pergola structure. Use the pergola design guide to define the layout and material direction, then check the roofed pergola planning guide when drainage, roofing and concealed services affect the lighting detail.
7. Outdoor Dining Pendants
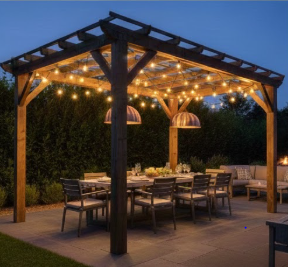
Center decorative light on the table position, not automatically on the ceiling bay. Confirm the final furniture plan, suspension height and wind movement before fixing the outlet. A dimmable circuit allows the dining layer to be adjusted independently from task and path lighting.
8. Under-Eaves Lighting
Small downlights or concealed linear fixtures can reveal the roofline and illuminate the wall below. Coordinate locations with rafters, gutters, vents and access panels. Wide spacing may create isolated pools of light, while excessive quantity can flatten the façade and increase glare.
9. Stone Wall Grazing Light
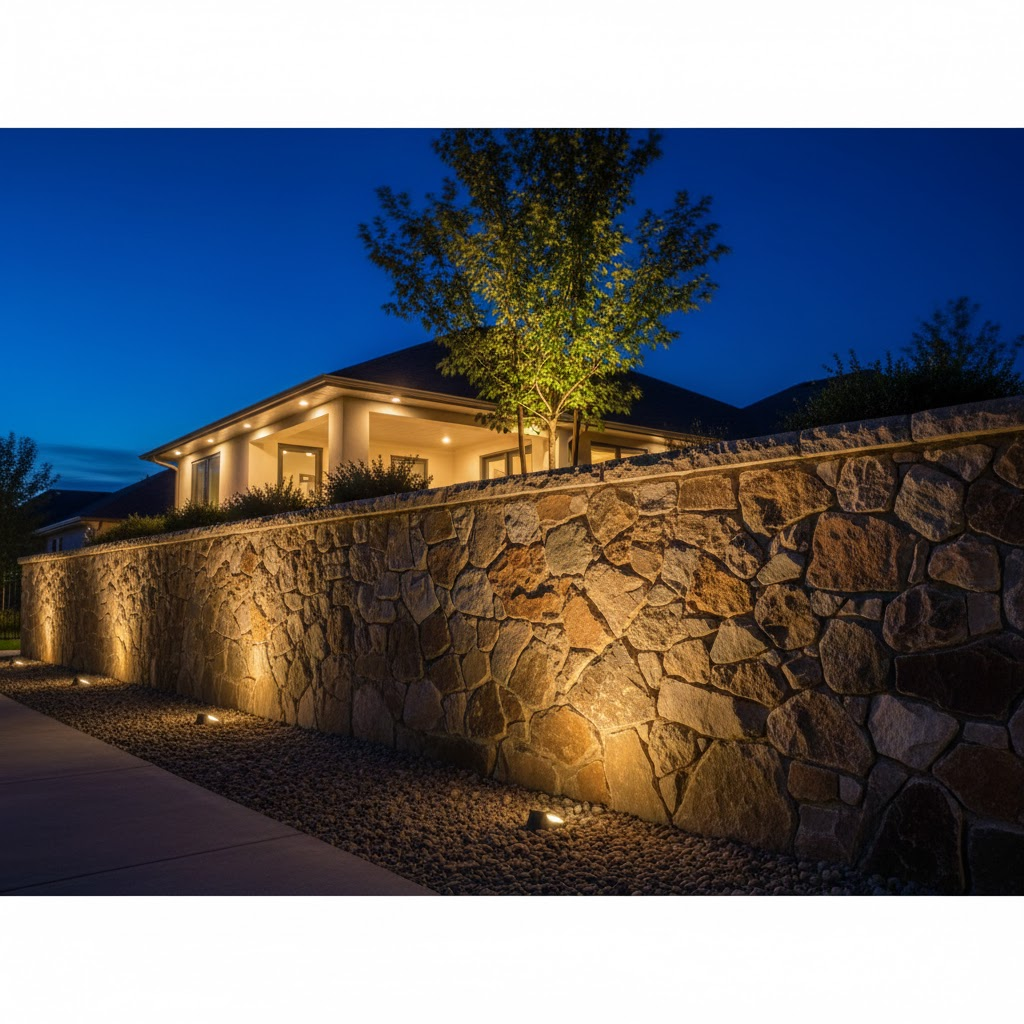
A narrow beam placed close to textured stone can emphasize relief and shadow. Test the fixture offset and aiming on a representative wall sample because roughness, joint depth and surface color change the result. Keep the source shielded from the main viewing direction.
Outdoor Lighting RFQ and Coordination Checklist
- Site plan, reflected ceiling plan or elevations with fixture references and mounting positions
- Fixture schedule with quantity, dimensions, finish, light source, beam, control and required rating
- Electrical requirements, driver location, dimming protocol, sensor or timer logic and circuit zoning
- Project climate and exposure, including open weather, coastal air, poolside or covered locations
- Finish samples and coordination references for doors, windows, railings, stone and landscape elements
- Required shop drawings, product data, photometric files, sample or mock-up review and approval sequence
- Packaging labels, spare components, maintenance access and replacement-part information
Coordinate Your Outdoor Lighting Package
A strong outdoor lighting package connects design intent with verifiable fixture data and buildable interfaces. Before ordering, align the drawing, schedule, samples, controls and quantities, then record approved substitutions and finish references. To discuss a project-specific quotation or coordinated lighting schedule, send your BOQ, drawings or material list.




