
Small walk-in closet ideas work best when every cabinet, opening and light fitting responds to the real room. A tight closet does not need the most shelves. It needs the right storage in the right order, a clear route through the space and enough room to open every moving part.
This guide focuses on compact-room decisions: storage priority, vertical use, entrance and drawer clearance, lighting and site coordination. For planning widths and measured circulation ranges, use the minimum walk-in closet size guide. For broader layout, finish, hardware and drawing systems, see the walk-in closet design guide.
Treat the room as a finished envelope before choosing a style. Cabinet depth, door thickness, handles, skirting, wall variation and clothing projection all reduce the space shown on an empty plan. The design should be checked in plan and elevation with doors and drawers shown open.
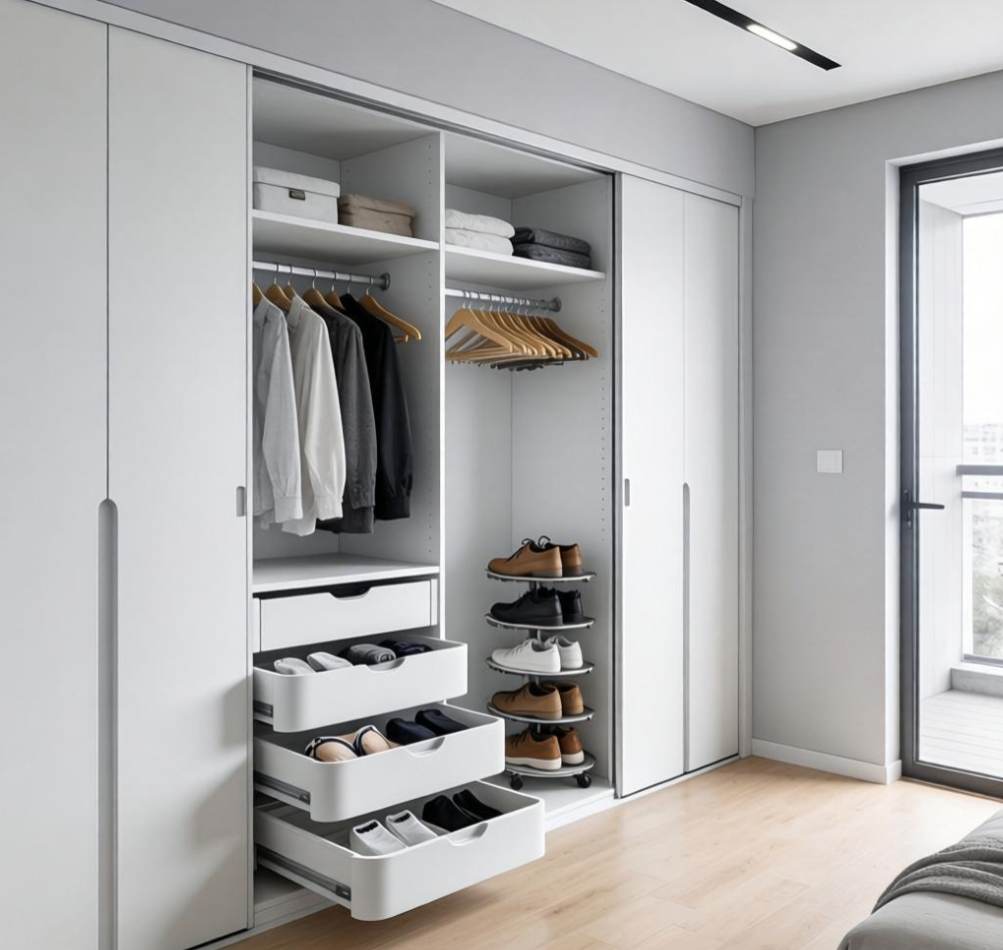
Start With the Finished Room
Measure the closet after the relevant wall, floor and ceiling build-ups are known. Record the entrance position and swing, windows, columns, beams, sloped ceilings, skirting, sockets, vents, access panels and any wall area that cannot receive fixings. Note where the installer can assemble tall units and how panels will enter the room.
A narrow area beside a door may look available but fail once the handle, architrave and cabinet front are drawn together. A high shelf may conflict with a ceiling bulkhead or light fitting. A full-height panel may be impossible to rotate into place. Mark these constraints before dividing the room into storage modules.
- Measure wall lengths at more than one height and record any variation.
- Show the entrance door and every wardrobe door drawer and pull-out in the open position.
- Mark finished floor level skirting wall trim sockets vents access panels and fixed services.
- Record ceiling height bulkheads beams sloped areas and the intended lighting positions.
- Confirm the delivery route and the largest panel or assembled unit that can enter the room.
Set the Storage Priority Before Adding Cabinets
Start with the wardrobe rather than a photograph. Count the items that need long hanging, short hanging, folded storage, drawers, shoes, bags and upper storage. Separate daily items from occasional and seasonal items. This makes it possible to protect the most useful zones when the room cannot accommodate every request.
| Priority | Typical contents | Compact storage response | Approval check |
|---|---|---|---|
| Daily | Frequently worn clothes shoes and accessories | Keep within easy sight and reach near the entrance or main working side | No door drawer or handle conflict during the normal routine |
| Regular | Workwear folded garments bags and shared items | Use the main hanging shelf and drawer modules after daily items are assigned | Every category has a named zone and realistic capacity |
| Occasional | Formalwear spare bedding and less-used accessories | Place beyond the main preparation zone without blocking daily storage | Access does not require unloading another compartment |
| Seasonal | Luggage off-season clothing and archived items | Use selected upper zones with a planned access method | Weight door operation and safe retrieval are resolved |
Leave capacity unassigned only when the project has a clear reason for future adjustment. An excessive number of small shelves can reduce hanging space and create compartments that are too shallow, too high or too narrow for the intended item. Adjustable shelves help only when the cabinet drilling, door hardware and stored items allow useful positions.
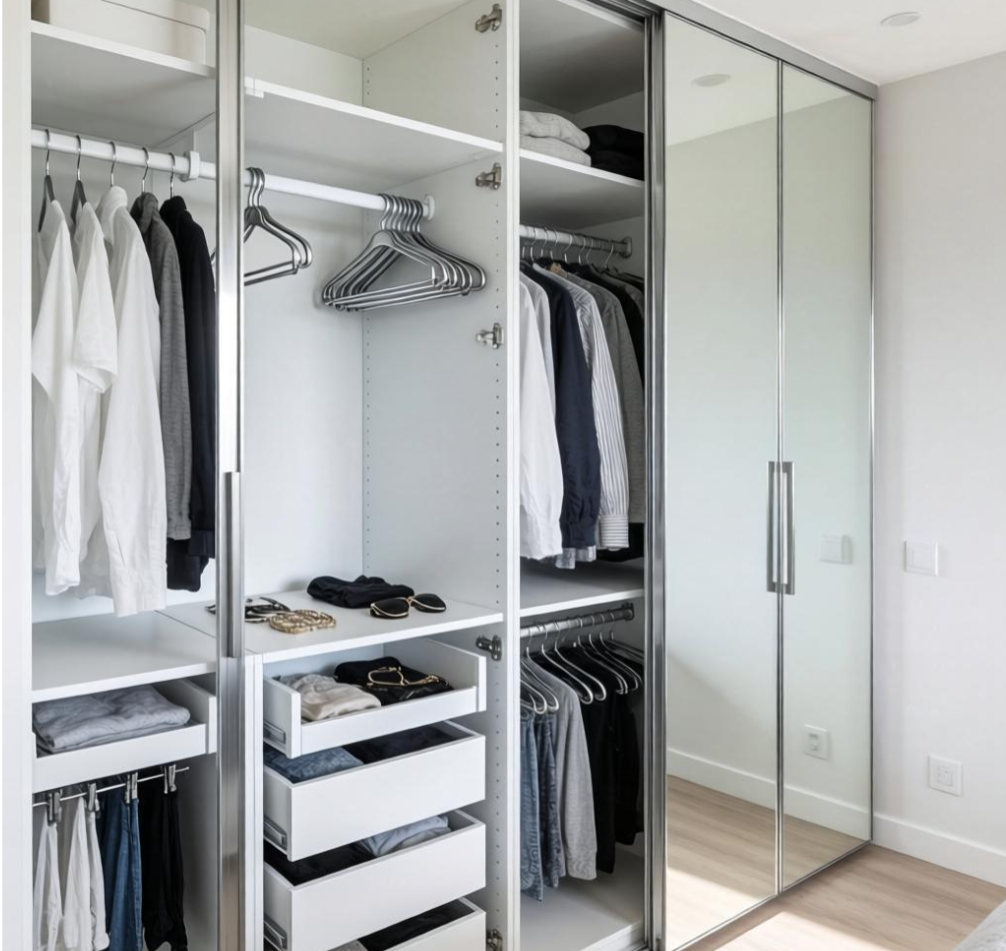
Choose a Layout That Protects the Working Aisle
The layout should follow the usable room after storage depth and moving parts are included. Compare the options with the same wardrobe schedule instead of assuming that three storage walls always outperform one or two. The closet depth guide explains how overall cabinet depth differs from usable internal depth.
Single Wall Layout
A single-wall layout is often the clearest option for a narrow room. Concentrate hanging, drawers and upper storage on one side and keep the opposite wall free of projecting shelves, handles and hooks. Use the vertical elevation to combine short hanging above drawers or shelves where the wardrobe inventory supports that arrangement.
L Shaped Layout
An L-shaped layout can add capacity without closing both sides of the passage. Assign the long wall to the highest-priority storage and use the shorter return for a secondary function such as shoes, folded items or a mirror. Resolve the inside corner deliberately. Drawers and hinged doors placed too close to the meeting point can block one another.
Compact U Shaped Layout
A U-shaped arrangement should be used only when the finished passage remains workable with clothing, handles and open components shown. Keep the back wall shallower or use it for a specific category if three full-depth runs make the center too tight. When a U-shaped layout fails the movement test, reducing one side usually produces a more useful closet than reducing every storage module.
| Layout | Best room condition | Main benefit | Conflict to test |
|---|---|---|---|
| Single wall | Narrow or irregular room with one reliable storage wall | Keeps the opposite side open and simplifies installation | Entrance swing drawer extension and projections from the clear wall |
| L shaped | Two usable adjoining walls with a door window or service zone elsewhere | Separates primary and secondary storage | Inside corner access and doors or drawers meeting at ninety degrees |
| Compact U shaped | Room that retains a workable center after all storage is drawn | Uses three walls for defined categories | Narrowest passage simultaneous opening and inaccessible back corners |
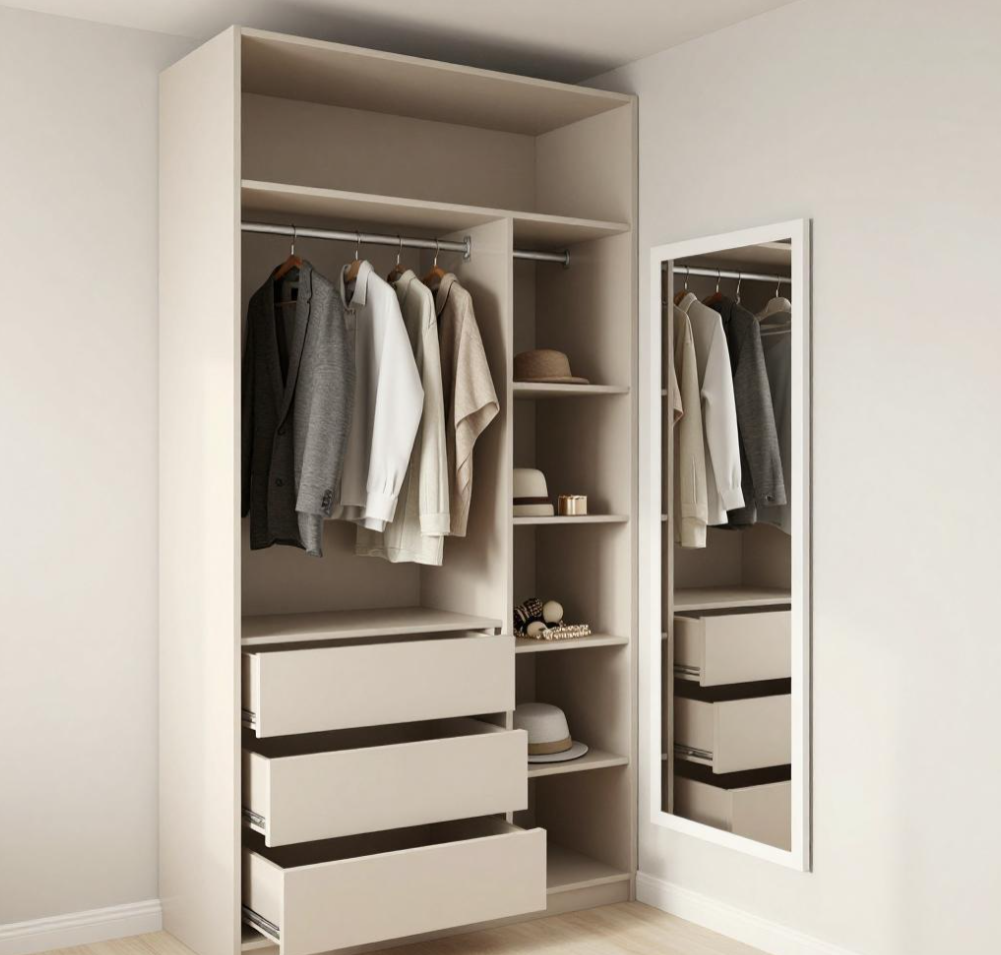
Use Height Without Creating Dead Storage
Keep Daily Items in the Main Use Zone
Place frequently used hanging, drawers and open shelves where the user can see and operate them without moving another item. Use vertical stacking when the functions are compatible, such as short hanging above a drawer bank or folded storage above shoe shelves. Keep handles, pulls and shelf edges clear of the normal movement path.
Reserve Upper Storage for Defined Items
High cabinets are useful when their contents and access method are decided in advance. Assign luggage, labeled seasonal boxes or low-frequency items rather than treating the full ceiling height as generic capacity. Check lift-up fronts, hinged doors, lighting and ceiling services in elevation. Do not place a heavy or frequently used item in a position that is difficult to reach safely.
A continuous top shelf can make a small room look organized, but it may hide ventilation grilles, drivers, junction boxes or access panels. Break the upper run where maintenance or air movement requires access. Record the change on the elevation so it is not closed during fabrication.
Protect Door Drawer and Handle Clearances
Check the Entrance First
Draw the room entrance in its full operating position. A door that swings into the closet can block a drawer, mirror or the first cabinet module. A sliding or pocket entrance avoids a swing arc but introduces track, pocket, handle and wall-service constraints. Select the entrance system as part of the room plan rather than after the wardrobes are detailed.
Show Every Moving Component Open
A closed elevation can hide the most important conflict. Show drawer fronts at full extension, hinged wardrobe fronts at the intended angle and pull-outs in their working position. Include the user’s standing space in front of each active component. If two components cannot be used together, decide whether that is acceptable and record the operating sequence.
Resolve Corners and Opposing Runs
Inside corners need a stopping rule. One run may continue while the other stops short, or a corner shelf may replace competing doors and drawers. On opposing runs, handles and open fronts should not create a pinch point. Check the narrowest condition rather than the average aisle on the plan.
| Component | Open condition to draw | Typical conflict | Required decision |
|---|---|---|---|
| Room entrance | Full swing stack or pocket position | Blocks first cabinet mirror or standing space | Door type handing and clear wall zone |
| Wardrobe front | Hinged sliding folding or open front in use | Handle collision panel overlap or reduced access | Opening system hardware and internal module alignment |
| Drawer | Front and box at full working extension | Meets opposite storage or entrance door | Drawer depth runner and standing position |
| Pull out accessory | Basket rack mirror or rail fully deployed | Interferes with adjacent shelf door or user | Accessory model cabinet reference and operating sequence |
| Inside corner | Adjacent components in their worst combined position | Dead zone trapped handle or blocked drawer | Which run continues and where the other stops |
Match Storage to the Actual Wardrobe
Compact storage works when each module has a defined purpose. Long garments need uninterrupted drop space. Short garments may allow double hanging or drawers below. Folded knitwear needs shelf spacing that keeps stacks visible. Shoes, bags and accessories need quantities and sizes rather than a generic accessories cabinet.
- Count hanging length by garment type and separate long from short items.
- Size drawers around the contents dividers and runner system instead of repeating one drawer height.
- Count shoes by category and include boots boxes or angled shelves only where needed.
- Assign bags and accessories to shelves drawers hooks or pull-outs with a named cabinet reference.
- Keep laundry charging valuables or dressing functions only when their services and daily use are resolved.
If the room cannot support the required inventory without losing a usable passage, compare other closet types. A reach-in or fitted wardrobe may provide better access than a walk-in room with storage that is too deep or too difficult to operate.
Use Open and Closed Storage Deliberately
Open storage keeps contents visible and removes door-swing conflicts, but it also exposes visual variation, dust and edge details. Closed fronts reduce visual clutter but require hinges, tracks, handles and operating space. A compact room often works well with open hanging for daily items and selected closed drawers or cabinets for small accessories and seasonal storage.
Sliding fronts can reduce outward projection, but panel overlap limits access to part of the cabinet at one time. Hinged fronts can expose a full compartment, but the leaf and handle occupy the aisle. Do not describe one door type as universally space saving. Match the opening system to the module width, user routine and available clearance.
Coordinate Lighting With Shelves Mirrors and Finishes
Light the Storage Faces
A ceiling light behind the user can leave hanging and drawer interiors in shadow. Position ambient and cabinet lighting so the fronts of clothes, shelves and mirrors can be viewed without glare. Test the light against the final shelf lines and door positions. A fitting centered in the empty room may be poorly placed after full-height cabinetry is installed.
Record the Light Source and Controls
The U.S. Department of Energy’s LED basics distinguishes the color appearance of a light source from how it renders object colors. For a closet specification, record the fixture or strip model, color setting, driver, dimming or switching method and intended mounting detail. Review clothing, mirrors and cabinet finishes under the selected product rather than a temporary site lamp.
Keep drivers, sensors and junction points accessible for inspection and replacement. Confirm heat management, wiring routes and required clearances from stored items using the selected product data and applicable electrical requirements. Show cable exits and maintenance panels on the wardrobe drawing so they are not hidden behind fixed backs or top panels.
Keep Services and Site Conditions Visible
A wardrobe can cover more than the wall surface. It can also cover sockets, data points, ventilation grilles, access hatches, floor transitions and future maintenance routes. Decide which services will move, remain exposed or be integrated into the cabinetry before production. Do not cut panels on site around an uncoordinated outlet unless the finish and edge treatment have been approved.
Check the fixing substrate for rails and tall units. Record fillers and scribes where walls are uneven, and leave enough tolerance for installation without creating a visible gap. Confirm floor level, skirting treatment and ceiling alignment. These details determine whether the finished storage fits the measured envelope and whether doors and drawers can be adjusted after installation.
Reduce Visual Crowding Without Hiding Problems
Use a limited finish palette and repeat module lines where practical. Align drawer tops, shelf edges and door divisions when the storage functions allow it. A mirror can support dressing and reflect light, but its location should be checked against glare, privacy, door movement and the view from the entrance. It does not solve an aisle or storage conflict.
Avoid adding decorative curves, display niches or deep feature cabinets unless they serve the storage brief and fit the clearance study. In a tight room, a special form can consume wall length, complicate edges and reduce standard module capacity. Treat it as a project-specific option rather than a default small-closet solution.
Build the Drawing Check Before Production
The plan, elevations and schedule should describe the same closet. Use the plan to check movement and operating clearances. Use the elevations to assign storage and resolve vertical conflicts. Use sections for cabinet depth, clothing projection, lighting, fillers, ceiling conditions and fixing zones.
- Issue a dimensioned room survey that distinguishes structural and finished dimensions.
- Mark doors windows columns beams skirting sockets vents access panels and ceiling changes.
- Show every cabinet front drawer and pull-out in the open position on the relevant plan or detail.
- Assign long hanging short hanging folded storage shoes bags accessories and upper storage to named modules.
- Schedule panel construction finishes edges hardware runners rails accessories lighting drivers and controls.
- Confirm fillers scribes installation tolerances fixing substrates delivery route assembly sequence and maintenance access.
- Record unresolved items and prevent production release until drawings samples and the storage schedule agree.
The custom wardrobe design page outlines the room, storage, door, material, hardware and installation information needed for a coordinated wardrobe proposal.
Common Small Walk In Closet Mistakes
- Selecting the layout from an inspiration image before measuring the finished room.
- Using every wall for full-depth storage and leaving no workable center passage.
- Adding many shelves without counting hanging length folded items shoes and accessories.
- Ignoring entrance swing drawer extension handle projection and inside-corner collisions.
- Treating high storage as useful capacity without deciding what goes there and how it will be reached.
- Placing a ceiling light without checking shadows shelves doors mirrors drivers and maintenance access.
- Covering sockets vents access panels skirting or uneven walls with an unresolved full-height cabinet run.
- Approving cabinet elevations that do not match the measured plan and open-component clearance study.
Frequently Asked Questions
Which Layout Works Best in a Very Small Walk In Closet
A single-wall layout is often the easiest to coordinate in a narrow room because it keeps one side free. An L-shaped plan can add useful capacity when two adjoining walls remain clear. Use a U-shaped layout only after the finished storage depths, clothing projection and open components leave a workable center.
Should a Small Closet Use Drawers or Open Shelves
Use drawers for items that benefit from containment, privacy or dividers. Use open shelves for folded items, bags or frequently viewed categories. The balance should follow the inventory and the available operating clearance. A drawer that cannot open fully is not useful capacity.
Is an Island a Good Small Closet Idea
An island should not be added unless circulation and drawer operation work on every active side. In many tight rooms, a wall-mounted drawer bank, shallow shelf or separate dressing surface outside the closet preserves more useful movement. Review the minimum-size guide before adding an island to the plan.
How Should Lighting Be Planned in a Small Closet
Place light where it reaches hanging, shelves, drawers and the mirror without being blocked by the user or cabinet fronts. Record the selected product, control method, mounting detail and driver access. Coordinate wiring before full-height panels are released.
Do Accessibility Rules Apply to Every Walk In Closet
No single accessibility rule should be applied to every private closet without checking the project scope. Where storage is provided in a covered accessible space, the applicable scoping, clear-floor-space, reach-range and operable-parts requirements should be reviewed. The U.S. Access Board ADA storage provisions address accessible storage types and reach conditions. The responsible project team should confirm which requirements govern the room.
Prepare the Closet Package Before Ordering
Send the measured plan, elevations, ceiling and floor information, door and window positions, storage inventory, preferred finishes, hardware direction, lighting requirements and reference images. Mark provisional dimensions and unresolved services instead of allowing them to become assumptions.
George House Material can review the room information and storage schedule for a coordinated wardrobe quotation. The working package should identify every cabinet module, finish, moving part, service interface and approval reference before production release.




