
By George House/01,Aug,2025
Whole home customization coordinates layouts, built-in storage, doors, windows, finishes, lighting, sanitary fixtures and furniture around the way a household uses the property. The work becomes manageable when preferences are converted into a documented scope, measurable quantities and approved samples.
Begin with space planning rather than a list of products. Circulation, furniture zones, storage needs, door swings, service locations and natural light determine what can be customized without creating conflicts later.
(Source)
Document the existing conditions first
For a renovation, record room dimensions, floor levels, wall and ceiling conditions, structural limits, window and door openings, plumbing points, electrical capacity, ventilation routes and items to remain. Photograph interfaces and mark them on drawings. Hidden conditions may still appear during work, but a better survey reduces avoidable assumptions.
For a new build, confirm the architectural and services drawings used for procurement. A room schedule should identify the latest drawing revision, required product categories and unresolved decisions. The room-by-room method used for apartment renovation planning also applies to villas and larger residential projects.
Create a room-by-room customization brief
Kitchen, utility and storage
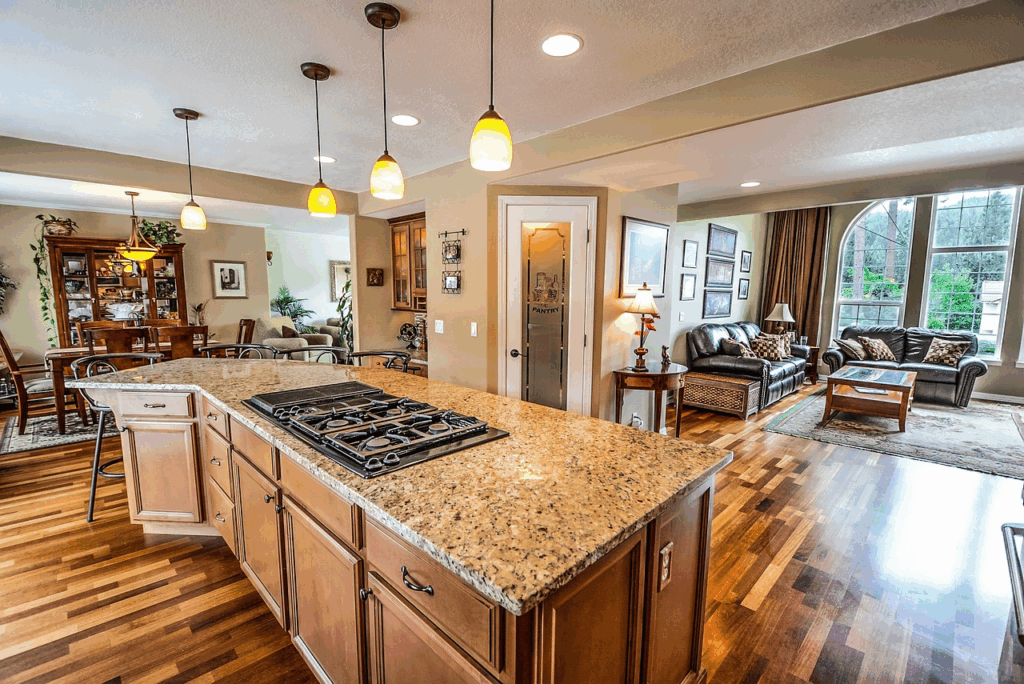
Define appliance sizes, work zones, cabinet functions, internal accessories, worktop material, backsplash, lighting and service access. Record tall-unit and island dimensions early because they affect circulation and power or plumbing positions.
Bathrooms and private rooms
For bathrooms, coordinate sanitary fixtures, drainage, waterproofing interfaces, mirrors, lighting, storage and door clearances. For bedrooms, list wardrobe functions, bedside power, window treatments, lighting controls and furniture dimensions. Avoid choosing a finish before the required dimensions and interfaces are known.
Living areas and transitions
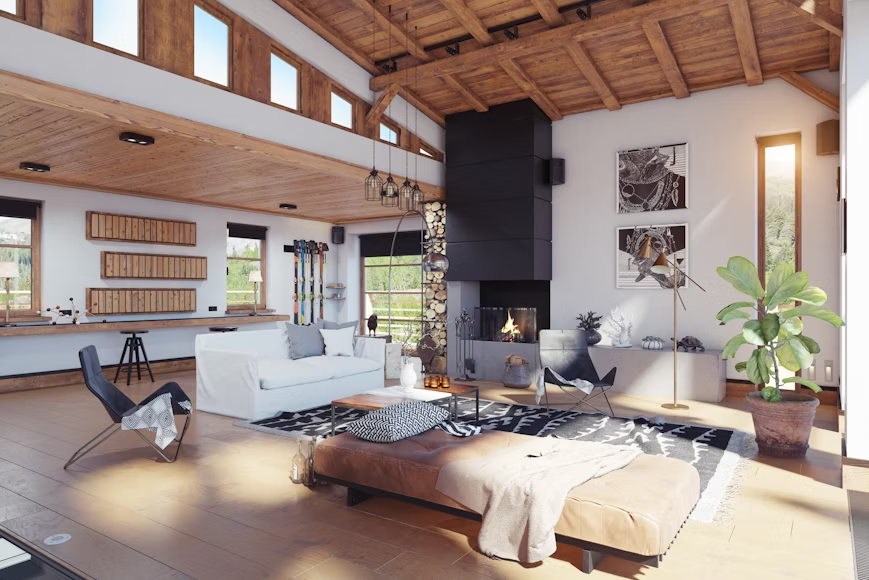
Living rooms, halls and stairs connect multiple material packages. Check flooring transitions, skirting, wall panels, doors, thresholds, lighting and loose furniture together. A finish that works in one sample board may fail at a doorway if thicknesses, joints or edge profiles are not coordinated.
(Source)
Build one coordinated material palette
Set the main timber tones, stone or worktop direction, metal finishes, paint colors, floor families and lighting color requirements before approving individual products. Variation can be intentional, but repeated elements such as door hardware, cabinet interiors and metal trims should have a defined rule. Keep physical samples labeled with the room, supplier, finish code and approval status.
Turn the brief into a budget and BOQ
A useful budget separates quantities from rates. List each room and product category, then record quantity, unit, specification, finish, included accessories, installation responsibility, delivery basis, taxes or duties where applicable and exclusions. The house-remodel budget guide explains how scope, labor, permits, logistics and contingency interact.
Do not treat one contingency percentage as suitable for every project. Set the allowance from survey confidence, design completeness, procurement lead times and the consequences of change. Keep provisional items visible instead of hiding them inside unrelated rates.
| Control | Minimum record |
|---|---|
| Room brief | Use, dimensions, storage, furniture, lighting and service needs |
| BOQ line | Quantity, unit, specification, finish, accessories and exclusions |
| Approval | Drawing revision, sample code, decision owner and approval date |
| Procurement | Supplier, lead time, release date, packing and delivery sequence |
| Change | Reason, cost effect, time effect and revised approval |
Coordinate drawings, samples and suppliers
Cabinets, doors, stone, sanitary ware and lighting often meet at shared interfaces. Use shop drawings to confirm sizes, openings, fixing conditions and service clearances. Use samples to confirm appearance and material build-up. A coordinated building-material supplier can help consolidate quotations and submittals, but the project team still needs one controlled specification and approval record.
Sequence decisions and protect the program
- Freeze layouts and major service positions before releasing custom cabinetry or stone.
- Approve long-lead doors, windows, fixtures and built-in items against the current drawings.
- Confirm floor and wall build-ups before finalizing thresholds, skirting and cabinet heights.
- Plan packing and delivery by installation sequence, not only by supplier category.
- Record every approved change with its cost and schedule effect before production continues.
Use representative mock-ups for repeated or high-visibility interfaces. A kitchen corner, bathroom vanity zone or typical door opening can confirm several decisions at once: finish relationships, clearances, joint sizes, hardware positions and lighting. At handover, collect approved drawings, finish schedules, care instructions, spare materials and replacement-part references. This documentation makes later maintenance more reliable and prevents the project team from depending on memory or unlabelled samples.
(Source)
Final planning guidance
Whole home customization succeeds when preferences become coordinated requirements. Start with the survey and room brief, align materials across interfaces, build a transparent BOQ, and control drawings, samples, releases and changes. To prepare a coordinated product schedule or quotation, send the room list, drawings and material references for review.




