
The best laundry closet ideas start with the machines and building services, not decoration. Appliance dimensions, door clearance, water supply, drainage, ventilation, electrical points and maintenance access determine whether a compact laundry area will work. Storage and finishes can then be planned around those fixed requirements.
Start With the Appliance and Service Schedule
Record the exact washer and dryer models before fixing the closet size. Use manufacturer dimensions for the appliance body, doors, hoses, ducts and required clearances. Confirm whether the dryer is vented, condenser or heat-pump type, and show water, waste, power and ventilation requirements on the drawing.
Choose a Side-by-Side or Stacked Layout
A side-by-side layout can support a continuous folding counter but needs more width. A stacked layout saves floor area and may create room for a tall cabinet, sink or hanging rail. Use the actual stacking kit and appliance instructions rather than assuming that any two machines can be stacked.
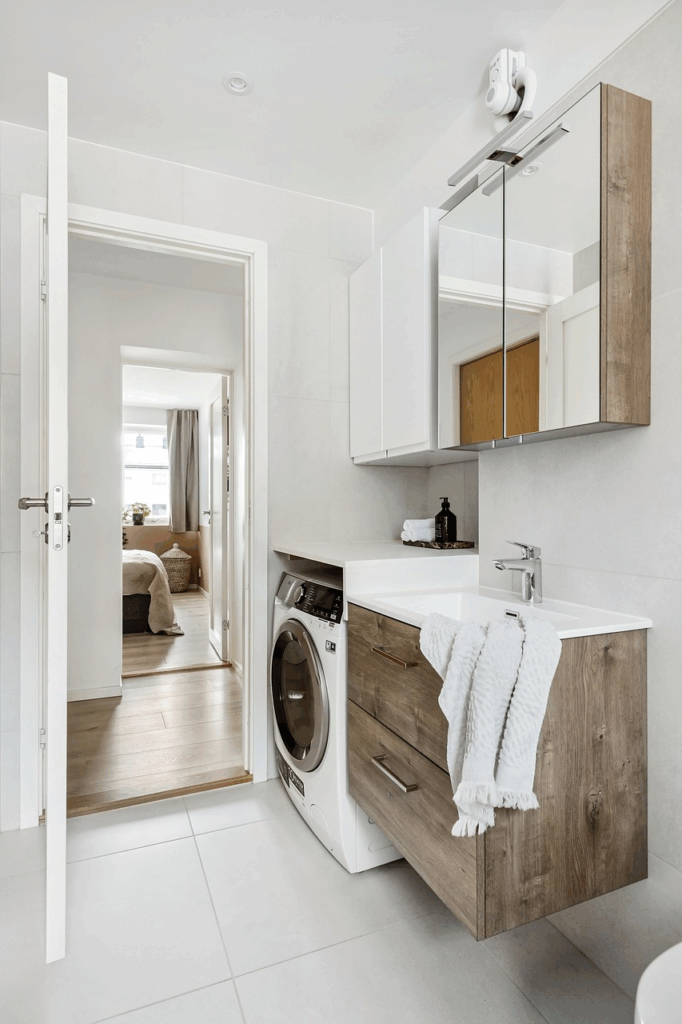
Check the Closet Depth, Width and Working Aisle
Appliance Body and Connections
Closet depth must include the machine, hoses, valves, plugs and any dryer duct. Allow access without crushing or sharply bending connections. A shallow drawing that ignores services can create a door conflict after installation.
Door and Appliance Swing
Show appliance doors fully open and confirm that laundry can be loaded from the available aisle. If the closet has folding doors, check panel stacking and clear opening with the bi-fold door size guide.
Maintenance Access
Valves, filters, traps, outlets and service panels should remain reachable. Do not place fixed shelves or decorative panels where they prevent routine service or appliance removal.
Plan Ventilation and Heat Management
A closet can retain heat and moisture. Follow the selected appliance instructions and local requirements for air openings, mechanical exhaust and dryer discharge. Do not reduce a required ventilation path with solid doors, tightly fitted shelves or stored items.
Coordinate Plumbing, Drainage and Water Protection
Place shut-off valves where they can be reached quickly. Coordinate the waste connection, standpipe or floor drain with the plumbing design. Project requirements may also include a drain pan, waterproof upstand or moisture-resistant base. These items should appear in the BOQ instead of being left to site assumptions.
Create Storage Zones Around the Laundry Process
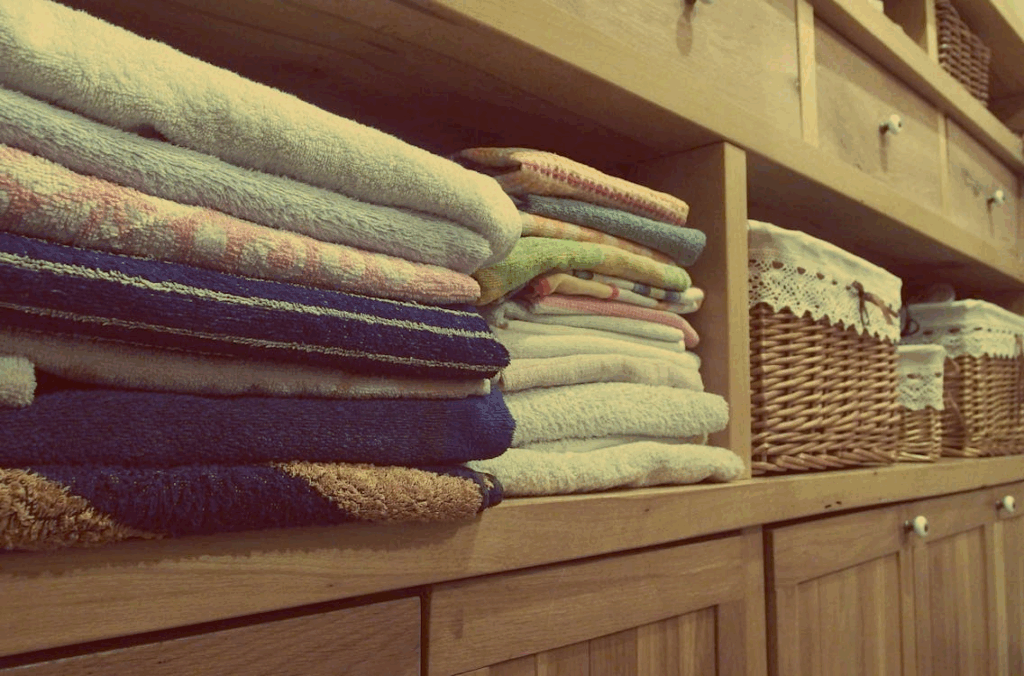
Separate frequently used detergent, cleaning tools, hampers and spare supplies. Keep heavy or hazardous products in appropriate secure storage. Adjustable shelves can accommodate different container heights, while a tall narrow compartment can hold an ironing board, drying rack or vacuum attachment.
Place daily-use items between comfortable reach levels and reserve the highest shelves for lighter, less frequently used supplies. Check that baskets and pull-outs can open when the appliance and closet doors are in their normal positions. Cabinet depth should support the selected storage system without reducing the appliance service zone or required ventilation path.
Add Folding and Hanging Space Where It Fits
A counter above side-by-side machines can provide a folding surface if machine movement and service access are addressed. In a stacked layout, consider a pull-out shelf or fold-down surface. A short hanging rail is useful for air-drying, but wet items should not obstruct doors, lights or ventilation.
Select Doors and Hardware for the Available Space
Hinged doors need a clear swing. Sliding doors may leave only part of the opening accessible. Bifold doors can expose more of the closet but require compatible tracks, pivots and panel clearances. Review the component set in the bifold door hardware guide before finalizing the opening.
Choose Cabinet Materials and Finishes
Specify cabinet substrate, face finish, edge treatment and hardware for the expected humidity and cleaning routine. Confirm the finish of exposed sides, fillers and interiors. The cabinet and wardrobe category provides a broader view of custom storage coordination.
Use Lighting Without Blocking Service Access
Provide even light at the appliance controls, shelves and folding surface. Coordinate fixtures, drivers, switches and sensors with the cabinet drawing. Keep electrical components clear of water connections and ensure that replaceable parts remain accessible.

Prepare the Laundry Closet Drawing
The drawing should show the finished opening, appliance models, service points, doors, clearances, shelves, cabinet modules, counter, lighting and access panels. Use the wardrobe design page and the closet layout guide as references for organizing storage elevations and finish information.
Add sections through the machines and doors so the team can review connection space, counter height, upper-cabinet depth and opening clearances. Mark removable panels and access zones. If site dimensions differ from the design drawing, resolve them before cabinetry production instead of relying on installers to cut or relocate finished components.
Build a Complete BOQ and RFQ
- Appliance schedule and manufacturer clearance requirements
- Cabinet modules, shelves, counter and fillers
- Door leaves, track, hardware and ventilation components
- Water, drainage, electrical and exhaust coordination items
- Lighting, accessories, finish references and sample requirements
- Quantities, packing, labeling and delivery information
Final Laundry Closet Check
Good laundry closet ideas combine a compact layout with safe access to machines and services. Confirm dimensions, ventilation, plumbing, drainage, doors, storage and lighting before cabinetry is ordered. A coordinated drawing and BOQ reduce late changes and give installers a clearer basis for their work.




