
By George House/04,Sep,2025
Green front door colors range from pale sage to olive and near-black forest tones. The most suitable shade is the one that works with the building’s fixed exterior materials, daylight, landscape, hardware, and selected coating system—not a universal promise about mood, curb appeal, or property value.
Start with the whole exterior palette
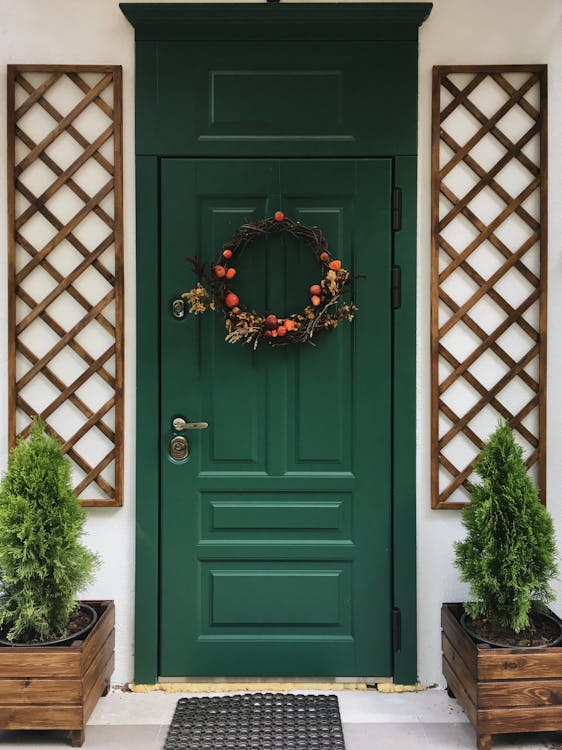
List the colors that will remain: brick, stone, render, siding, roof, paving, window frames, and metalwork. Note whether their undertones are warm, cool, muted, or saturated. A green sample that looks balanced on a white screen can shift beside red brick, beige stone, blue-gray siding, or bronze hardware.
Coordinate the color with the actual front-door material. Wood movement, metal preparation, fiberglass primers, existing coatings, and factory-finish limitations can affect which product is suitable.
Compare green shade families
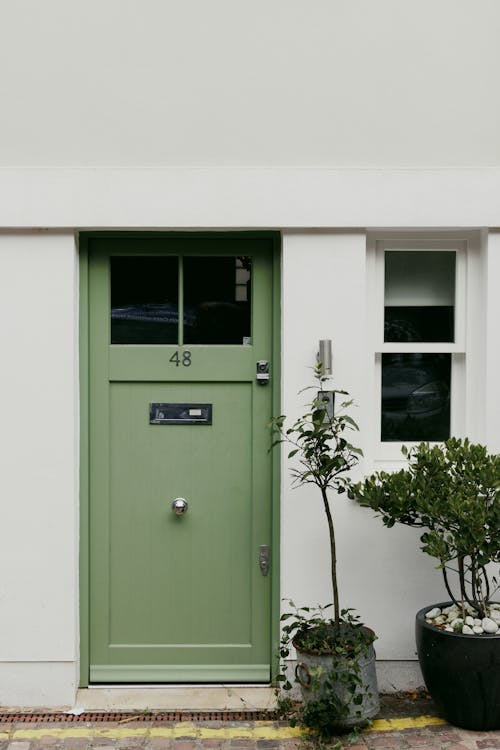
- Sage and gray-green: muted samples can bridge cool trim and natural stone, but may appear grayer in shade.
- Olive green: yellow or brown undertones can coordinate with warm masonry, timber, and bronze finishes.
- Mid green: a clearer green creates stronger contrast and should be tested beside the full elevation.
- Dark forest green: can read nearly black in low light and reveal surface defects under glossier finishes.
These are coordination starting points, not rules. Use physical samples from the specified coating line, because pigment, base, gloss, substrate, and application method influence the final appearance.
Test color under project conditions
- Apply the specified primer and topcoat system to the same substrate or an approved sample panel.
- Make the sample large enough to judge beside trim, wall, hardware, and glazing.
- View it in morning, midday, evening, shade, and artificial entry lighting.
- Record the manufacturer, product, color code, base, sheen, batch, number of coats, and application method.
- Obtain stakeholder or design approval on the physical sample before production.
For double doors or decorative front doors, also check how the color interacts with panel profiles, glazing beads, grilles, and paired leaves. A nearby yellow-door sample can provide a useful contrast benchmark when the design team is comparing warm and cool accents.
Prepare the surface and select the finish
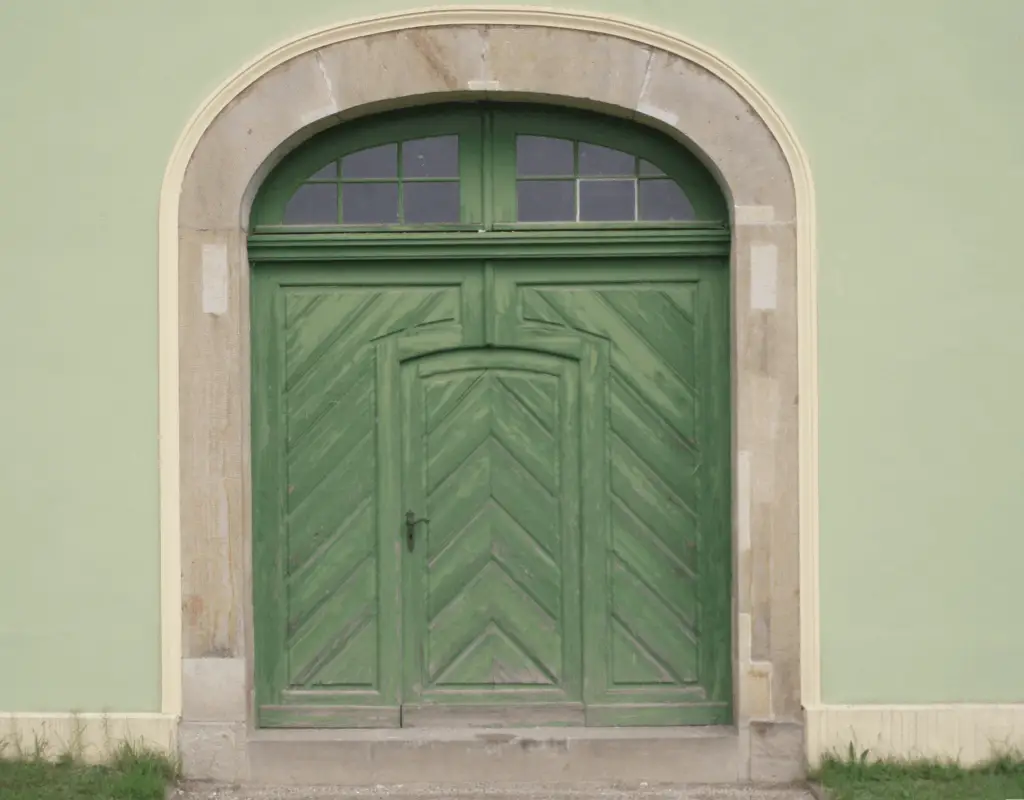
The coating manufacturer’s instructions control cleaning, removal of loose coating, sanding, primer, drying time, coat thickness, temperature, and humidity. A general front-door painting guide also emphasizes cleaning, scraping, sanding, masking, priming, and coating. Confirm compatibility with the existing finish and door warranty before work begins.
Sheen changes both appearance and maintenance. Lower sheen can reduce the visibility of small surface irregularities; higher sheen can be easier to clean but may highlight defects. Product guidance may suggest satin or gloss options, but exposure, substrate, coating line, and specification determine the correct system. Color alone does not guarantee UV resistance, water resistance, adhesion, or service life.
Front-door finish schedule and RFQ
- Door mark, material, existing finish, dimensions, quantity, and exposure.
- Approved manufacturer, product line, primer, color code, base, sheen, and coat system.
- Surface-preparation standard, repair method, environmental limits, and curing time.
- Hardware removal or masking, edge treatment, glazing protection, and seal compatibility.
- Physical sample or mock-up, approval record, touch-up material, warranty, and maintenance instructions.
A green front door is best selected through coordinated samples and a documented finish schedule. That process makes the approved appearance reproducible across procurement, site application, touch-ups, and future maintenance. Attach the approved sample record to the door package RFQ.




