By George House/09,Sep,2025
Hanging an exterior door is a coordination task involving the wall opening, sill, frame, leaf, hardware, weather barrier and interior finishes. A pre-hung unit reduces some site assembly, but it does not remove the need to verify dimensions, exposure, drainage and fixing conditions. Use this guide as an installation-check framework and follow the approved product instructions, project details and local requirements.
Confirm the Door and Opening
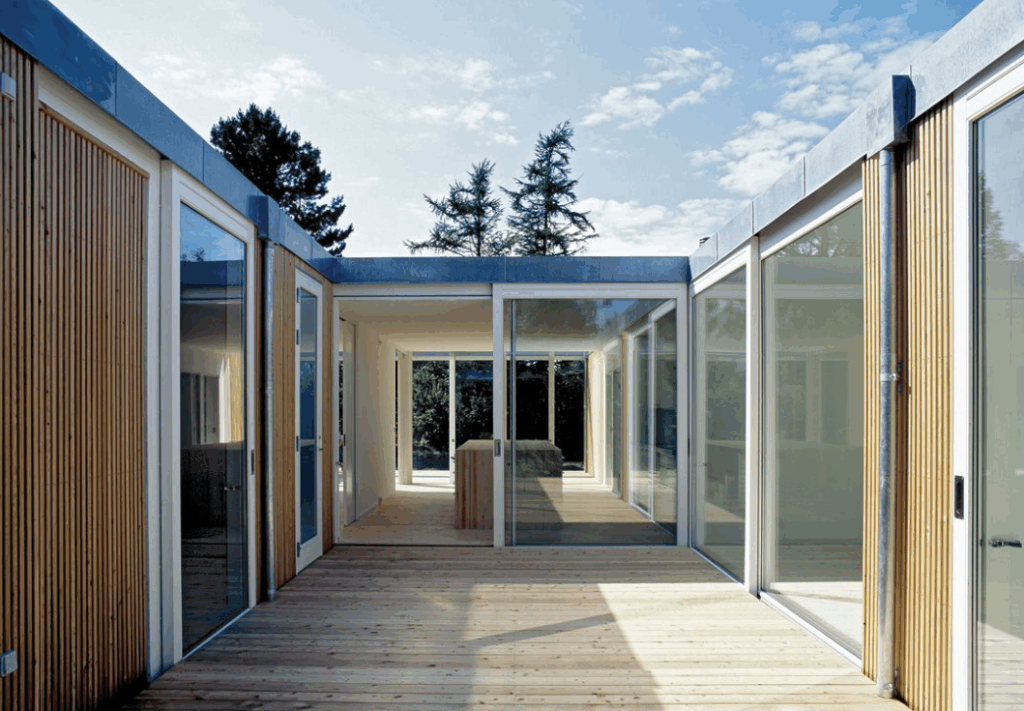
Before removal or installation, confirm the door mark, handing, swing direction, leaf and frame size, wall thickness, threshold level and hardware set. The opening must be checked at several points for width, height, level, plumb, square and substrate condition. Use the door measurement guide to keep leaf, frame and rough-opening dimensions separate.
Do not assume one rough-opening allowance applies to every product. Compare the surveyed opening with the manufacturer’s approved frame dimensions and installation clearance. Confirm headroom, threshold build-up and finished floor levels. The standard door height reference is useful for early planning, but the approved shop drawing governs fabrication and site preparation.
Prepare Tools, Materials and Protection
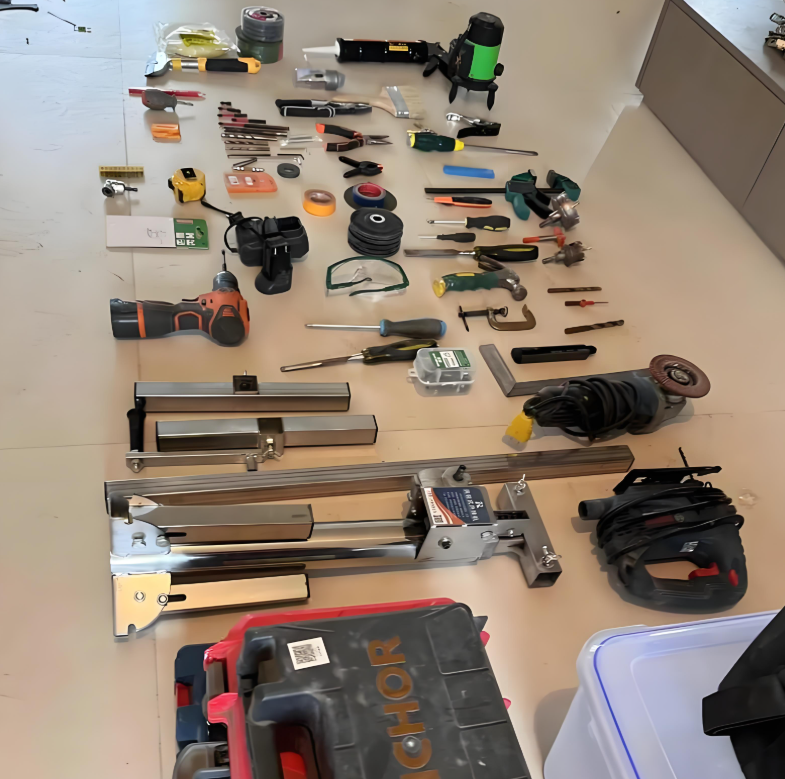
Prepare suitable lifting equipment, levels, measuring tools, temporary supports, shims, approved fasteners, sill and flashing materials, sealants, insulation and protection. Select each item for the wall construction, frame material, opening exposure and product instructions. Protect finished floors and nearby surfaces. Large or heavy leaves require enough trained installers and a controlled lifting plan.
- Verify that the delivered frame, leaf, threshold, glazing and hardware match the approved schedule.
- Check for transit damage, finish defects, missing accessories and blocked drainage paths.
- Keep fixings clear of concealed services and confirm the supporting substrate.
- Store the assembly upright or as instructed, protected from moisture and site traffic.
Coordinate the Sill, Flashing and Seals
The sill area needs a defined drainage and water-management path. Repair unsuitable, damaged or out-of-level substrates before the new frame is set. Install the sill pan, flashing and sealant in the sequence shown by the approved wall detail and product instructions. Maintain drainage openings and avoid trapping water behind the threshold. Weather resistance depends on the complete wall-to-frame interface, not on a bead of sealant alone.
Set, Shim and Fix the Frame
Dry-fit the unit before applying final seals. Set the frame at the approved position and check plumb, level, square and diagonal dimensions. Place shims at fixing and hardware load points as required by the system. Tighten fasteners progressively so the jambs remain straight and the specified clearances stay even. Over-tightening, unsupported fixing points or excessive foam can distort a frame and affect operation.
Confirm the complete assembly described in the wooden door system overview or the applicable product submittal. Frame anchors, hinges, locks, closers, thresholds and seals must be compatible with the leaf size, weight and exposure. The door parts guide can help teams use consistent component names during inspection.
Coordinate the Work Sequence
Agree when the opening, membrane, exterior finish, threshold and interior floor will be ready. Installing too early can expose the unit to damage or leave critical seals inaccessible; installing too late can disrupt adjacent finishes. Assign responsibility for opening correction, perimeter air and water seals, fire stopping where applicable, access-control connections, making good and protection. Photograph concealed sill and flashing work before it is covered, and keep the product instructions and approved details available for inspection.
Test Operation and Complete Handover
- Open and close the leaf through its full travel; check binding, rubbing and uncontrolled movement.
- Inspect consistent reveals, latch engagement, lock operation, hinge or pivot fixing and door-stop position.
- Confirm threshold contact, gasket compression, perimeter seals and unobstructed drainage.
- Complete water or air testing only where specified, using the agreed procedure and acceptance criteria.
- Protect the installed door, record adjustments and provide keys, maintenance instructions and spare components.
Structural alterations, electrical access control, rated assemblies and exposed weatherproofing should be handled by qualified parties under the project requirements. For a coordinated review before hanging an exterior door, send the opening survey, wall details, door schedule and hardware set.