By George House/08,Dec,2025
Re-decorating your kitchen can uplift the entire house, and most of the house owners opt to re-decorate their old cabinets instead of purchasing new ones. People who wonder how to paint kitchen cabinets often worry about time and mess.
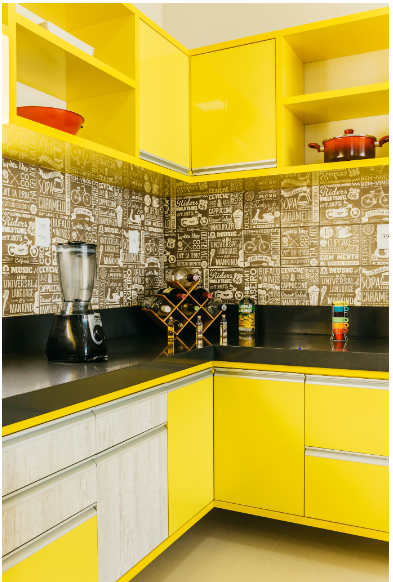
Nevertheless, the procedure remains controlled in gradual stages. Many homeowners enjoy the control that comes from painting kitchen cabinets, since it allows them to shape the kitchen’s mood. A steady plan lets you paint kitchen cabinets with confidence.
This project will be able to revive your home without spending a lot of money. You can follow DIY kitchen cabinet painting ideas with simple tools and patience.
Tools Required To Paint A Cabinet
People using DIY kitchen cabinet painting steps often rely on simple tools. Sanding blocks are used to smooth antique finishes and to eliminate rough spots. The combination of brushes provides you with the control of corners and edges.
For cleaning, you can use a foam roller on the panels, followed by a tack cloth to remove dust from within the paint. Taping by the painter serves to safeguard the walls. Floors are covered by drop cloths. Screws are organized using small cups.
These are the tools that will assist you in going through the job at a steady pace. They help you to concentrate and minimize headaches in the future.
How to Prepare Your Kitchen Cabinets For Paint

This process can be tedious, but good preparation determines all that comes after. Your work can be weakened by dust, grease, and other loose particles. Here is what you need to do to ensure you make the most out of the trendy kitchen cabinet colors.
Cleaning and Degreasing the Surfaces
Grease accumulates in kitchen cabinets. This residue may cause obstruction of paint adhesion. You may start by wiping surfaces using a mild cleaner. Wipe surfaces with sticky film until dry and clean. Scrubbing hinges are used in the future during reassembly. Wipe all with a soft towel.
This is a cleaning step that aids in the flow of paint. It forms a clear foundation of primer and color. The removal of grease prevents peeling of paint in the future. This is a move that will put the entire project on a firm foundation.
Sanding Techniques To Achieve Smooth Results
Sanding can be a difficult task, but it makes each step stronger. Light sanding scratches glossy layers and provides the primer with a surface to hold to. Most experts recommend the initial application of medium sandpaper. Then, fine sandpaper levels the surface.
Sand the block in a slow manner. Do not press too hard, as it produces streaks. Clean dust off with a tack cloth. This measure will aid in the formation of clean layers that facilitate durability.
Labeling and Removing Cabinet Doors and Hardware
Eliminating doors makes your painting stable. Write simple notes on each door and hinge. This minor practice saves time in the future during reassembly. Cupboards tend to be the same, and labelling will minimize mistakes. In one place, there is a small container where screws are stored.
Painting without smudges is achieved by removing handles. A clean surface will assist in the smooth spreading of your primer. Laid flat doors dry quicker and more evenly. These measures will make the following steps easier and secure your progress.
Preparing the Cabinets in Advance
(Source)
Primer lays a good foundation of color. This move determines the behavior of your paint and its durability. The layer of smooth primer prevents the appearance of grain. This is a step to take your time to achieve a steady finish.
Selecting the Right Primer
Your primer helps determine the final outcome of painting kitchen cabinets. A bonding primer adheres to wood, laminate, or old finishes. Older cabinets can be used with stain-blocking primer. According to the U.S. Environmental Protection Agency (EPA), the right primers save on the number of coats required in paint projects, which saves on material wastage.
Primers that are based on water minimize fumes. Knots and dark stains are closed by oil-based primers. Select a primer to suit your cabinet material. A layer of paint assists in the smooth flow of paint. This product has the ability to reinforce the appearance and make the color remain the same in various lights.
Using Primer To Achieve Maximum Adhesion
Primer needs patience. Begin with the cabinet frames. Use regular strokes and avoid drips. Thin layers dry evenly as compared to thick layers. Apply the foam roller to flat areas. Use a brush instead of curves or trim.
According to the American Coatings Association, thin layers tend to adhere more than thick ones and do not peel off with time. Allow one layer to dry completely before applying paint. This measure is used to avoid streaking. A slow speed does not leave hurried strokes and irregular texture. This step promotes a reliable base for your subsequent color coats.
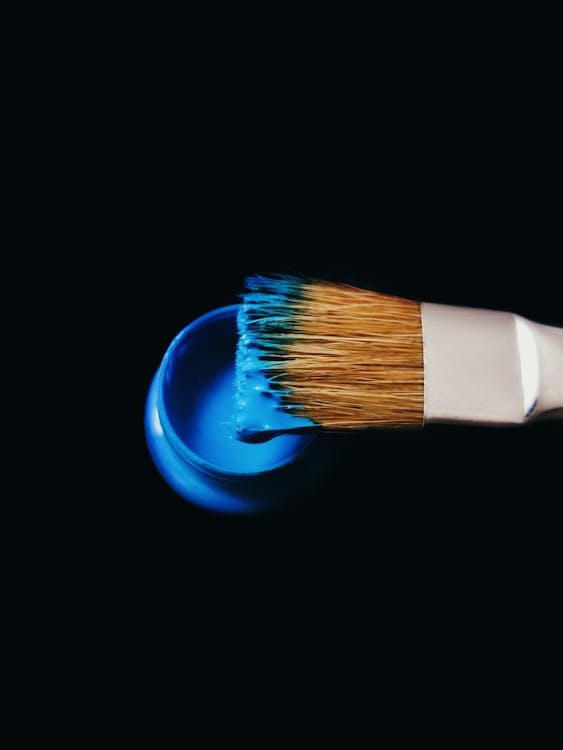
How To Paint Your Kitchen Cabinets: Step By Step Process
(Source)
Now that your primer is dry and smooth, you can proceed to the part that many people like the most. Slow strokes of the brush and even layers pay off in a clean finish. Here are some important steps that you need to carry out. It will ensure that you paint your kitchen cabinets in the right manner.
Using the First Coat Evenly
Begin with a layer of color by dipping your brush. Thick paint clumps easily. Even pressure assists your paint in remaining smooth. People who track kitchen cabinet paint ideas often notice that the first coat sets the tone for everything after.
Alternate between roller and brush. Use a foam roller on flat surfaces. Apply regular strokes to spread the paint evenly across the panel. Thin coats reduce marks. This is a step that will establish a base for your second layer. It is best to work in a ventilated room.
Wearing More Coats to Be Completely Covered
Your second coat makes it full. Apply this layer after the first one has dried up. Two or three coats are sufficient for many painters, according to the color of the cabinet. This stage helps complete your paint kitchen cabinets process. The texture is even with thin passes. Coats that are heavy require time to dry and accumulate dust.
Conclusion
Painting cabinets gives your kitchen new life. These steps help you work with steady progress and confidence. Your careful preparation and patience give you clean lines and lasting color. Fresh cabinets brighten daily routines. Bring new style and comfort into your home with a renewed kitchen surface.
Bring your cabinet project together with expert guidance from George Group for dependable support and satisfying results.