
Small bathroom floor tile should be selected around the room layout, wet zones, drainage, cleaning and verified product performance—not appearance alone. Tile size and pattern can influence visual rhythm, but the substrate, slope, joints and installation system determine whether the finished floor works as intended.
This guide explains practical small bathroom floor tile ideas and turns them into a selection and quotation checklist. It does not promise that a particular color will make every room look larger or that a small tile, textured surface or extra grout line will automatically prevent slipping.
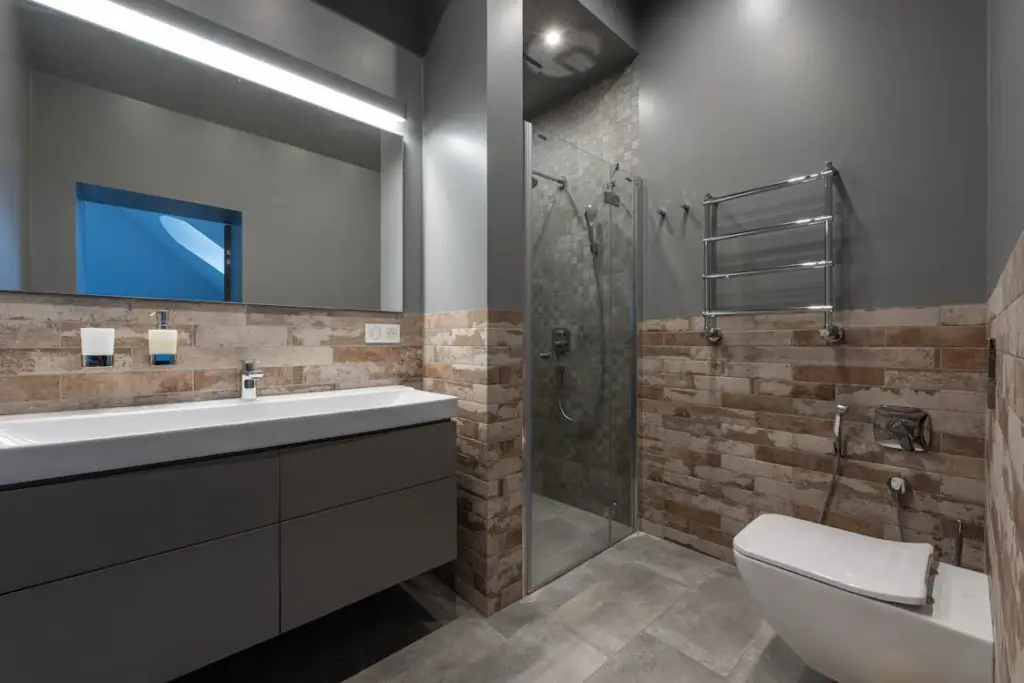
Start with the Bathroom Layout and Wet Zones
Mark the shower, vanity, WC, doorway, floor drain and any changes in level before choosing a tile module. A compact powder room with no floor drain has different requirements from a fully waterproofed wet room. The drawing should show where water is expected, where the floor must slope and where tile cuts will remain visible.
- Room dimensions: record finished wall-to-wall dimensions, not only structural dimensions.
- Drainage: locate floor drains and linear drains, then confirm the required slope and drain flange detail.
- Thresholds: coordinate door clearance, transitions and any accessibility requirement.
- Fixtures: locate the WC base, vanity plinth, shower screen and floor-mounted accessories.
- Movement and joints: identify perimeter, field and substrate joints that must continue through the tile finish.
For shower areas, the tile module must work with the drainage geometry. Review the separate shower floor tile size guide for the relationship between tile size, drain type and slope.
Compare Small Bathroom Floor Tile Formats
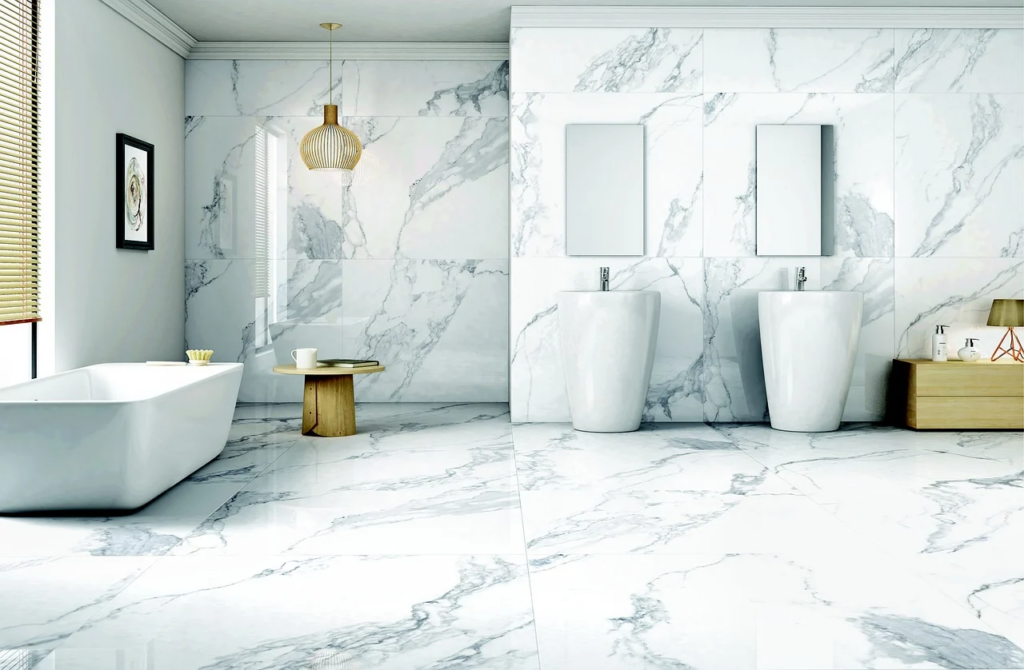
| Format or look | Why it may suit a small bathroom | What to verify |
|---|---|---|
| Mosaic or small-format tile | Can follow compound slopes and detailed drain geometry | Sheet alignment, mesh or mounting, joint width, grout coverage and cleaning |
| Medium square or rectangular tile | Offers a balanced joint pattern without very large offcuts | Actual calibrated size, layout direction, edge cuts and lippage limits |
| Large-format porcelain | Creates fewer visible joints on flatter bathroom areas | Substrate flatness, drain strategy, handling, cutting equipment and movement joints |
| Stone or stone-look tile | Provides natural variation or a controlled stone appearance | Absorption, staining, sealing, batch variation, wet-use classification and maintenance |
| Wood-look plank | Adds a linear pattern and warm visual character | Bow, offset pattern, cut planning, surface texture and direction at the doorway |
| Patterned tile | Can define the floor as a feature within a simple room | Pattern repeat, centering, borders, spare pieces and tolerance for shade variation |
Large tiles do not automatically make every bathroom feel bigger, and mosaics are not automatically safer. Produce a layout using the actual nominal and calibrated tile dimensions. The best module is the one that resolves drainage, minimizes awkward cuts and fits the approved visual intent.
Specify Slip Resistance for the Intended Use
Slip resistance is a property of the tested surface and its intended use. The Tile Council of North America explains that ANSI A326.3 provides a laboratory and field test method, product-use classifications and guidance for hard surface flooring. Request the relevant test report or declared use classification for the exact tile—not a general statement about porcelain, texture or grout lines.
- Identify whether the area is normally dry, intermittently wet, a shower floor or another defined project use.
- Ask for the test method, result, classification, sample identification and any stated limitations.
- Confirm that coatings, sealers or post-installation treatments will not conflict with the approved surface.
- Plan cleaning and residue removal because contaminants and maintenance practices affect the in-service floor.
- Check applicable local codes, accessibility requirements and the design professional’s specification.
The non-slip floor tile selection guide provides a broader checklist for wet and high-traffic locations.
Coordinate Color, Grout and Lighting
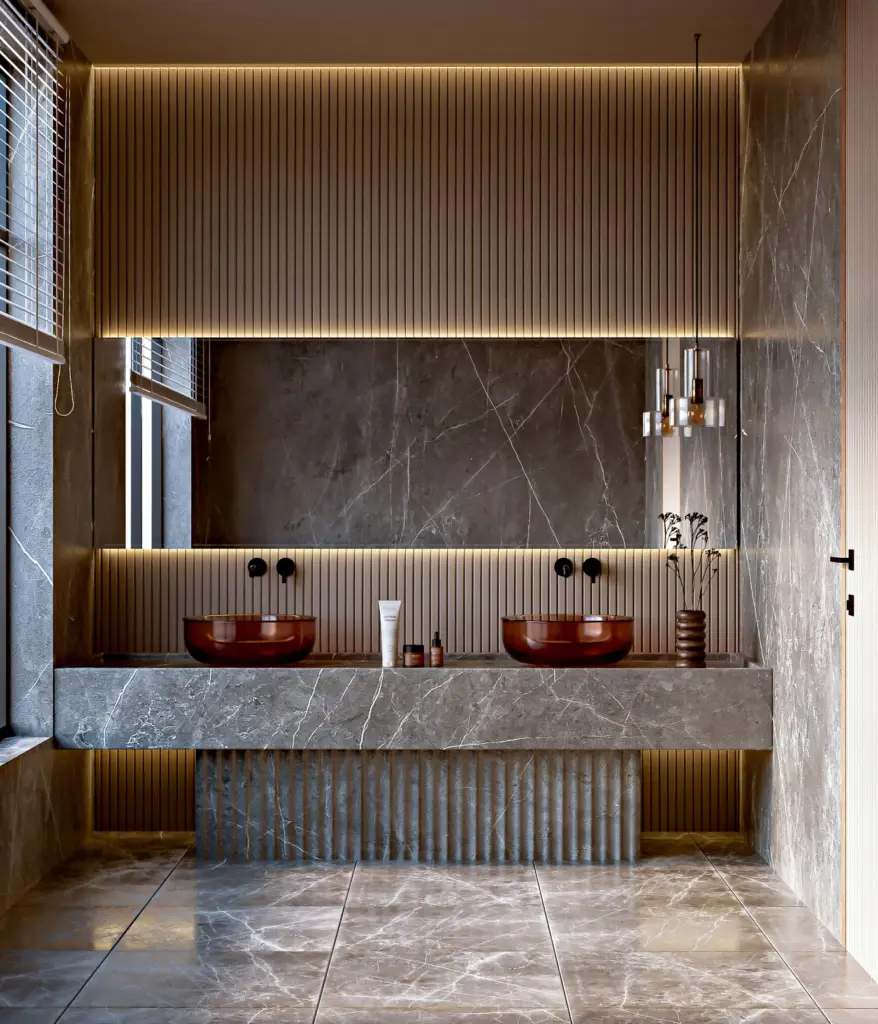
Light-colored tile can reflect more available light, while darker tile can create contrast, but neither choice guarantees a perceived room size. Review actual tile, grout and sealant samples under the bathroom’s planned daylight and artificial lighting. Include vanity fronts, wall tile, sanitary ware and metal finishes in the same sample review.
- Approve the tile range, shade and surface—not only a digital image.
- Choose grout color together with joint width and maintenance expectations.
- Review how the pattern aligns with the doorway, vanity and shower screen.
- Confirm acceptable shade and texture variation for natural-looking products.
- Retain an approved control sample for delivery and installation checks.
Bathroom Tile Specification and RFQ Checklist
Use one schedule reference for every bathroom type and mark each floor finish on the drawings. A supplier cannot prepare a reliable quotation from an inspiration image alone.
- Bathroom type, room dimensions, floor area and number of repeated rooms
- Tile material, manufacturer or approved equivalent, series, code, color and finish
- Nominal and actual size, thickness, edge type, shade range and batch requirements
- Required product-use or slip-resistance classification and supporting test information
- Floor drain type, slope zones, threshold and movement-joint layout
- Grout type and color, sealant, trim profiles and transition pieces
- Substrate, waterproofing and adhesive responsibilities
- Net quantity, cutting allowance, spare stock and replacement strategy
- Sample and mock-up size, approval record and production control sample
- Packing, carton labels, room-by-room allocation and delivery sequence
For a coordinated bathroom package, review the sanitary ware project solution. George House Material can align tile, sanitary fixtures, finishes, samples and schedules against the approved project scope. Send the floor plans, bathroom elevations and finish schedule through the project enquiry page.
Frequently Asked Questions
What tile size is best for a small bathroom?
There is no single best size. Choose a module that works with the room dimensions, drain and slope, minimizes awkward cuts and can be installed within the required tolerances.
Does more grout make a bathroom floor slip-resistant?
Do not use grout-line quantity as a performance guarantee. Review the exact tile’s tested result or product-use classification, the intended wet condition, installation and maintenance requirements.
Should floor and wall tiles match?
They may match or coordinate. Approve them as one material palette, but specify each surface separately because floor and wall requirements can differ.




