
Roof window types differ in operation, roof compatibility, daylight distribution, ventilation, weathering and maintenance access. Selection should begin with the roof build-up and room use, then move to the window, flashing, controls and interior lining as one coordinated system.
Distinguish Roof Windows, Skylights and Rooflights
Product names vary by market and supplier. Confirm whether the unit is fixed or operable, installed in a pitched or flat roof, and intended for daylight, ventilation or access. Use the supplier’s tested system description in schedules and submissions.

Compare Operating Types
Centre-Pivot Roof Windows
A centre-pivot sash rotates around a central axis. Check handle position, internal clearance, cleaning position and the relationship with furniture or a low knee wall.
Top-Hung Roof Windows
A top-hung sash opens outward and may provide a less interrupted view. Confirm roof pitch, opening projection, restrictors and safe operation.
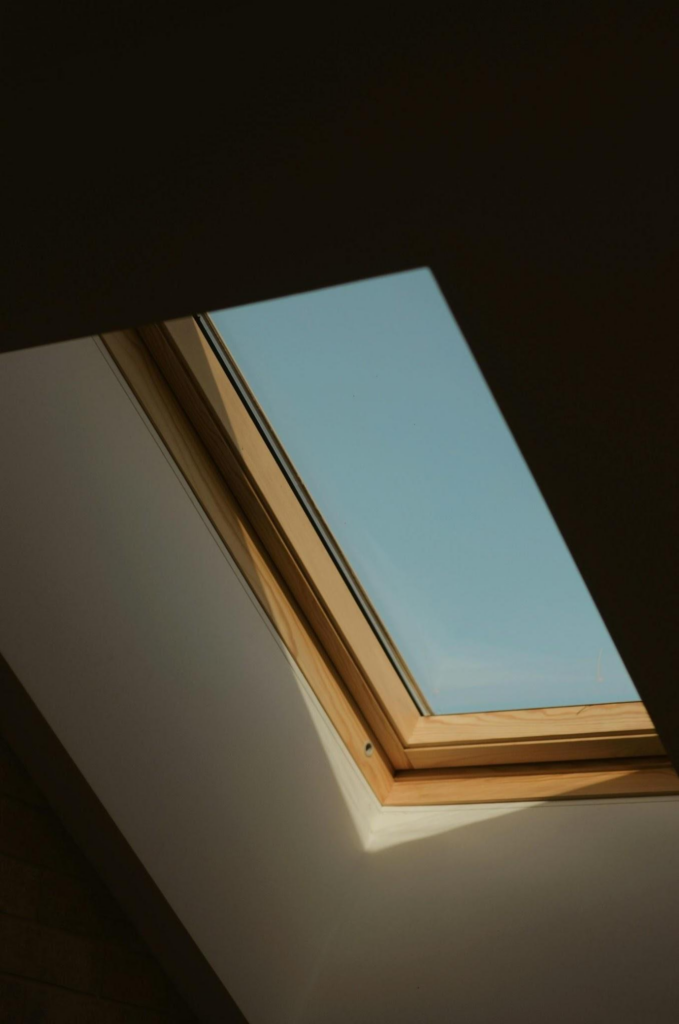
Review Fixed Rooflights and Roof Lanterns
Fixed rooflights provide daylight without natural ventilation. Roof lanterns create a raised glazed assembly and require coordinated upstands, drainage, structure and junctions. They should not be treated as interchangeable with an in-plane roof window.
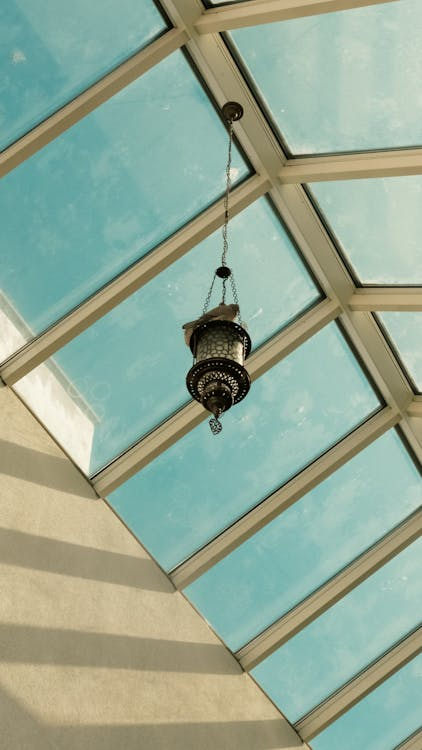
Consider Sun Tunnels for Enclosed Areas
A sun tunnel transfers daylight through a reflective tube. Confirm the roof terminal, tube route, bends, ceiling diffuser, insulation and condensation details. Output depends on product and installation conditions, so avoid universal lighting claims.

Match the Window to Roof Pitch and Covering
Roof pitch, tile or sheet profile, underlay, insulation and structural framing affect the suitable product and flashing kit. Record the actual roof covering and pitch in the RFQ. Coordinate other building openings using the new construction window guide.
Coordinate Structural Openings
The rough opening, trimmers and loads should be reviewed by the project team. Do not cut structural members from a generic product dimension. Show the manufacturer’s frame size, required clearances and support details on the shop drawing.
Specify Glass and Interior Performance
Confirm the glazing build-up, safety locations, coating, spacer, condensation strategy and required thermal or solar documents. The wider door and window material guide explains why frame and glass must be reviewed together. For larger framed glazing packages, the storefront window guide provides a useful comparison of frame, glass and interface coordination.
Detail Flashing, Underlay and Drainage
Use a flashing system compatible with the selected roof covering and window. Coordinate the underlay collar, insulation, drainage above the opening and internal air-sealing layer. Site-made substitutions should be reviewed before installation.
Plan Manual or Remote Operation
High or inaccessible windows may require rods, motors, switches, remote controls or rain sensors. The remote control skylight guide covers controls, electrical interfaces and RFQ checks.
Coordinate the Interior Lining
Reveal geometry affects daylight distribution and air movement. Show insulation continuity, vapor control, lining support and finish junctions. Provide access to serviceable motors, sensors and control components.
Prepare the Roof Window Schedule
- Room, roof zone and window reference
- Roof pitch, covering and structural opening
- Window type, operation and handing
- Frame, glazing and finish specification
- Flashing, underlay, insulation and lining kit
- Controls, screens, blinds, packing and installation scope
Final Selection Check
Select roof windows from verified project conditions and supplier documents. The door and window category can support wider package coordination, but roof interfaces, flashing and controls must remain explicit in the final submission.




