By George House/02,May,2026
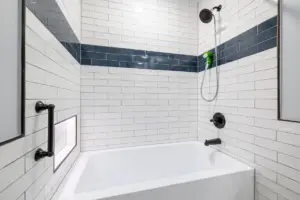
The design of showers begins at the floor level, and the pan forms the base. The correct size will prevent expensive modifications in the future. Standard shower pan sizes will assist in making layout choices and provide an adequate fit.
According to Statista, bathroom remodels are among the most frequent home improvements. That further increases the importance of planning. Knowledge of the size of shower pans can be used to balance comfort, space, and functionality.
In small bathrooms, size is more important than many would think. This guide gives you a clear idea about dimensions, layout planning, and installation fundamentals to assist in developing a shower that functions well daily.
Standard Shower Pan Dimensions by Shape
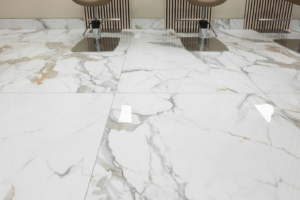
(Source)
Different shower shapes fit different spaces, and each one comes with its own size range. Rectangular, square, and corner pans each serve a purpose based on layout needs. Understanding standard shower head and pan sizes helps avoid tight fits or wasted space. These dimensions guide both design and installation decisions across various bathroom layouts.
| Shape Type | Common Sizes (inches) | Best Use Case | Notes |
| Square | 30×30, 32×32, 36×36 | Small bathrooms | Compact design works well in tight layouts |
| Rectangular | 32×48, 36×48, 36×60 | Standard bathrooms | Offers more movement and comfort |
| Neo-Angle | 36×36, 38×38, 42×42 | Corner installations | Saves space with an angled front |
| Walk-In | 48×60, 60×72 | Large bathrooms | Ideal for open designs and accessibility |
| Alcove | 60×30, 60×32 | Three-wall setups | Common in modern homes |
| Offset | 36×60, 42×60 | Custom layouts | Provides flexible placement options |
These shower pan dimensions reflect common industry standards used in most residential builds. According to the National Kitchen and Bath Association (NKBA), a minimum shower size of 30 by 30 inches is required by code in many regions. Larger pans improve comfort and usability.
Layout & Planning Tips

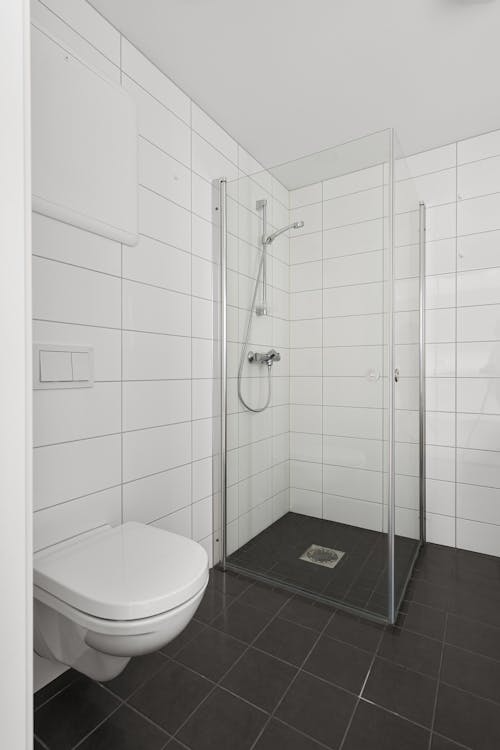
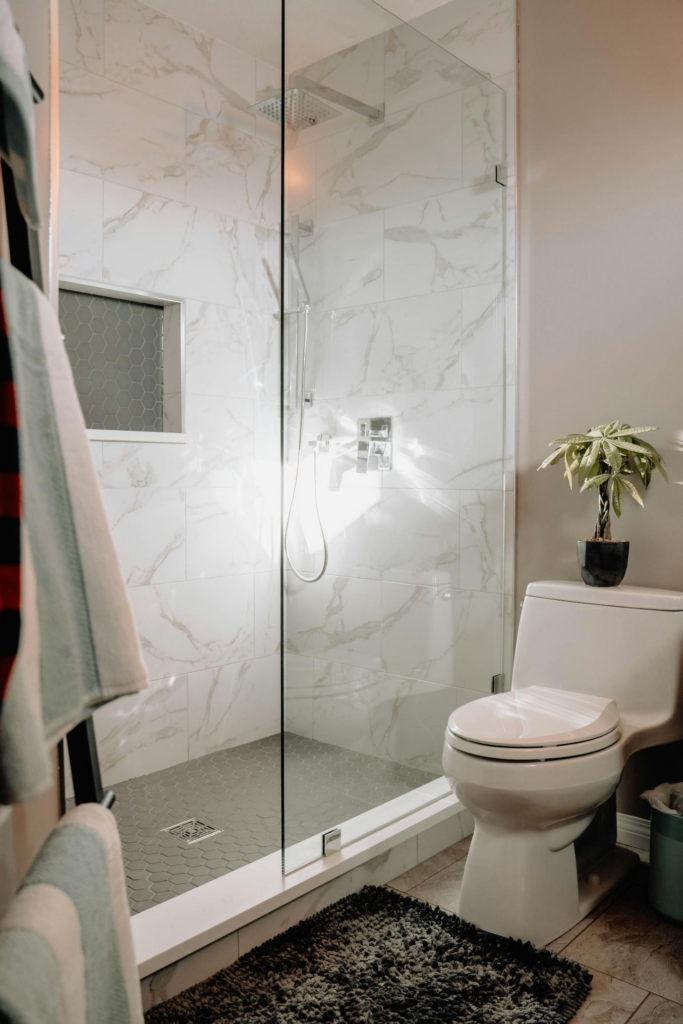
(Source)
Shower layout planning is not just a matter of choosing the size. Space, plumbing, and movement all count for your shower dimensions. Standard shower pan sizes influence preliminary decisions, but layout specifics determine the outcome. The guidelines below can be used to match the size of shower pans to the size of the bathroom.
Finished Dimensions
Base pan sizes are slightly different than finished dimensions because of wall thickness and tile layers. This variation impacts the way the shower fits into the room. Accuracy in measurements is a crucial aspect in construction projects.
Finishing allowances should always be included in standard shower pan sizes. Failure to do this may result in tight installations. You should also measure wall materials before final placement. This makes the shower fit well without having to make changes in the future. Even minor gaps may cause huge issues when not addressed during the planning phases.
Drain Alignment
Plumbing connections should be aligned with drain placement to ensure easy installation. Mismatched drains may slow down projects and raise costs. Appropriate plumbing alignment is vital to avoid water leaks and wastage. Shower pan sizes usually have fixed drain locations.
When these are matched with the existing pipes, installation is made easy. Measure the length of the pan and then buy it. Late plumbing modifications are complicated. Correct alignment will result in effective drainage and prevent stagnant water within the shower space.
Door Clearance
Shower doors must have sufficient space to open and close freely. This is something that is usually neglected in planning. There should be enough clearance to move safely in the bathroom. Standard shower pan sizes should fit the door swing or sliding tracks.
Measure adjacent fixtures such as toilets or vanities. Make sure that doors open without bumping into anything. Clearance is good and enhances comfort and usability. It also averts the destruction of fixtures in the long run because of recurrent contacts.
Bench Space
Benches are built-in and provide comfort, but they need additional space. They decrease the amount of standing space when not properly planned.
A bench is most effective in a bigger rectangular or walk-in shower. The smaller pans can be crowded with additional seating. With proper planning, one can be comfortable without limiting movement within the shower.
Installation Guide
The installation of a shower pan is a matter of preparation and step-by-step work. The slightest mistakes can result in leaks or irregular surfaces. Standard shower pan sizes make it easy to install because they fit typical layouts. The following steps will describe the process of managing the dimensions of shower pans when installing them to achieve a stable and safe outcome.
Step 1 – Preparation
Planning prepares the way for an easy installation. Wipe the subfloor and make it flat before laying the pan. Standard shower pan sizes are based on stable surfaces to be placed correctly. Look at moisture damage or spots.
Solve these problems and proceed. A good foundation helps to avoid future movement or fracture. During the preparation, taking time will minimize future repairs and make sure the pan fits in place.
Step 2 – Dry-Fit
Dry-fitting enables you to check positioning before actual installation. Test the alignment and fit of the pan without adhesive.
The size of the shower pan must be the same as the space allotted to it during this process. Ensure that walls, drains, and edges are in place. Adjust and seal when necessary. This will prevent errors that are more difficult to correct in the future.
Step 3 – Install Drain
The drain should be attached to the plumbing system. Close-fitting connections eliminate leakages and provide a smooth flow of water. The correct sealing of plumbing systems will prevent water waste.
The standard size of shower pans usually has pre-determined drain holes. Identify these with the pipe position. Install correct fittings and sealants. A safe drainage system will ensure long-term stability and avoid water damage.
Step 4 – Set the Pan
Placing the pan entails putting it on adhesive or mortar to stabilize it. Stamp it down to make sure that it is in contact with the bottom. The size of the shower pan should be perfectly aligned during this process.
Alignment of the check level with the tools before adhesive setting. Inequalities in placement may lead to drainage problems. An adequately installed pan will make sure that the water moves in the right direction towards the drain.
Step 5 – Secure & Seal
The pan is secured by attaching it to the walls or supports around it. Seal edges to avoid water leaking under. Standard shower pan sizes have edges that are meant to be attached securely. Apply waterproof sealant on seams and joints.
Sealing the pan and the structure below is a good measure to ensure protection. This measure will guarantee the longevity and avoidance of concealed water damage in the long run.
Step 6 – Leak Test
Leak testing ensures that the installation has been successful. Turn on the shower and look for any leakage. Check joints, drain connections, and edges.
Repair any problems before completion of the surrounding area. A successful test ensures long-term performance and peace of mind.
Build Your Perfect Shower with George Group
standard shower pan sizes shape comfort, function, and durability in bathroom design. Accurate shower pan dimensions and careful planning prevent costly mistakes later. It is why you need to pay special attention to it.
George Group delivers expert solutions that turn these ideas into reliable and well-crafted bathroom spaces.