Acrylic cabinet fronts are often chosen for a smooth, reflective finish, while decorative laminate offers a broad choice of colors and textures. Both can also be available in lower-sheen finishes. The useful comparison is between the exact door products, including their surface, substrate, back and edges.
For this acrylic vs laminate cabinets guide, laminate mainly means high pressure laminate, or HPL, bonded to a panel. Thermally fused laminate, or TFL, is explained separately. Some manufacturers also call their acrylic surfacing an acrylic laminate, so a sales label alone does not identify the construction.
Choose the finish by viewing a fabricated sample under the kitchen lighting, checking its care requirements and approving the edge detail. A glossy face cannot tell you whether the door is well made or suitable beside a sink or appliance.
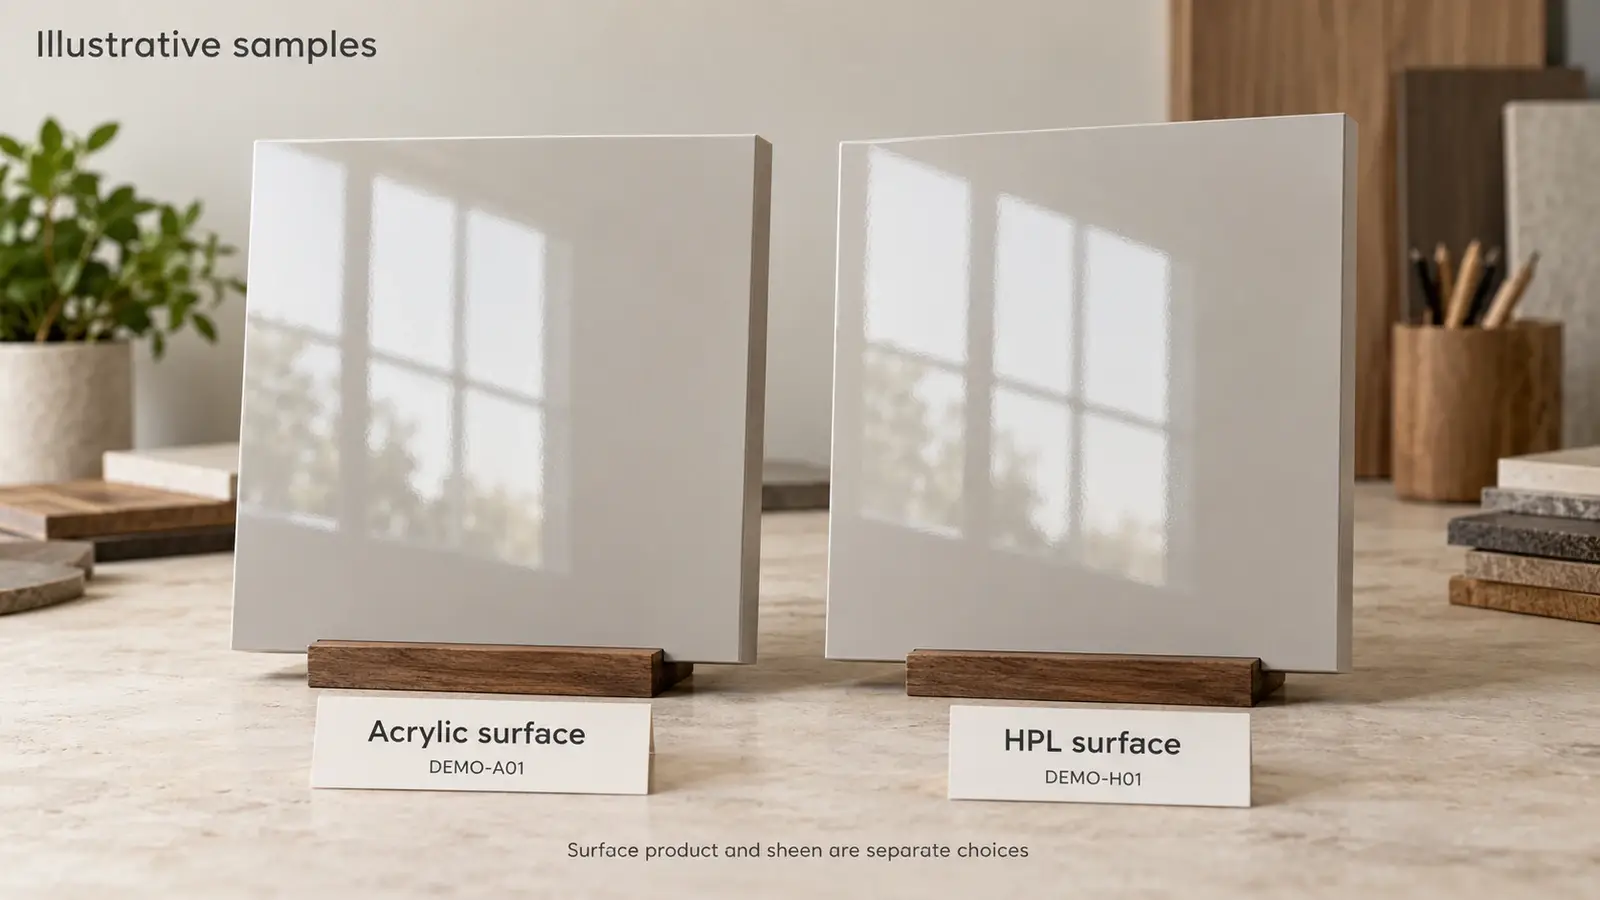
Acrylic vs Laminate Cabinets at a Glance
| What to compare | Acrylic faced fronts | HPL faced fronts |
|---|---|---|
| Surface construction | Acrylic surfacing bonded to a specified panel; layers and coatings vary | A separate resin and paper laminate sheet bonded to a specified panel |
| Appearance | Gloss and matte products are available; inspect the exact collection | Colors, patterns and textures depend on the selected decor and finish |
| Visible marks | Fingerprints and fine marks depend on color, sheen and surface treatment | The same checks apply; texture can also affect residue removal |
| Cleaning | Use the care sheet for the particular acrylic surface and coating | Use the care sheet for the particular HPL product and finish |
| Edges | Review the matching edge, corners, bond and back of the finished door | Review the edge treatment, visible joint and back of the finished door |
| Damage and replacement | Repair methods are product specific; a replacement front may be needed | Repair options depend on the product and damage; confirm replacements |
| Cost comparison | Price the complete fabricated front and cabinet scope | Price the same dimensions, construction and included scope |
Keep the door finish separate from the cabinet box specification. Our custom cabinetry specification guide connects fronts with cabinet construction, hardware and appliance interfaces.
What the Cabinet Door Finish Actually Includes
Acrylic Faced Doors Are Built From Several Components
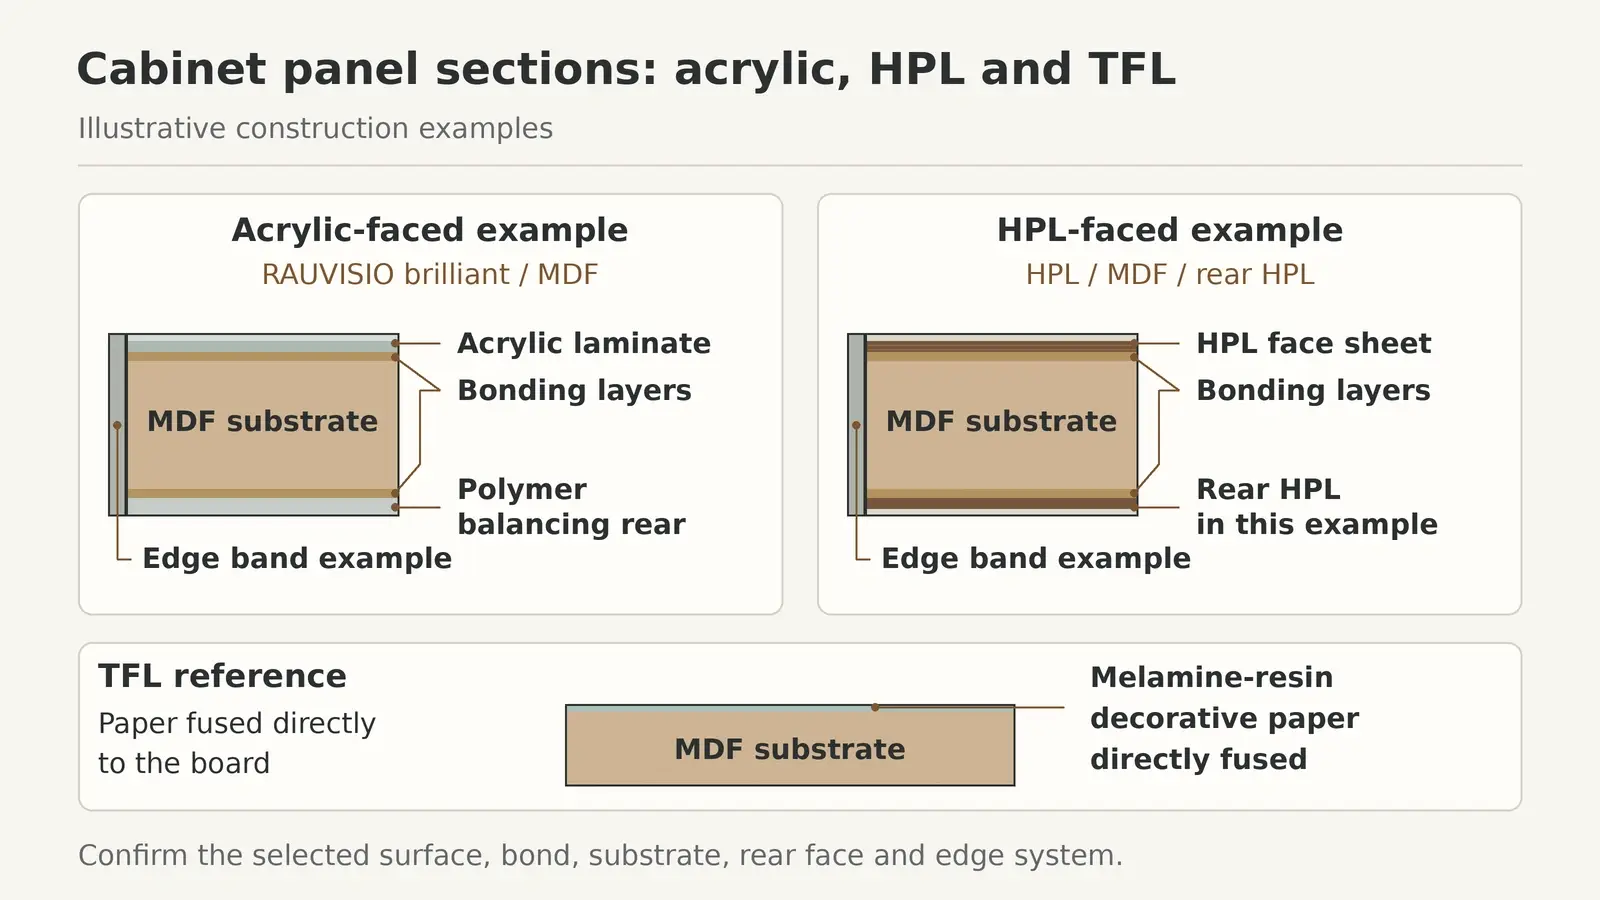
An acrylic front commonly uses a polymer surfacing layer that includes acrylic, such as PMMA, bonded to a panel. The product may have additional layers or a protective coating. The finished door also includes a backing and an edge treatment; it is usually not a solid acrylic slab.
Ask for the manufacturer’s product name and construction, including the substrate, finished thickness and back. Acrylic sheet surfacing should also be distinguished from acrylic paint and other coatings. Our cabinet substrate comparison explains the separate choice of panel materials.
HPL and TFL Are Different Door Constructions
HPL is made by pressing resin-treated surface and core papers into a laminate sheet, which is then bonded to a substrate. TFL uses resin-treated decorative paper fused directly onto a panel, commonly MDF or particleboard. It does not have the same separate sheet construction as HPL.
TFL may be sold as melamine board. Thermofoil is another category: a formable film is applied over a panel and can follow suitable profiles. It should not be substituted for HPL or acrylic surfacing without approval. Ask each quotation to identify the actual surface system rather than listing only laminate.
Match the Surface to the Door Profile
Slab fronts make the face, edge and reflection easy to compare. A routed profile, curved part or integrated handle introduces different fabrication requirements. Confirm that the selected surface and fabricator support the intended shape before approving a design.
For recessed designs, review the cabinet door profile and construction together with the finish. Do not assume a material shown on a flat sample can produce every door profile in the same way.
Compare Gloss Color and Visible Marks
Compare Similar Colors Under the Same Light
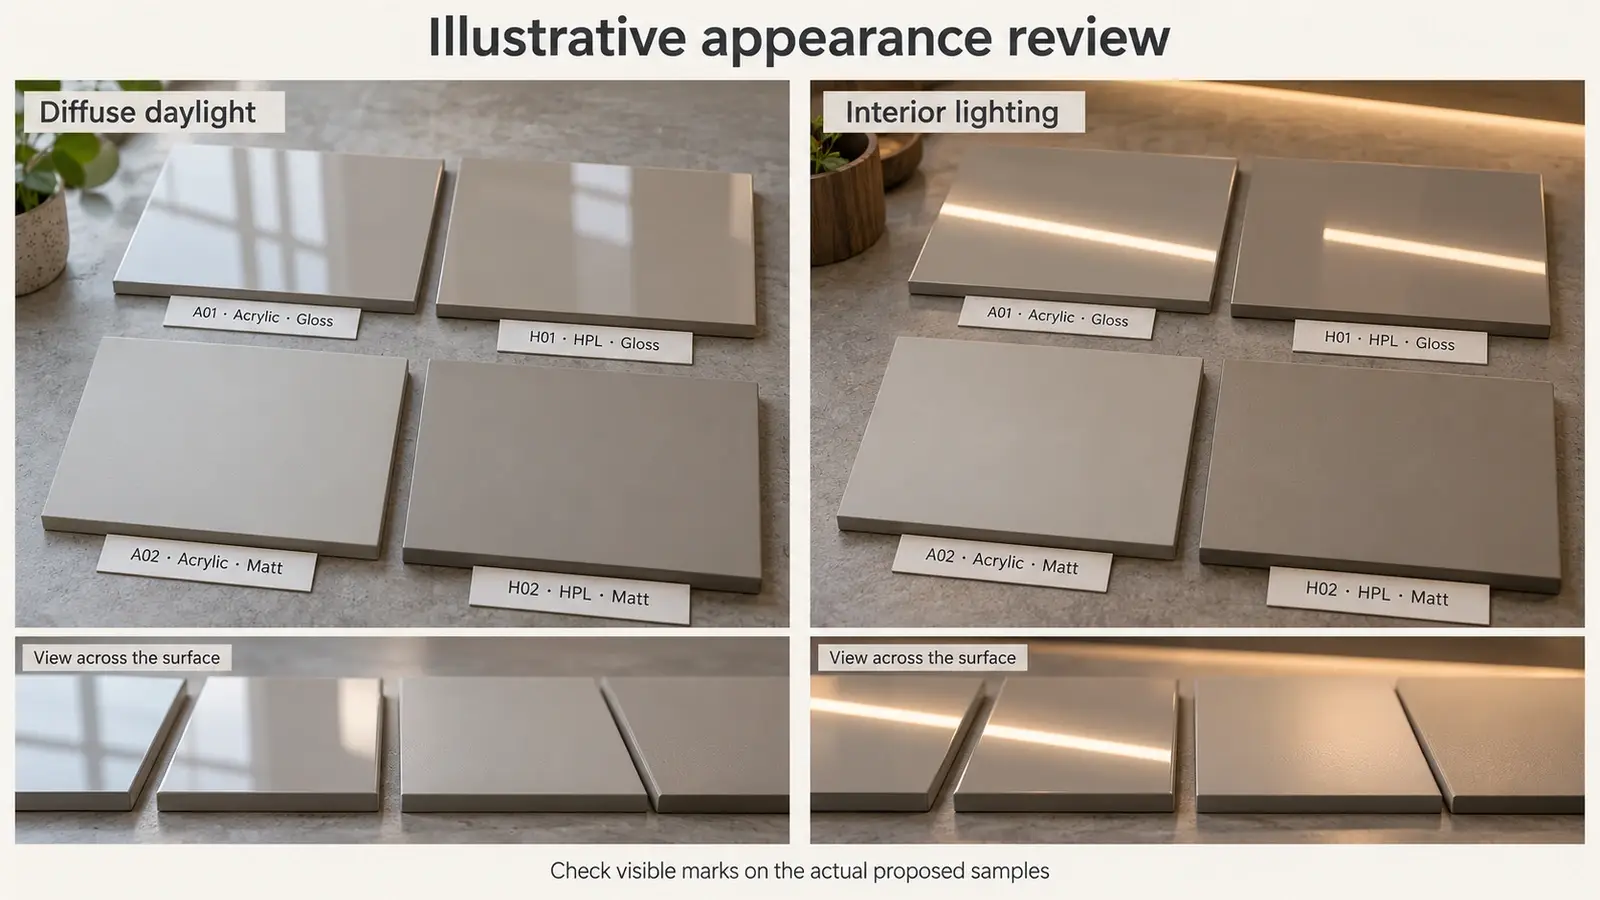
High gloss can give strong reflections; matte surfaces scatter light differently. These descriptions do not identify the material or prove scratch resistance. Compare gloss acrylic with gloss HPL where both are shortlisted, rather than attributing every difference between a white glossy sample and a dark textured sample to the material.
Stand the samples vertically, as the doors will be installed. View them in daylight and under the intended task lighting, both straight on and at an angle. Check reflected lines, surface waviness, color undertones and how adjacent fronts look together. The cabinet color and lighting guide helps narrow the palette before final sample approval.
Check Fingerprints and Cleaning Traces on the Actual Finish
Dark or reflective surfaces can make some handling marks conspicuous, while a pattern or texture can change their visibility. A low-sheen surface is not automatically fingerprint proof. Compare any anti-fingerprint claim against the named product rather than extending it to every acrylic or laminate door.
With the supplier’s agreement, handle a spare sample and clean it using the specified method. Look for remaining smears and changes in sheen under the same lighting. This is a practical appearance review, not a standardized durability test. Do not scratch, stain or heat the approval sample to simulate years of use.
Cleaning Acrylic and Laminate Cabinet Doors
Start With the Product Care Instructions
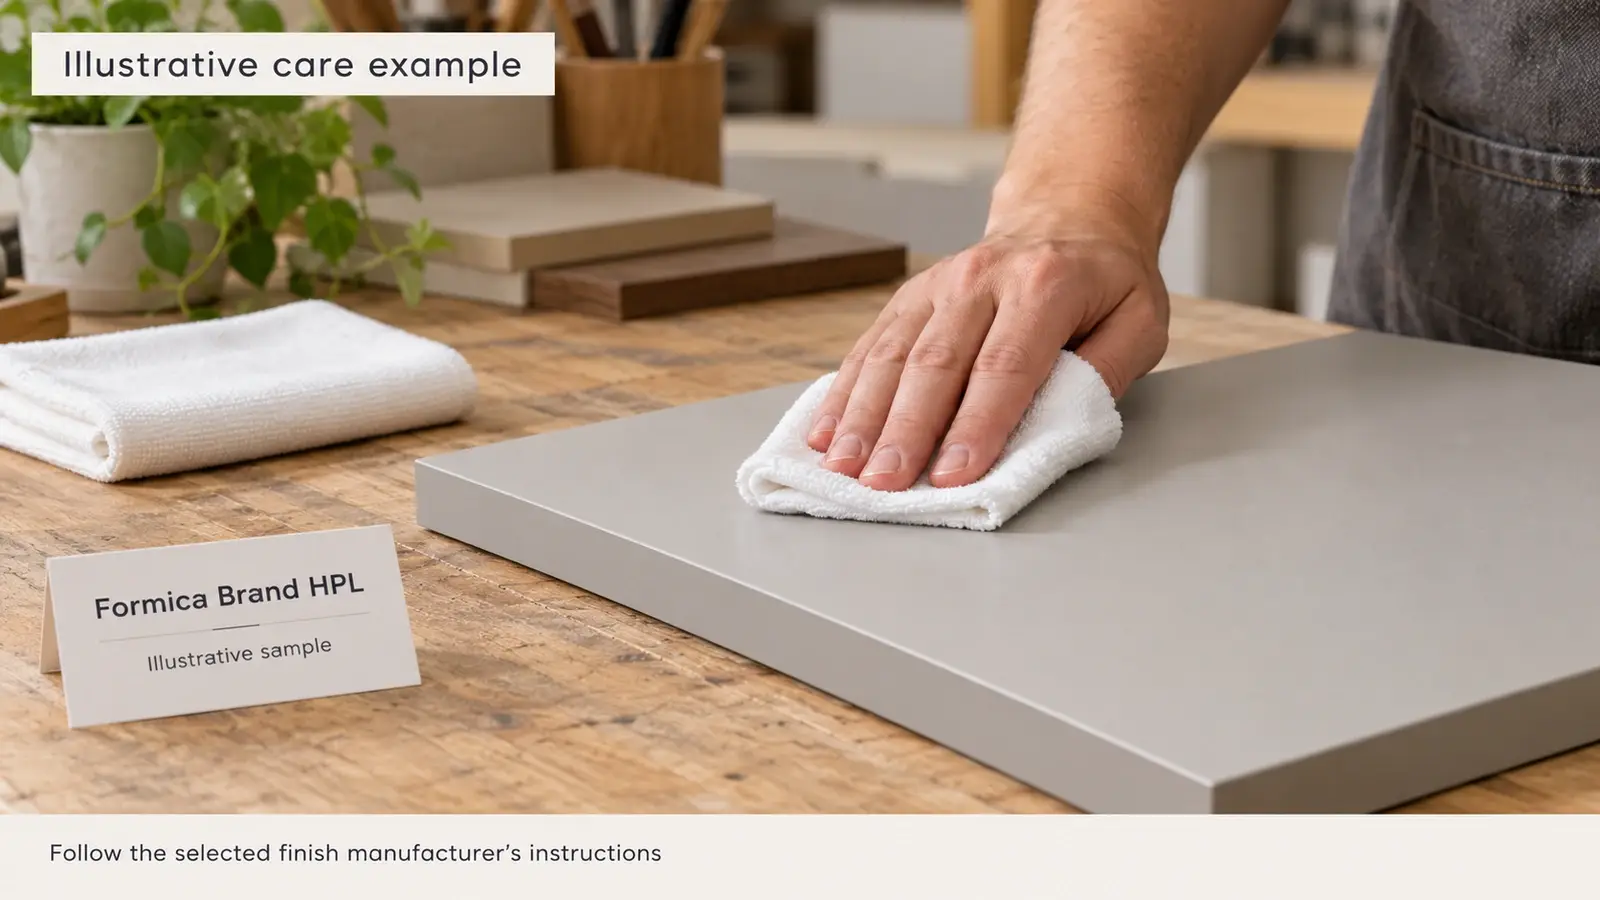
For routine care, a clean, soft cloth lightly dampened with water and an approved mild detergent is a common starting point. Follow the product’s instructions for the cloth, cleaning solution, rinsing and drying. Remove loose grit without rubbing it into the face, and avoid flooding edges or joints.
Clean cooking residue before it becomes difficult to remove. Pay attention around handles and along the lower edge, then dry the surface as directed. If a mark remains, consult the care sheet before increasing the strength of the cleaner or rubbing harder.
Avoid Unapproved Cleaners and Repair Methods
Scouring pads, abrasive powders and rough or dirty cloths can change the surface. Do not assume a glass cleaner, alcohol, solvent, furniture polish, melamine eraser or steam cleaner is suitable because it worked on another cabinet. Special finishes can have different instructions even within the same manufacturer’s range.
Some acrylic gloss products have an approved scratch repair process, while other surfaces cannot be treated in the same way. Polishing a matte or coated front without instructions may change its appearance. Ask about repair limits and replacement availability before ordering, and use product test data when comparing scratch or stain resistance.
Edge Banding Joints and Moisture
Inspect the Front Back and Corners Together
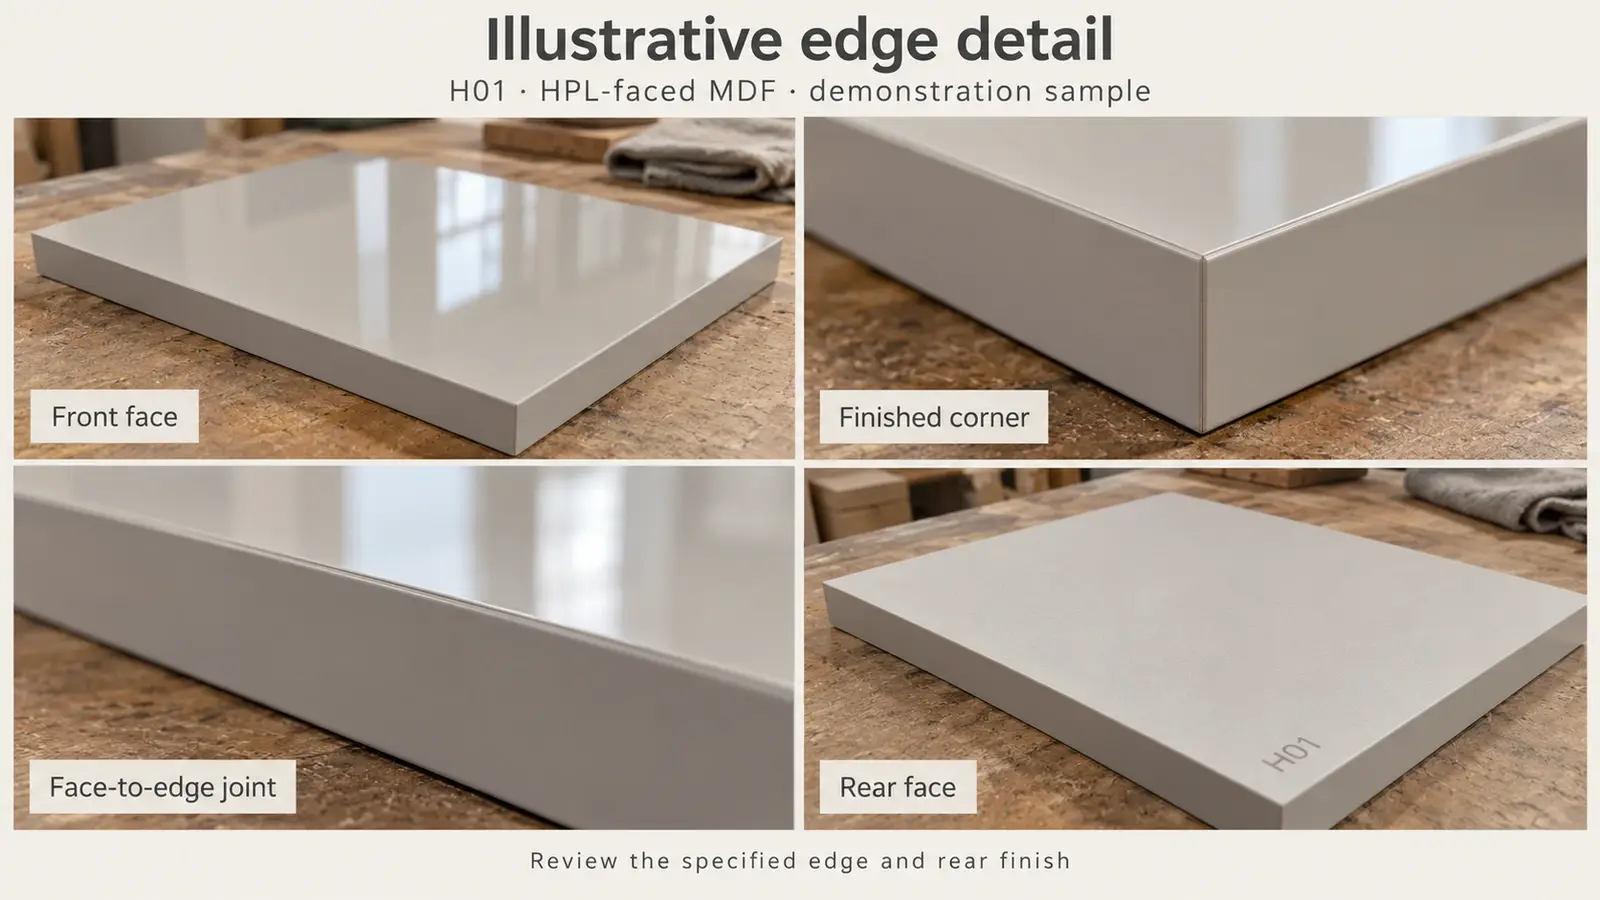
The edge is part of the finished door specification. Check its color, sheen, profile and texture against the face, including where the edge meets the front and back. Look for visible gaps, lifting, chipped corners, adhesive residue and uneven trimming. Approve an achievable joint appearance with the fabricator.
A description such as zero joint concerns a particular edge system and its appearance. It does not, by itself, establish a waterproof door. Confirm the edge material, bonding process and suitability for the location, including any exposed cutouts. The back and balancing construction should follow the panel system’s fabrication requirements.
Coordinate Water Heat and Hardware Before Manufacture
Water can reach a vulnerable substrate through joints, damaged edges or unprotected openings. Wipe spills promptly and resolve leaks. A moisture-resistant surface or board should not be treated as permission to leave the assembled door wet.
At sinks, dishwashers, ovens and kettles, review steam, heat and water exposure with the cabinet and appliance instructions. Confirm required clearances and any specified protection; avoid applying a universal heat limit to every front. Coordinate the finished thickness, weight, edge shape and drilling with the cabinet hinge selection guide. Hardware holes and handle details belong in the approved drawings.
How to Approve Cabinet Finish Samples
Request a Fabricated Door Sample
A loose color chip helps shortlist finishes, but a fabricated sample shows the face, core, back, corners and edge together. Request one made with the proposed materials and production process. For a large front or unusual handle detail, agree whether a representative full-size sample or mock-up is needed.
Remove protective film on the review sample in accordance with the supplier’s instructions so it does not distort the color or gloss assessment. Agree separately when film should be removed from production doors. Keep an identified reference sample rather than relying on a photograph of the selection.
Review the Finish Beside Other Kitchen Materials
Place the door sample beside the actual countertop, backsplash and hardware samples. Review the combination under the intended lighting and check grain or texture direction across adjoining fronts and visible panels. A matching color name does not establish a match between different products, surfaces or production batches.
For projects with several rooms, use finish schedule and sample references to connect each selection to its location. Record substitutions and obtain approval before they reach production.
Record the Specification and Acceptance Criteria
| Approval item | What to record |
|---|---|
| Sample identity | Sample number, revision, reviewer, date and approval status |
| Surface | Manufacturer, collection, acrylic or HPL construction, product and color codes |
| Sheen and direction | Named gloss or matte finish, texture and grain orientation where applicable |
| Panel and back | Substrate product, finished thickness, backing and balancing construction |
| Edge detail | Edge product, color, profile, bonding method and agreed joint appearance |
| Door fabrication | Sizes, profiles, handle details, hinge drilling and drawing revision |
| Appearance review | Agreed viewing conditions and criteria for face marks, edges and adjacent parts |
| Care and changes | Product care sheet, repair limits, replacement plan and substitution approval |
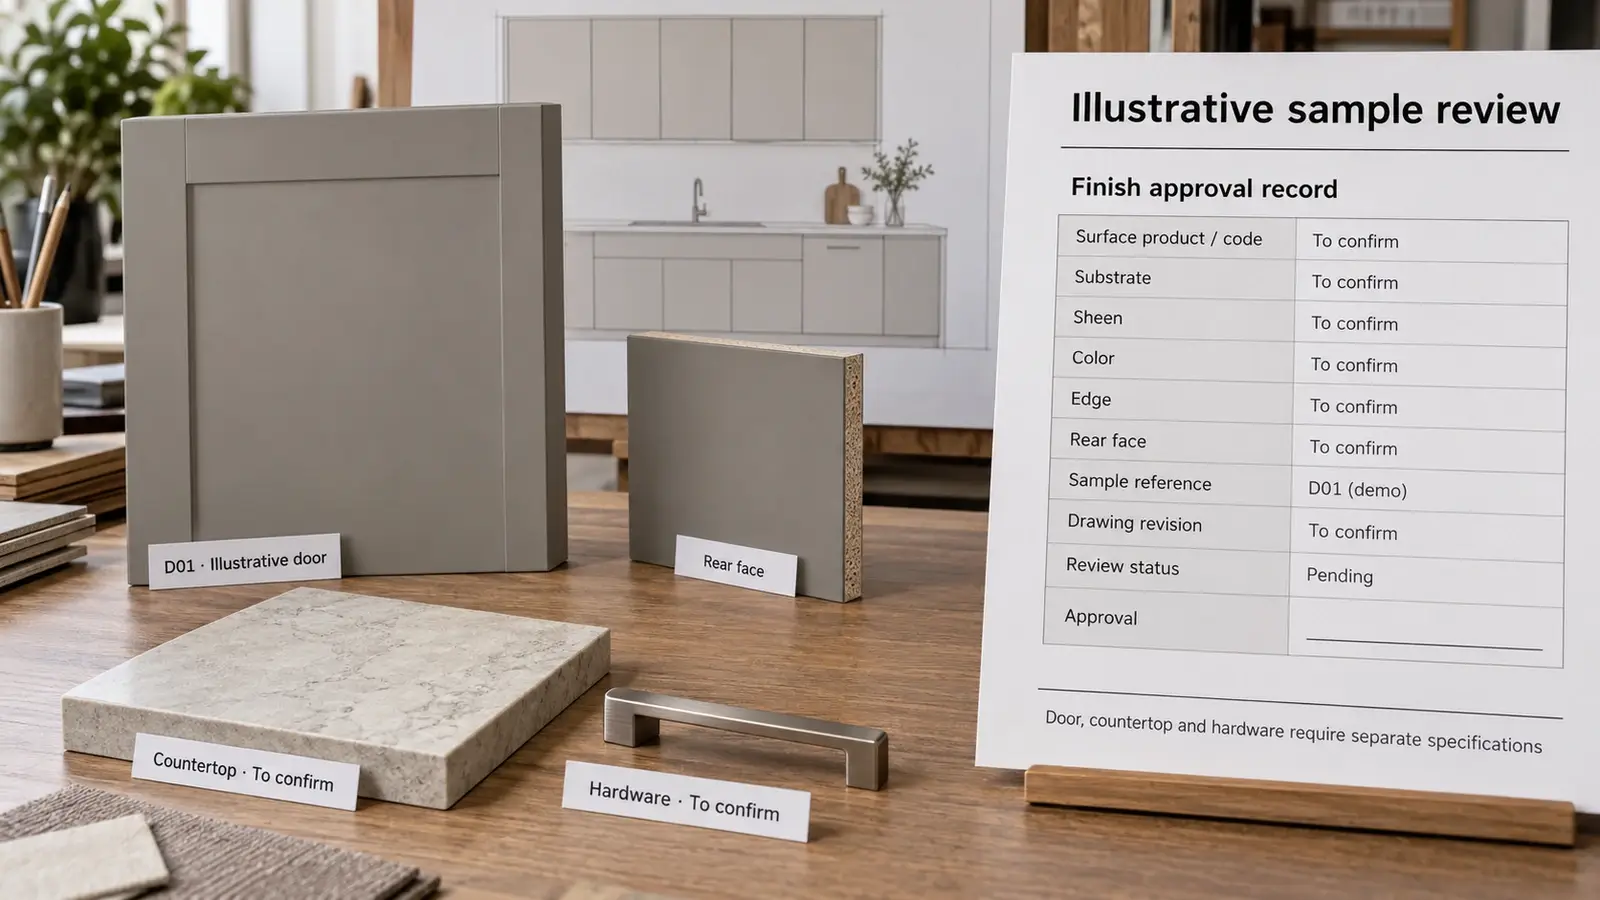
Keep the approved sample, drawings and quotation tied to the same specification. A finish name such as white gloss is too broad to control a purchase. Where color or pattern variation is expected, agree the acceptable range and inspect enough samples to understand it.
Acrylic vs Laminate Cabinet Cost and Selection
Compare the Same Fabricated Scope
Acrylic is often presented as an upgrade, but a material label does not establish a fixed price premium. Surface grade, substrate, door size, edge processing, fabrication and quantity all affect the quotation. Hardware, exposed end panels, fillers and installation can also change the total.
Use the cabinet quotation comparison guide to price the same layout and included items. Ask suppliers to identify exclusions, samples, packing, delivery and installation separately. A lower price for doors alone cannot be compared directly with a complete cabinet package.
Choose the Product You Can Approve and Maintain
Choose an acrylic front when its actual color, reflection or matte appearance suits the design and its care requirements fit the household. HPL when the shortlisted decor, texture and fabricated edge meet the brief. If the proposed alternative is TFL or thermofoil, review it as a separate construction.
Before release, confirm matching replacement fronts or spare material, especially for prominent doors and patterned runs. For a coordinated quotation, send your cabinet schedule and finish requirements, including drawings, quantities, product codes, sample requirements and delivery location.
Frequently Asked Questions
Are Acrylic Cabinets Better Than Laminate Cabinets
The answer depends on the exact products and fabricated doors. Compare their appearance, cleaning requirements, edge details and total scope. Neither surface name establishes the quality of the cabinet box or hardware.
Which Finish Shows Fewer Fingerprints
Color, sheen, texture and the particular surface treatment affect visible handling marks. Compare samples under the kitchen lighting and follow their care instructions. An anti-fingerprint description is not a guarantee of a mark-free surface.
Are Acrylic or Laminate Cabinet Doors Waterproof
Do not assume so. The assembled door includes edges, joints, openings and a substrate. Check the specified construction for the intended location and protect it from prolonged water exposure.
Can Scratches Be Polished Out of Acrylic Cabinet Doors
Only use a repair process approved for the specific product. Some gloss acrylic surfaces can be treated, while other coatings and matte products need different handling or replacement. Generic polishing advice can make the appearance worse.