
By George House/12,Sep.2025
Standard door measurements should be recorded as a coordinated set, not as one width-by-height number. A complete survey separates the door leaf, frame, rough opening, finished wall, threshold, clear passage and hardware. This guide provides a repeatable method for new construction and replacement-door RFQs.
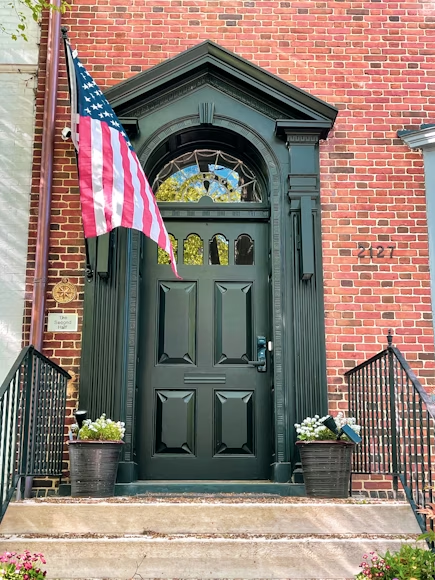
What Should a Door Measurement Include?
| Survey item | How to record it | Why it matters |
|---|---|---|
| Door leaf | Width × height × thickness | Defines the nominal panel and hardware preparation |
| Frame outside size | Overall width × height | Coordinates the product with the opening |
| Rough opening | Three widths, three heights and two diagonals | Shows available tolerance and out-of-square conditions |
| Finished wall | Total depth and finish build-up | Determines jamb depth, casing and returns |
| Finished floor | Level, build-up and transition | Controls threshold, undercut and final height |
| Clear passage | Width at the open door | Supports accessibility and movement checks |
Use the standard door height guide for height planning and the door frame width guide for the difference between nominal, frame and clear dimensions.
Tools for a Repeatable Site Survey
- Calibrated tape or laser distance meter
- Spirit or laser level
- Square and straightedge
- Feeler gauge where tight clearances must be recorded
- Camera or phone for identified photographs
- Opening schedule with unique door marks
Record units consistently. Do not mix millimeters and inches in the same schedule without a clearly controlled conversion. For large projects, one person should measure and another should review critical openings before fabrication release.
How to Measure a Door and Opening
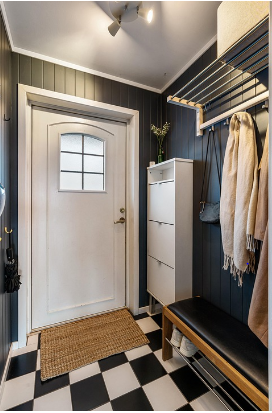
1. Identify the replacement scope
Decide whether the project needs a replacement leaf, a door-and-frame set or a completely new structural opening. A leaf-only replacement requires hinge, lock, bevel and existing-frame measurements that are not sufficient for a complete-frame replacement.
2. Measure width and height at three points
Measure opening width at the head, mid-height and sill. Measure height at the left jamb, center and right jamb from the finished-floor reference. Record every result rather than only the smallest value; the variation helps the installer understand the opening condition.
3. Check square, level and plumb
Compare diagonals and check both jambs and the head. A nominally correct opening can still be unusable when it is twisted, tapered or out of level. Mark conditions that require builder correction before the door is installed.
4. Record the wall and threshold
List structural wall type, plaster or board thickness, tile or stone, reveals, casing and sealant joints. At exterior doors, also record slab or curb level, sill pan, drainage path, waterproofing and interior/exterior floor transitions.
5. Confirm handing and hardware
Use a single handing convention and show it on the plan. Record hinge or pivot locations, lock backset, closer, panic hardware, access control, door stop and any overhead conflict. Photographs should show both faces of the opening.
Factors That Change the Final Door Size
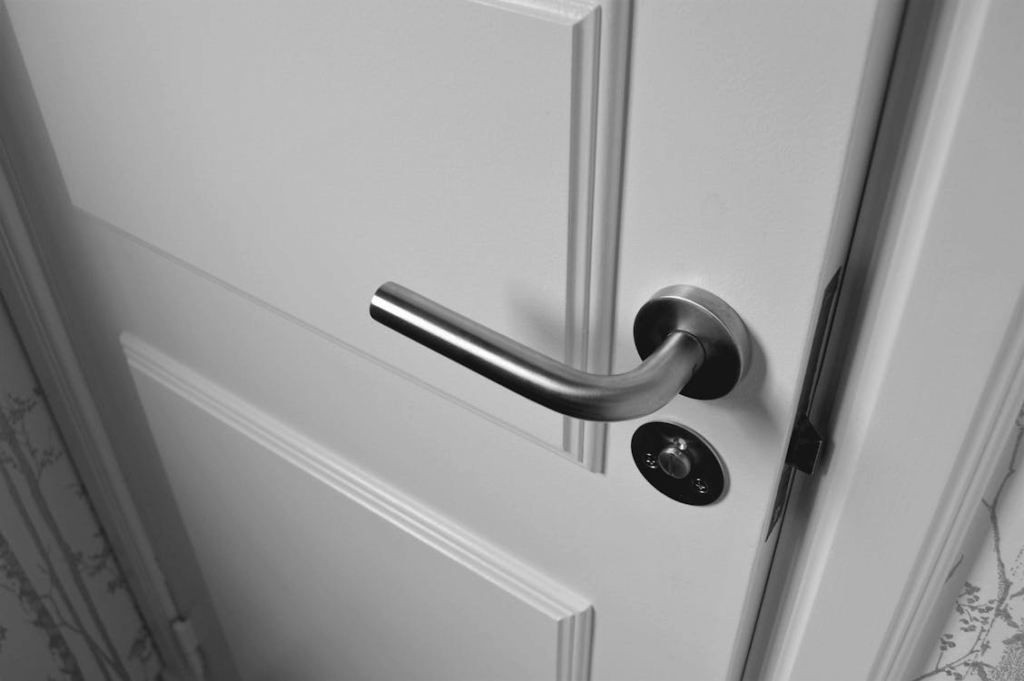
- Frame material and profile
- Single leaf, pair, sliding, folding or pivot operation
- Threshold and weather-seal configuration
- Fire, smoke, acoustic, security or impact requirements
- Glazing and panel weight
- Wall depth, finish returns and casing
- Accessible-route and egress requirements
- Manufacturer-specific installation tolerance
The U.S. Access Board measures accessible clear width at the completed opening and includes related requirements for maneuvering clearance, thresholds and hardware. Consult the official entrances, doors and gates guide, then verify the locally adopted rules with the responsible project team.
Record Tolerance and Change Control
A field survey captures the opening on one date; later screed, tile, plaster, cladding or structural work can change it. Mark the drawing revision, survey date and status of surrounding finishes. Identify dimensions that are confirmed, dimensions that remain design values and openings that need rework. Before fabrication, the contractor, designer and supplier should agree which record controls. This simple change log prevents an early measurement from being treated as a final production dimension after the site condition has changed.
Door Measurement Sheet for an RFQ
- Project, building, level, room and door mark
- Quantity and unique opening reference
- Existing and proposed door type
- Leaf, frame and rough-opening dimensions
- Finished wall and floor build-ups
- Handing and hardware set
- Performance and code criteria supplied by the designer
- Annotated elevation, section and site photographs
- Required shop drawings, samples, reports and warranty
For a rough-opening example, review the 32-inch door opening guide. Browse coordinated systems through the door and window hub, or send the completed measurement sheet for a project quotation.




