By George House/07,Oct,2025
Wallpaper for kitchen walls can add pattern, texture and color without changing cabinetry or worktops. Suitability depends on the exact location, wall condition, ventilation, cleanability and the product manufacturer’s instructions.
Treat wallpaper as one finish within the kitchen assembly. Keep it away from unsuitable heat, splash or grease exposure, approve a representative sample and coordinate the roll layout before installation.
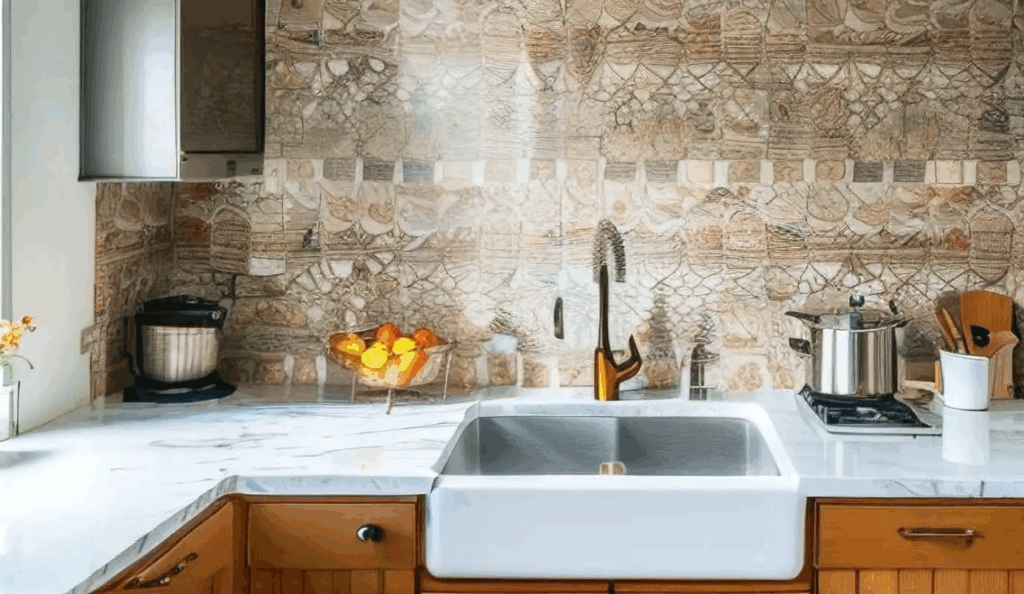
Choose the Right Wall Location
| Kitchen Zone | Selection Question | Risk to Resolve |
|---|---|---|
| Dining or feature wall | Does the pattern suit the room scale and viewing distance? | Visual overload or poor pattern placement |
| Wall near sink | Is the product approved for intermittent moisture and cleaning? | Edge lifting, staining or moisture behind the finish |
| Wall near hob or oven | Does the manufacturer permit the location and required clearance? | Heat, grease and fire-safety limitations |
| Inside open shelving | Can seams and cuts align with the joinery? | Difficult trimming and visible mismatches |
| Rental or temporary fit-out | Is the substrate compatible with removable adhesive? | Paint damage, residue or early release |
Fix cabinet, appliance and splashback locations through the custom kitchen design process before finalizing wallpaper extents.
Compare Kitchen Wallpaper Types
Paste-the-Wall or Traditional Wallpaper
These products can offer a wide pattern range and stable installation when the specified adhesive, primer and wall preparation are used. Confirm washability, coating, dimensional behavior and removal method for the exact product.
Peel-and-Stick or Removable Wallpaper
Removable products can simplify future changes, but performance depends on the substrate, paint condition, temperature, humidity and installation technique. Test a sample on the actual wall and follow the manufacturer’s curing and removal guidance.
Coated or Washable Wallpaper
Washable does not mean suitable for continuous water or every cleaning chemical. Ask for the stated cleaning method, stain limitations, seam treatment and intended room type. Use tile, glass or another approved splash surface where direct water, heat or heavy grease exposure requires it.

Coordinate the wallpaper color against cabinet samples using the kitchen cabinet color selection guide.
Control Pattern, Color and Roll Variation
Large patterns need enough uninterrupted wall area to read correctly. Small repeats can be easier around shelves and openings but may look busy across a wide kitchen. Review the design at full scale, in the project lighting and beside the actual cabinet, worktop and flooring finishes.
- Record pattern number, colorway, roll width and repeat.
- Confirm straight, drop or random match and its effect on wastage.
- Approve seam visibility, orientation and the position of focal motifs.
- Order one production batch where color consistency is important.
- Keep a labeled spare roll for localized repair.
Wood grain, door profile and finish sheen all influence the backdrop; compare them with the wood kitchen cabinet selection guide.
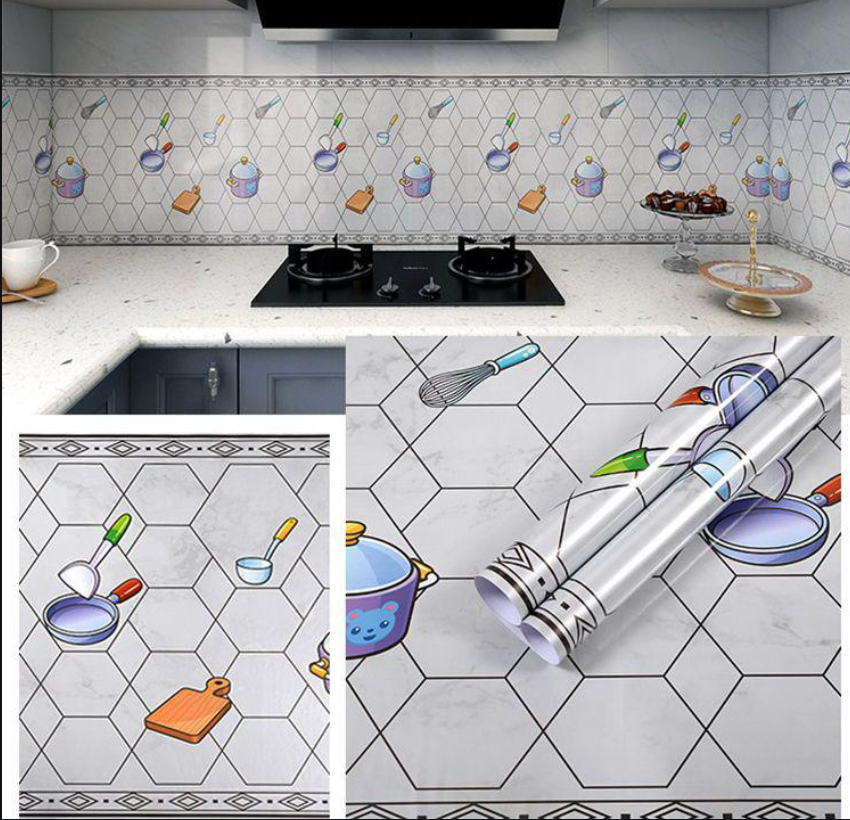
Measure and Order by Roll
Measure each wall, subtract only openings that materially reduce consumption, and calculate drops using roll length, wall height and pattern repeat. Add an allowance for pattern matching, trimming, damaged lengths and future repair. Do not compare quotations using square area alone when roll sizes or repeat losses differ.
| Input | Record |
|---|---|
| Wall dimensions | Width, finished height, openings, corners and obstructions |
| Product data | Roll width, roll length, repeat and match type |
| Setting out | Start line, focal motif, seam positions and cut locations |
| Allowances | Pattern matching, trimming, defects and spare material |
| Interfaces | Cabinets, worktops, splashbacks, outlets, trims and ceilings |
Use the kitchen counter height planning guide to coordinate the visible wall zone between worktops, splashbacks and wall cabinets.
Prepare the Wall and a Trial Area
- Resolve moisture, leaks, cracks and unstable coatings before decoration.
- Confirm the substrate is dry, smooth, clean and compatible with primer and adhesive.
- Test adhesion and removal on a discreet section of the actual wall.
- Mark a plumb start line and dry-plan pattern placement around focal areas.
- Install under the temperature and humidity conditions required by the manufacturer.
- Inspect seams, bubbles, edges and trimming before the area is handed over.
When the work forms part of a larger upgrade, sequence wall preparation and finish approvals with the apartment renovation planning guide.
Kitchen Wallpaper RFQ Checklist
- Room elevations, wall dimensions, openings and finish limits
- Manufacturer, collection, pattern, colorway and product code
- Roll dimensions, pattern repeat, match type and batch requirement
- Intended kitchen zone, substrate and environmental limitations
- Cleanability, stain, moisture and fire requirements where applicable
- Primer, adhesive, seam treatment, trims and installation method
- Full-size sample, trial area and approval responsibilities
- Quantity basis, wastage, spare rolls, packing, delivery and care instructions
Approve the Product in Its Real Location
Wallpaper for kitchen walls should be approved against the actual substrate, exposure and surrounding finishes. A full-size sample and trial area make color, pattern, seams and cleanability easier to judge before the complete order is installed.