By George House/20,Dec,2025
Custom wardrobes are designed around a specific room, storage inventory and installation condition. The useful difference is not simply a choice of color. A made-to-measure package can coordinate wall-to-wall fit, door operation, internal zones, panel construction, hardware, lighting and interfaces with floors, ceilings and services.
Begin with a clear brief and a coordinated custom wardrobe design package. The survey, elevations, material schedule and approved samples should describe what will be manufactured and how it will fit on site.
Custom, made-to-measure and built-in wardrobes
Custom and made-to-measure wardrobes are produced for a defined opening or room. A built-in wardrobe is fixed to the building and commonly uses fillers, scribes, plinths or closure panels to meet adjacent surfaces. A freestanding unit may still be custom-made, but it is not resolved into the room in the same way.
Confirm which description applies because it affects the site survey, tolerances, fixing method, finishing scope and responsibility for uneven walls or floors.

Survey the room before fixing the layout
Measure at several points rather than relying on one width and height. Record finished floor level, ceiling variation, wall plumb, corners, skirting, cornices, doors, windows, beams and access for delivery. Locate switches, sockets, vents, sprinklers and other services that must remain usable.
Use the standard closet size guide as planning context, then adapt the design to the room and storage brief. Standard references do not replace a measured survey.
Internal depth should suit the intended clothing and door system. The standard closet depth guide explains typical hanging and shelving allowances, but confirm hanger size, garment projection, door tracks and handle clearance on the actual design.
Build the interior around a storage inventory
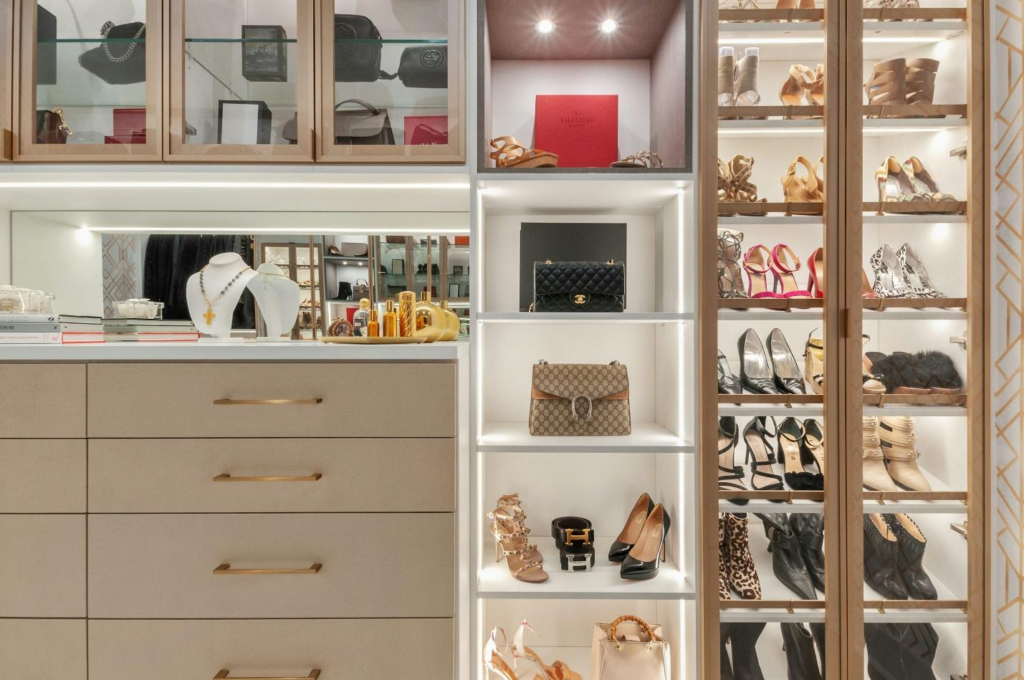
Count long-hanging garments, short-hanging garments, folded clothes, shoes, luggage, accessories and seasonal items. Note which items need daily access and which can be stored higher. Size compartments from their contents instead of dividing the elevation into equal boxes.
- Use adjustable shelves where storage requirements may change.
- Check clear opening and load for drawers, baskets, trouser racks and shoe pull-outs.
- Keep frequently used items within a comfortable reach range for the intended users.
- Provide ventilation or material separation where damp footwear or laundry may be stored.
- Reserve access for drivers, transformers and service panels when integrated lighting is specified.
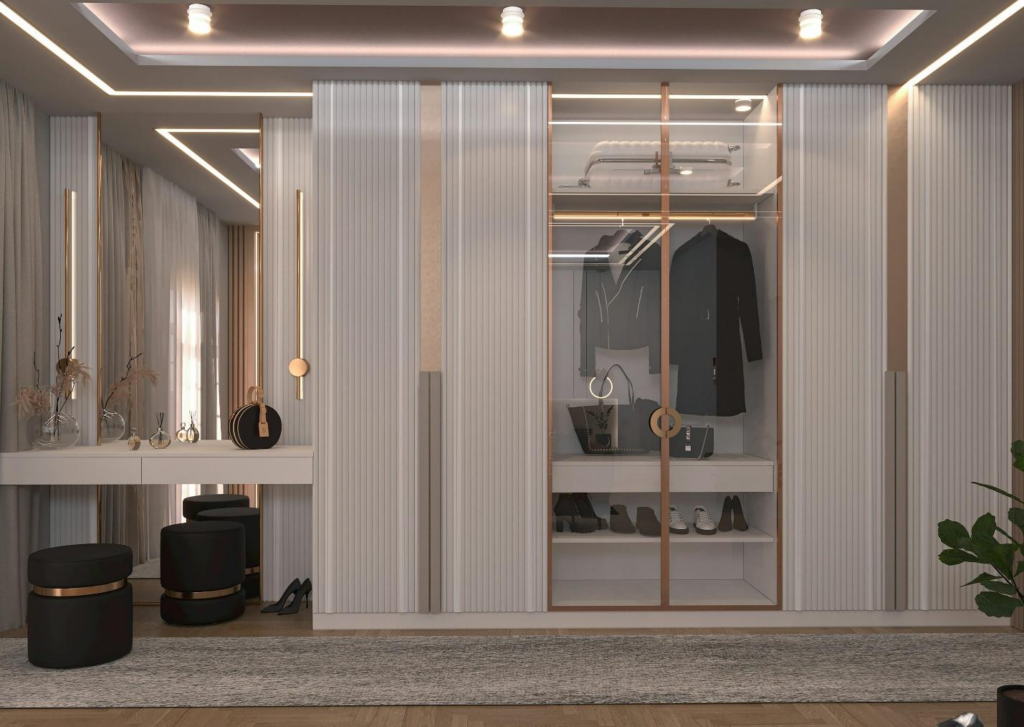
Select the door system from access and clearance
Hinged doors
Hinged doors can expose the full cabinet opening and allow accessories on the door back. Check door swing, adjacent furniture, handle projection, hinge opening angle and the weight and size limits of the selected hardware.
Sliding doors
Sliding doors avoid projecting into the room, but one panel normally overlaps another and limits simultaneous access. Track depth reduces usable cabinet space. Confirm soft-close hardware, anti-jump features, floor or bottom guidance and access for cleaning and adjustment.
Folding and pocket arrangements
Folding and pocket systems can widen access but need more complex hardware and tolerance control. Obtain manufacturer details for panel weight, stacking space, tracks, pivots and maintenance.
If a reflective front is considered, review glass make-up, edge protection, fixing and replacement through the mirror closet door guide.
Specify panels, finishes and edges
Separate the carcass, back, shelf, drawer box, front and exposed side specifications. For each component, state substrate, thickness, finish on both faces, edge treatment, color, sheen and acceptable variation. A generic term such as wood, MDF or laminate does not define the complete panel.
- Confirm moisture and formaldehyde requirements that apply to the destination and project specification.
- Review long shelves for span, load and deflection rather than selecting thickness by appearance.
- Protect exposed and concealed edges in locations subject to cleaning or moisture.
- Approve grain direction, pattern repeat and color range on representative samples.
- Coordinate fillers, scribes, end panels, plinths and ceiling closures with visible joints.

Coordinate hardware, lighting and services
List hinge, runner, track, lift, handle and organizer references in the hardware schedule. Check load ratings, opening angles, soft-close function, finish and spare-part availability. Show drilling and reinforcement where hardware is fixed to panel edges or thin fronts.
For integrated lighting, define light source, profile, diffuser, sensor, driver, voltage, cable route and access for replacement. Coordinate electrical work with local requirements and avoid trapping serviceable components behind fixed panels.
Approve samples and shop drawings
A useful sample set includes a front, carcass interior, exposed side, edge, handle and representative joint. Shop drawings should show plans, elevations and sections with finished dimensions, door swings, internal clearances, hardware, fillers, scribes, fixing zones, lighting and service interfaces.
Release production only after the room survey, storage layout, material schedule, samples and drawings agree. Record revisions and identify any site work that must be completed before installation.
Installation and care checklist
- Verify room readiness, access, finished levels and concealed-service locations.
- Protect floors and finished panels during unloading, assembly and fixing.
- Level and anchor the carcasses without forcing them to follow uneven walls.
- Adjust doors and drawers, test lighting and confirm safe operation of every accessory.
- Hand over cleaning instructions, adjustment points, spare parts and approved repair materials.
For a measured wardrobe schedule, sample set and project quotation, contact George House Material.




