By George House/28,Apr,2026
Kitchen island measurements should be derived from the room, circulation, users and functions. There is no single standard island length or width. The island that fits is the one that leaves workable aisles, clear appliance and door movement, sufficient seating space and coordinated services.
Start with a measured kitchen design plan showing finished walls, cabinet fronts, appliance models, openings and traffic routes. Add the island only after the required clearances are visible.
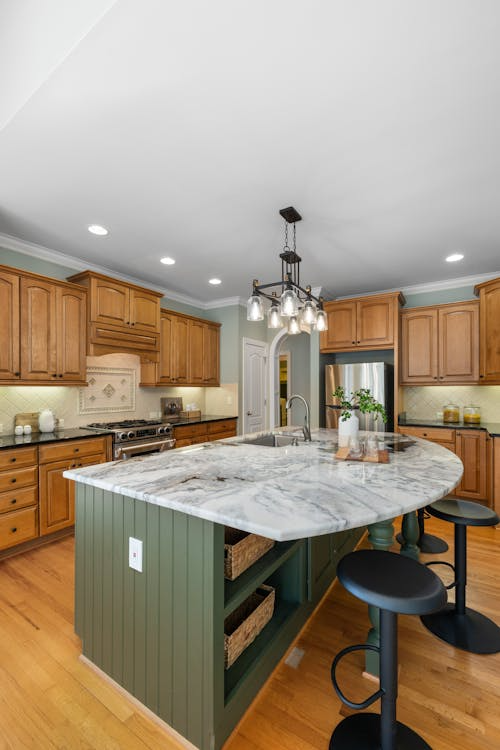
Useful planning dimensions
The NKBA Kitchen Planning Guidelines provide recommendations for work aisles, walkways and seating. They are planning guidance, not a substitute for the project’s local building, electrical, plumbing, gas, accessibility or fire requirements.
- Work aisle: at least 42 inches (1,067 mm) for one cook and 48 inches (1,219 mm) for multiple cooks in the cited NKBA guidance.
- Walkway: at least 36 inches (914 mm), measured clear of projecting handles and other obstructions.
- Seating width: plan at least 24 inches (610 mm) per seated diner.
- Knee-space depth: the cited guidance uses 18 inches at a 30-inch surface, 15 inches at 36 inches high and 12 inches at 42 inches high.
- Traffic behind seating: allow more space when people need to edge or walk behind an occupied stool.
Treat these as starting values. The required distance can increase for wheelchair movement, appliance operation, opposing storage, high traffic or project-specific standards.
Calculate the maximum island footprint
For a parallel layout, subtract the required aisle on both sides from the clear room width. The remainder is the maximum island width before adding projections. Perform the same check along the island ends for cross traffic, door swings and access to adjacent rooms.
Measure clearances from the countertop edge, appliance face, tall cabinet or other projection that defines the usable aisle—not from the wall behind it. Test the layout with refrigerator, oven, dishwasher, cabinet doors and drawers open.
Dimension from finished surfaces
Use finished faces as the measurement baseline. Wall tile, end panels, appliance handles and worktop overhangs can reduce a nominal aisle. Show the dimension string on the plan so the cabinet supplier, worktop fabricator and installer all work from the same reference.
Test the footprint before release
Mark the proposed island outline on the floor or use a full-scale mock-up. Place stools and open nearby doors to test the occupied condition. This simple review can reveal circulation and reach problems that are not obvious on a perspective rendering.
Length follows function
Set the island length from the required work surface, sink or appliance modules, storage divisions, seating positions, end panels, support and tolerances. A longer island is not automatically more useful if it separates work centers or creates a narrow route around its ends.
Width follows reach and construction
Island width combines cabinet depth, service voids, worktop overhang and any back-to-back units. Check whether the center of a deep top can be cleaned safely and whether seams and support are practical for the selected worktop material.
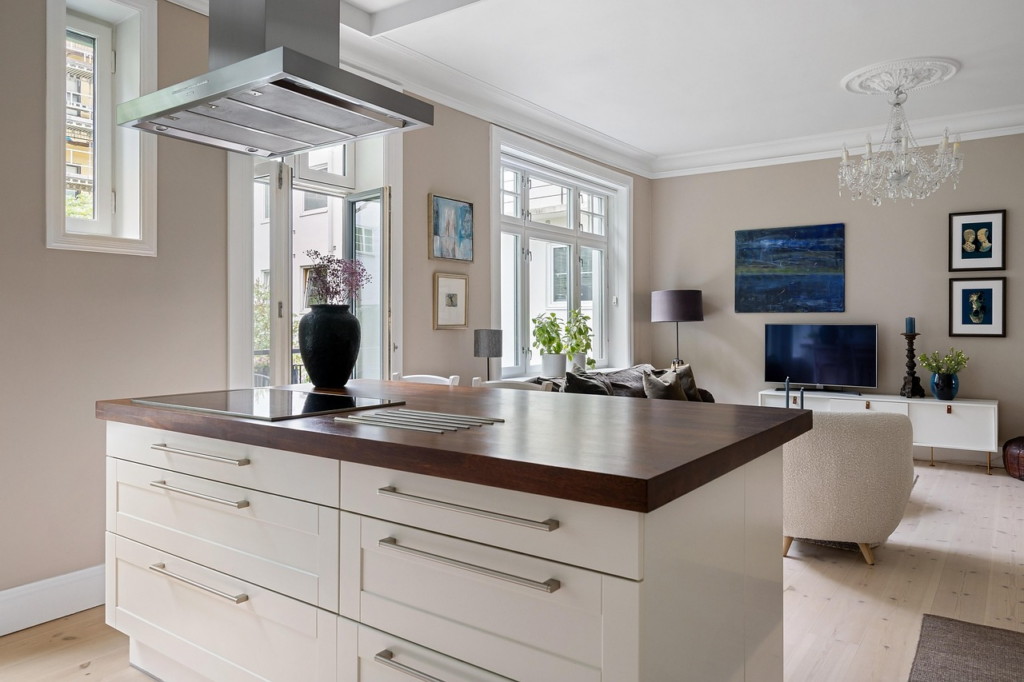
Set worktop and seating heights
A conventional kitchen worktop is commonly planned around 36 inches (914 mm), while raised bar seating is often around 42 inches (1,067 mm) and table-height seating around 30 inches (762 mm). The countertop height guide explains why the final dimension should reflect users, tasks, appliances, floor build-up and accessibility requirements.
Mixed-height islands can separate work and seating, but they add joints, support and cleaning edges. Confirm stool seat height, knee clearance, foot support and the relationship between a seated person and the work zone.
Coordinate sinks and appliances
A kitchen island with sink needs more than a wider cabinet. Show the sink bowl, faucet, waste, water lines, disposer if used, dishwasher, service access, countertop cutout, support and waterproofing interfaces.
For a cooktop, confirm product clearances, ventilation route, power or gas supply, heat protection and landing areas. Do not select the cabinet modules before the exact appliance data and local service requirements are available.
Plan storage, waste and support
Assign drawers, shelves, waste bins and appliances to exact cabinet bays. Coordinate the island with the rest of the kitchen storage, including any corner pantry cabinet, so that door swings and access zones do not conflict.
- Use drawer and hardware load ratings that match cookware and small appliances.
- Show countertop overhang, brackets or concealed support in section.
- Keep electrical, plumbing and ventilation components accessible for service.
- Plan floor penetrations before waterproofing, heating systems or finish installation.
- Confirm how the island will be anchored without damaging concealed services.
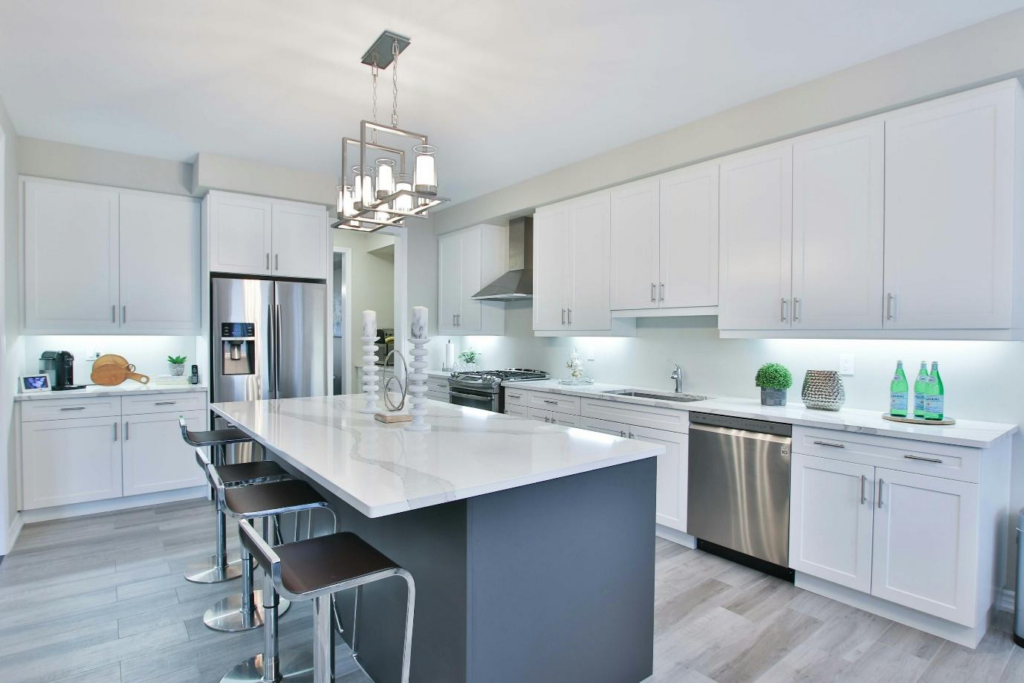
Show the island in coordinated drawings
The drawing set should include a dimensioned plan, elevations and sections. Record finished dimensions, cabinet divisions, doors and drawers, seating, worktop build-up, overhangs, supports, appliances, cutouts, lighting, power, plumbing, ventilation, floor fixings, fillers and tolerance zones.
Use the exact appliance and hardware references in the schedule. Approve finish samples and, for complex interfaces, a full-size detail or mock-up before production.
Kitchen island measurement checklist
- Survey finished room dimensions, openings, traffic routes and service points.
- Set required work aisles, walkways, seating clearance and accessibility space.
- Define island length, width and height from functions and exact component sizes.
- Coordinate cabinets, hardware, worktop, support, appliances, lighting and services.
- Approve drawings, samples, installation method and site-readiness responsibilities.
For a dimensioned island schedule and coordinated cabinet quotation, contact George House Material.




