
By George House/31,July,2025
Average window sizes are useful for early planning, but they are not a universal ordering standard. The same call size can describe different frame profiles, sash arrangements and rough-opening allowances from one manufacturer to another.
Use this guide to compare common residential window ranges, separate unit size from clear opening and prepare a controlled schedule. Confirm every final dimension against the selected product, approved drawings, site measurements and applicable local requirements.
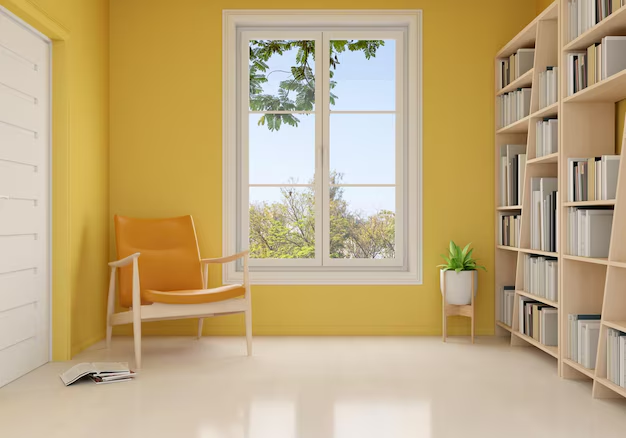
Common Window Size Ranges by Type
| Window Type | Indicative Width | Indicative Height | Planning Control |
|---|---|---|---|
| Single- or double-hung | 24â48 in | 36â72 in | Check sash travel, balance system and clear opening |
| Casement | 18â36 in | 30â72 in | Coordinate hinge side, operator and exterior swing |
| Sliding | 36â84 in | 24â60 in | Allow for fixed-panel overlap and track drainage |
| Awning | 24â48 in | 18â36 in | Check outward projection and rain exposure |
| Picture or fixed | 24â96 in | 24â96 in | Verify glass thickness, wind load and handling limits |
| Bay, bow or special assembly | Project-specific | Project-specific | Coordinate structure, roof, support and jointing |
These are planning ranges, not guaranteed stock sizes. Compare them with the catalog logic explained in the standard-sized windows guide before freezing a schedule.
Keep Five Window Dimensions Separate
| Dimension | What It Describes | Why It Matters |
|---|---|---|
| Call or nominal size | Catalog shorthand used to identify a product module | May not equal the physical frame size |
| Overall frame size | Outside-to-outside width and height of the manufactured unit | Controls fit, handling and adjacent finishes |
| Rough opening | Prepared wall opening before perimeter packing and sealant | Includes the selected system’s installation allowance |
| Visible glass | Daylight area seen inside the frame | Affects view, light and appearance |
| Clear opening | Unobstructed opening when the operable sash is in a defined position | Used for ventilation, access or egress checks where required |
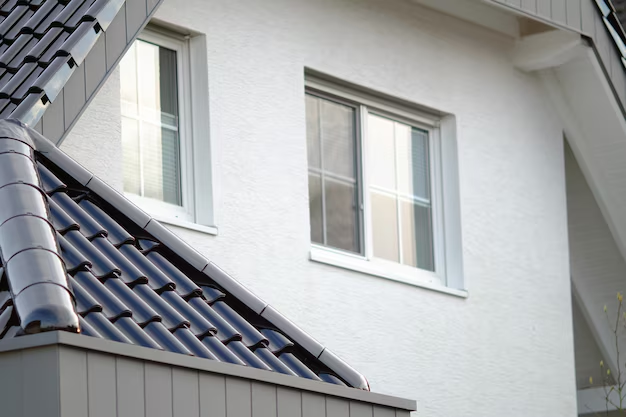
Choose Size Around the Room and Elevation
- Daylight: consider room depth, orientation, shading and interior surface reflectance rather than relying on a single window-to-floor ratio.
- Ventilation: confirm the operable area, insect screen and hardware position, not only the outside frame.
- Privacy: coordinate sill height, neighboring views and the room’s activity.
- Furniture: keep desks, counters, headboards and storage clear of the sash and operating hardware.
- Elevation: align heads, sills and mullions intentionally across related openings.
- Performance: large units may need different glass, reinforcement, anchors and handling methods.
For tall feature glazing, use the floor-to-ceiling windows planning guide to coordinate structure, safety glass, movement and access for replacement.
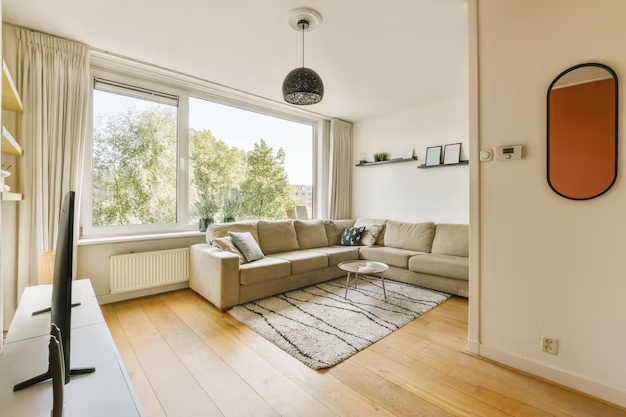
Standard or Custom Window?
| Use a Standard Module When | Consider a Custom Unit When |
|---|---|
| The rough opening can follow a verified catalog size | An existing opening cannot be altered economically |
| Repeated openings support efficient production | The elevation requires unusual proportions or divided lights |
| Lead time and replacement availability are priorities | Wind, acoustic, security or glass requirements need a special build |
| Approved details suit the standard frame and installation joint | Structure, waterproofing or adjacent finishes demand a project-specific detail |
Frame configuration can change cost as much as size. The double-panel window cost guide shows how glazing, hardware, finish and installation scope should be separated in a quotation.
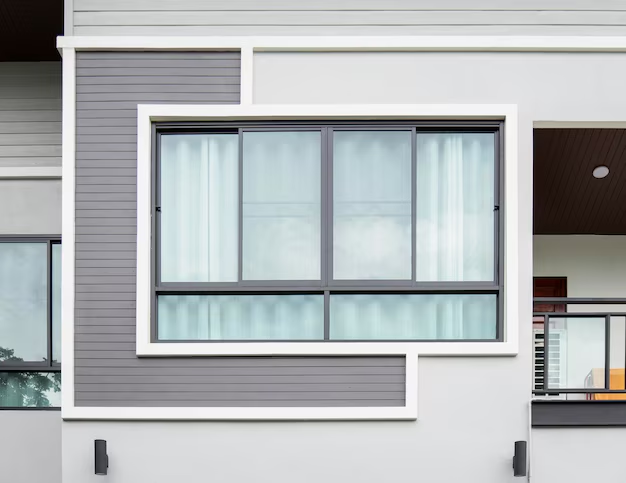
How to Measure a Window Opening
- Identify whether the work is new construction, insert replacement or full-frame replacement.
- Measure the accessible opening width and height at the top, middle and bottom.
- Record diagonals and check whether the opening is plumb, level and square.
- Measure wall depth, interior return, exterior reveal and finish build-up.
- Record sill condition, drainage path, flashing and perimeter sealant joint.
- Confirm operating type, handing, screen, hardware height and adjacent obstructions.
- Photograph each opening and assign a unique window mark.
- Reconcile field dimensions with the manufacturer’s required rough-opening allowance.
Replacement work also needs a decision on whether the old frame remains. Coordinate the opening, access and finishing scope with the broader door and window product hub.
Window Schedule and RFQ Checklist
- Window mark, quantity, room and elevation reference
- Overall frame width and height; required rough opening
- Operating type, handing, fixed and operable panels
- Frame material, profile, finish and color
- Glass build-up, safety treatment, coating, spacer and pattern
- Performance requirements for water, air, wind, acoustic or security
- Hardware, restrictors, screens, locks and access controls
- Subframe, anchors, flashing, sill pan, sealants and trims
- Shop drawings, samples, testing, warranty and replacement parts
- Packaging, lifting, storage, installation and protection responsibilities
Confirm the Product Before Ordering
Average window sizes narrow the early design choices, but the order must be based on an exact product and exact opening. Freeze the schedule only after dimensions, performance, glass, hardware, wall details and field conditions agree. If the opening connects to a terrace or patio, coordinate it with the patio door manufacturer selection guide so adjacent frames and finishes remain consistent.




