
By George House/04,Dec,2025
Bathroom floor tile ideas should begin with water, drainage, grip and cleaning before color or pattern. The same tile can feel different on a dry vanity floor, inside a shower or across a wet room because the format, finish, joints and slope all change the installed surface.
Use inspiration to set the direction, then approve the exact tile, batch, grout, waterproofing interface and installation mock-up for the room.
Compare Bathroom Floor Tile Materials
| Material | Design Opportunity | Selection Control |
|---|---|---|
| Porcelain | Broad range of stone, concrete, timber and solid-color looks | Verify intended floor use, finish, caliber, shade range and cutting method |
| Ceramic | Color and pattern options for appropriate bathroom zones | Confirm the exact product is rated for the proposed floor and exposure |
| Natural stone | Individual variation and material depth | Test the selected stone, finish and sealer; define maintenance expectations |
| Mosaic | Curves, borders, detailed patterns and easier slope transitions | Check mesh, adhesive coverage, joint density and cleaning load |
| Terrazzo or engineered surface | Continuous visual texture and custom aggregate effects | Confirm system build-up, slip data, joints and chemical compatibility |
For a material-focused comparison, use the bathroom floor tile guide before selecting a decorative direction.
Bathroom Floor Tile Ideas by Visual Effect
- Quiet large-format field: reduces the number of joints but demands a flat substrate and a slope strategy that fits the tile.
- Small-format shower floor: follows compound slopes more easily and uses grout lines as part of the visual texture.
- Geometric pattern: creates a focal floor; set the centerlines and border cuts in a dry layout.
- Stone look: adds movement without requiring every maintenance characteristic of natural stone.
- Timber look: introduces warmth; stagger and plank proportions should follow the tile supplier’s layout guidance.
- Tone-on-tone palette: uses related tile and grout colors to make fixtures and joinery more prominent.
Coordinate the floor with walls, lighting, fittings and storage. The modern bathroom ideas guide helps connect the tile direction to the complete room.
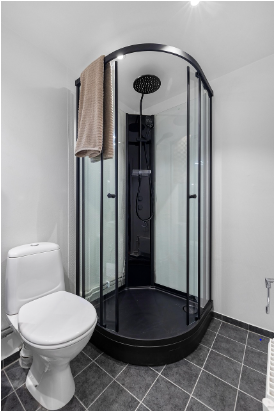
Choose Format Around Drainage and Cuts
| Condition | Layout Check |
|---|---|
| Point drain | Confirm how the tile format will form falls without excessive lipping or awkward cuts |
| Linear drain | Coordinate the drain location, single-plane slope and perimeter levels |
| Curbless entry | Resolve waterproofing, floor build-up, door clearance and water containment |
| Wall-hung vanity | Set grout lines and cuts around the visible floor and service penetrations |
| Freestanding bath | Check load, access, waste connection and the tile layout below the fixture |
| Door threshold | Coordinate finished levels, transition profile and swing clearance |
Fixture locations establish many of these control lines. Coordinate the floor with the clearances and zone logic in the standard shower dimensions guide.
Slip, Comfort and Cleaning
No single finish guarantees safety in every bathroom. Review the supplier’s applicable slip-test data, the wet-use zone, footwear or bare feet, drainage, contaminants and cleaning regime. More texture can improve grip in some conditions while increasing cleaning effort, so confirm the balance with a physical sample.
- Use grout joint widths permitted for the tile’s actual size variation.
- Choose grout color with realistic expectations for water marks and cleaning.
- Confirm compatibility among tile, adhesive, grout, membrane, sealant and cleaner.
- Consider underfloor heating, movement joints and substrate requirements as a system.
- Provide access to wastes and other service points without undermining waterproofing.
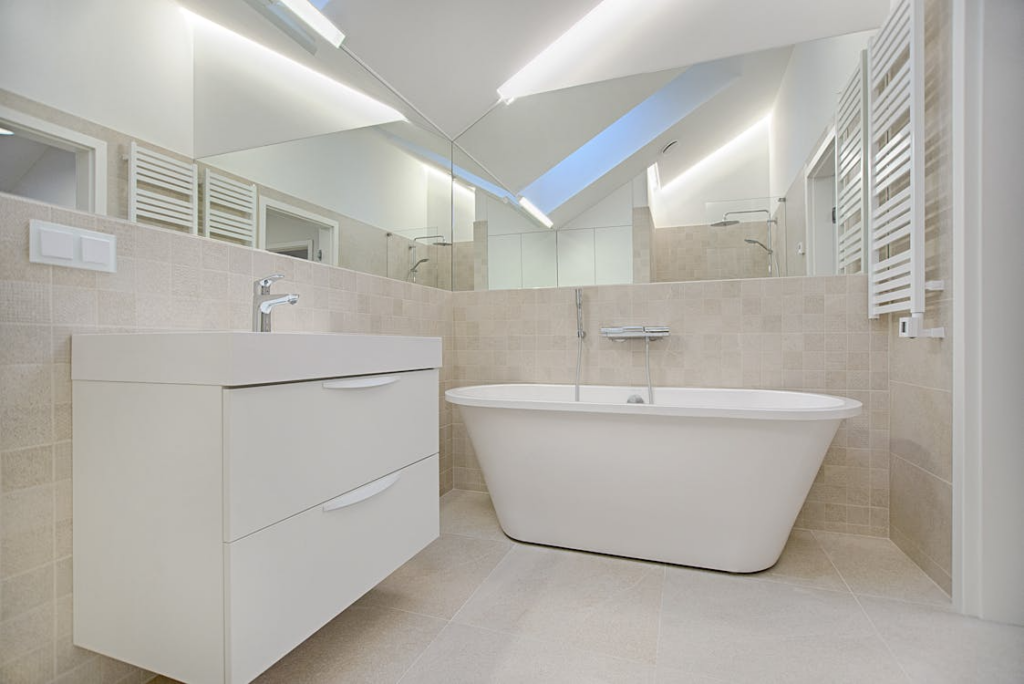
Sample and Mock-Up Process
- Mark wet, dry and transition zones on the bathroom plan.
- Shortlist tiles with data for the intended floor application.
- Review full-size samples under the room’s lighting and beside the vanity and wall finish.
- Confirm nominal versus actual dimensions, shade range and production batch.
- Prepare a dry layout around drains, thresholds, niches and principal sightlines.
- Build a representative mock-up including grout, sealant and any edge profile.
- Approve cleaning and maintenance before releasing the full order.
Where the vanity top and floor use related colors or stone effects, review them together. The custom bathroom vanity top guide explains the adjoining surface decisions.
Bathroom Tile RFQ and BOQ Checklist
- Room drawings, wet-zone plan, floor build-up, levels and drainage falls
- Tile manufacturer, collection, code, size, thickness, finish and color
- Required use rating and applicable technical or slip-test data
- Quantity by zone, cutting and waste allowance, attic stock and batch control
- Waterproofing, primer, adhesive, grout, sealant, profiles and movement joints
- Pattern, set-out, joint width, drain cuts, thresholds and wall-floor alignment
- Samples, mock-up, substrate inspection and hold points
- Packing, delivery, storage, protection, cleaning and care instructions
Approve the Installed System
The best bathroom floor tile idea is one that still works after drainage, grip, cleaning, cuts and adjoining finishes are resolved. Approve the tile and installation materials as a complete system, then coordinate fittings and project sourcing through the sanitary ware product hub.




