By George House/14,July,2025
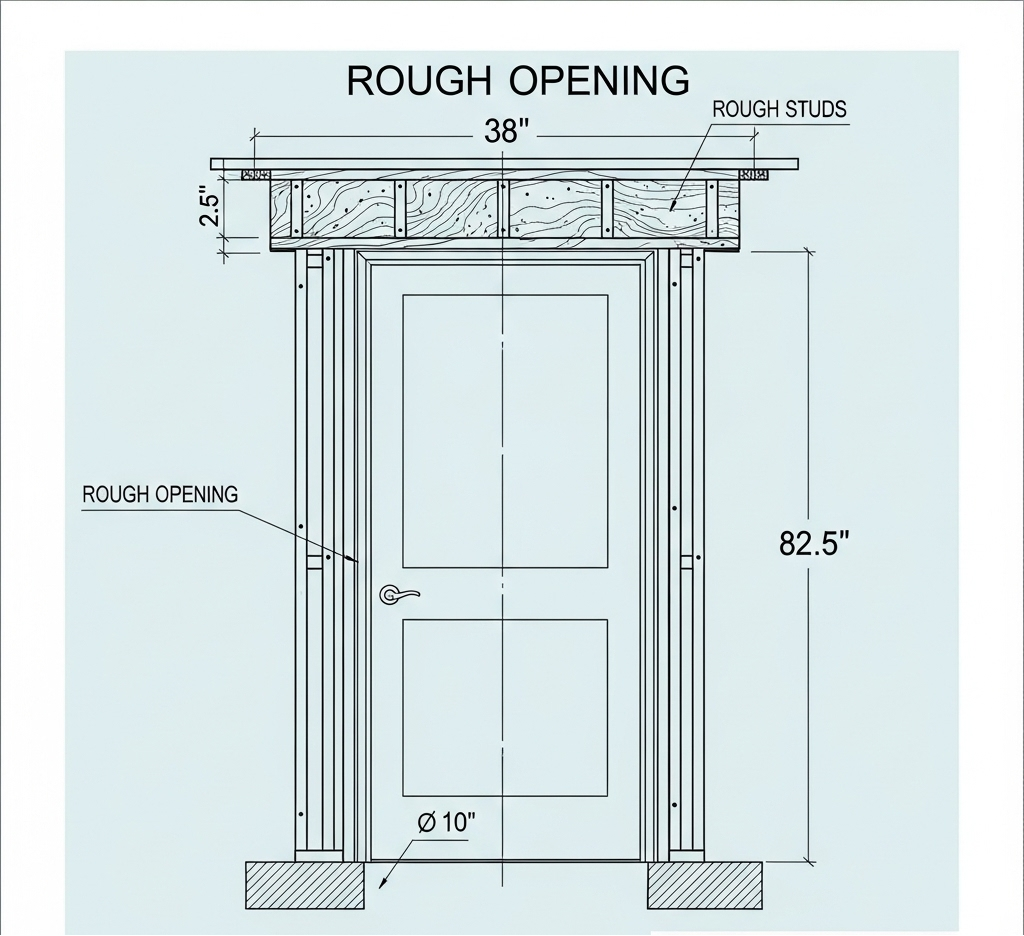
The rough opening for a 36-inch door is not one universal number. A 36-inch description may refer to the nominal door slab, while the required structural opening depends on the complete door unit: frame or jamb, threshold, shimming allowance, floor finish, handing, fire or acoustic rating, and the selected manufacturer’s installation details.
Start with the door schedule, not a rule of thumb
Before framing, identify whether the product is a prehung interior door, exterior entry unit, pocket door, sliding assembly, or rated door set. Record the manufacturer, model, nominal slab size, frame outside dimensions, and required rough opening in the door schedule. The approved shop drawing and installation instructions should control construction.
A common estimating convention is to leave space around a prehung unit for the frame and shims, but conventions are not procurement dimensions. Threshold profiles, head details, proprietary frames, wall thickness, and local tolerances can change the opening. Compare the project condition with the broader interior rough-opening workflow, but do not release framing from the words “36-inch door” alone.
How to measure an existing rough opening
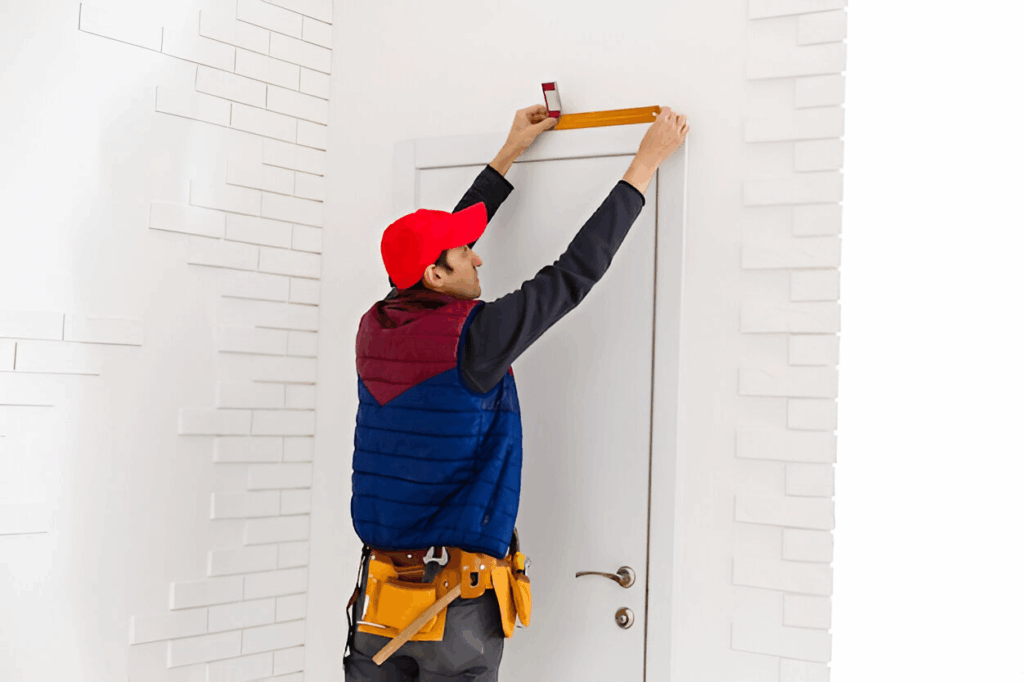
- Expose the structural opening. Remove trim only where the work method allows and distinguish framing from finish material.
- Measure width at three points. Measure between the structural sides near the top, center, and bottom; record all results and use the limiting dimension for coordination.
- Measure height at three points. Measure from the controlling finished-floor or threshold datum to the structural head.
- Check jamb depth. Record the complete wall build-up, including finishes, membranes, tile, or cladding interfaces.
- Check geometry. Measure plumb, level, square, and diagonal variation rather than assuming the opening is rectangular.
- Confirm handing and swing. Coordinate hinges, hardware, adjacent walls, fixtures, circulation, and required clearances.
The Masonite measurement guide likewise calls for multiple width and height measurements, jamb depth, and handing information. Use the selected supplier’s current guide for the actual door being purchased.
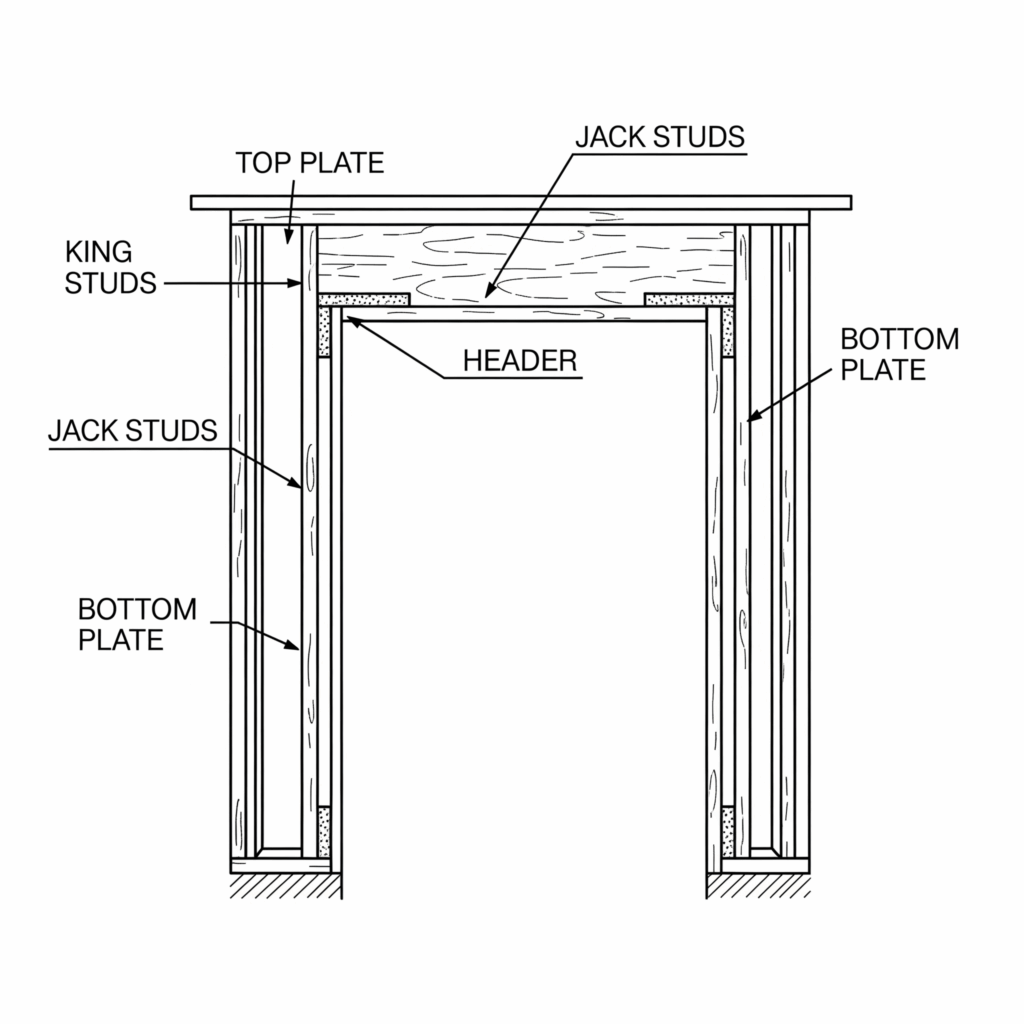
Coordinate framing and floor levels
Show king studs, jack studs, header, sill or threshold support, and any required blocking on the approved detail. Structural member sizing belongs to the project engineer or applicable prescriptive code, not to a generic door article. Coordinate the rough-opening height with the final floor finish on both sides so that later tile, screed, underlay, or threshold work does not reduce clearance.
For exterior doors, include sill-pan or flashing details, water-resistive barrier transitions, sealant joints, drainage paths, and fastener requirements. For rated assemblies, use the listed frame, door, hardware, seals, and installation method as a complete system.
Clear opening and accessibility
Nominal slab width is not the same as clear passage width. Hinges, door thickness, opening angle, stops, hardware, and depth of the opening all affect clear width. Use the common door sizes guide to organize schedule fields, then verify the project requirement directly. The U.S. Access Board explains how clear width is measured and notes additional conditions for deep openings; it should not be used as a blanket rule outside its jurisdiction.
36-inch door RFQ checklist
- Door mark, location, quantity, handing, swing, and nominal slab size.
- Frame type, outside dimensions, jamb depth, threshold, seals, and trim.
- Required rough opening and allowable tolerances from the selected manufacturer.
- Wall type, final floor levels, adjacent finishes, structural support, and waterproofing.
- Fire, acoustic, security, weather, accessibility, and hardware requirements where applicable.
- Shop drawings, samples, certificates, installation instructions, warranty, and spare parts.
A successful installation begins by matching field measurements and project requirements to one approved door set. Verify the submittal before framing, then remeasure the completed opening before the unit ships. Send the door schedule and measured opening with any project quotation request.