By George House/26,Nov,2025
Wood-look tiles reproduce timber color, grain and plank proportions in a fired tile surface. They can be useful where a wood appearance is wanted with a tile installation, but performance depends on the exact product, finish, substrate, joints and workmanship.
Select by room exposure and technical data first, then approve tone, graphic variation, plank format and layout using samples from the intended production batch.
Compare Wood-Look Tile Types
| Type | Typical Opportunity | What to Verify |
|---|---|---|
| Porcelain wood-look tile | Broad use range and detailed printed surfaces | Intended floor or wall use, water absorption, finish and test data |
| Ceramic wood-look tile | Decorative wall and suitable interior applications | Exact use rating, body, glaze and exposure limitations |
| Textured outdoor-look tile | Visual continuity toward terraces or balconies | Exterior suitability, slip evidence, drainage and installation system |
| Decorative patterned plank | Feature zones, borders or mixed-tone layouts | Pattern repeat, shade range, cut plan and replacement stock |
Compare the category with other room-appropriate surfaces in the best flooring options guide before fixing the material strategy.
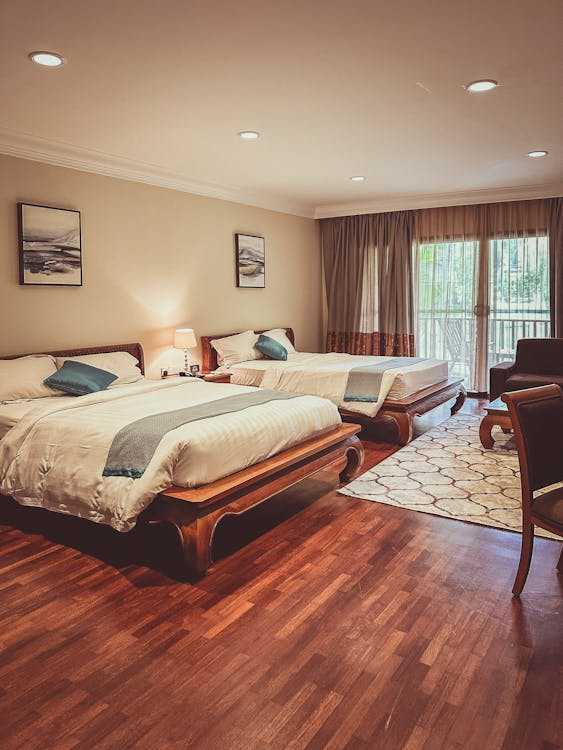
Read the Product Data, Not Just the Design Name
- Application: confirm whether the product is approved for the proposed floor, wall, wet area or exterior condition.
- Finish: connect texture and applicable slip data with footwear, contaminants, drainage and cleaning.
- Actual size: check caliber, rectification and permitted joint width rather than relying on nominal format.
- Variation: review the supplier’s shade and graphic-variation information across several pieces.
- System: verify substrate, adhesive, grout, movement joints and any heating or waterproofing interface.
In bathrooms, the selected surface must work with drainage and wet-use conditions. Use the bathroom floor tile ideas guide to connect wood-look design with slope, joints and cleaning.
Choose Plank Proportion and Layout
| Layout | Design Effect | Control Point |
|---|---|---|
| Straight lay | Quiet direction and efficient setting out | Align principal sightline and perimeter cuts |
| Staggered plank | Informal timber-floor rhythm | Follow supplier offset guidance and check plank bow |
| Herringbone | Strong geometric movement | Approve module, centerline, border and increased cutting |
| Mixed-width effect | More varied, crafted appearance | Issue a repeatable pattern and quantity breakdown |
| Room-to-room continuity | Long visual run through connected spaces | Coordinate thresholds, levels and movement joints |
Wood-look tile can also sit beside real timber furniture or joinery. Compare tone, grain scale and sheen with the selection factors in the acacia wood furniture guide instead of trying to match from screen images.
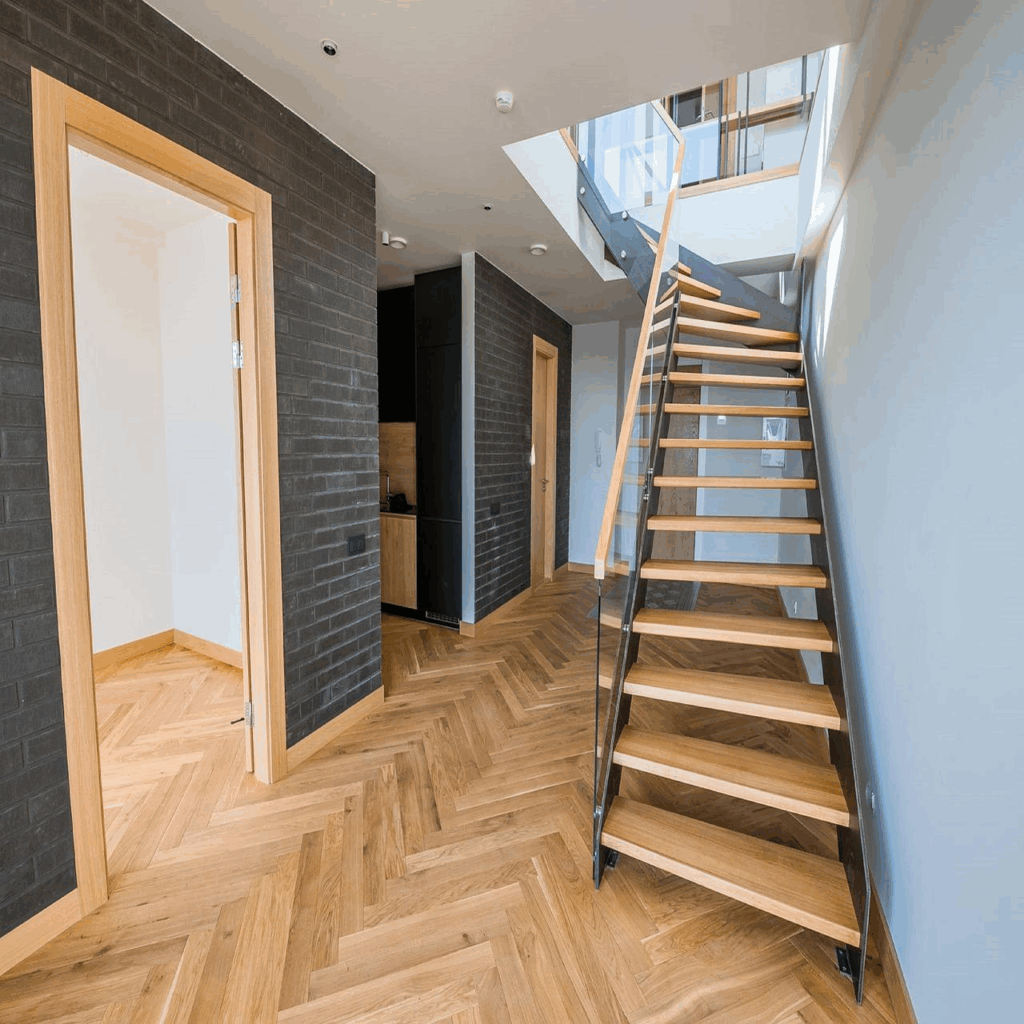
Inspect Samples and the Production Batch
- Request several full tiles, not a small color chip.
- Lay the samples flat under the project’s daylight and artificial lighting.
- Check how often printed grains repeat and how the tones mix.
- Measure representative pieces and review edges, bow and surface consistency.
- Build a dry layout or installed mock-up with the proposed grout and joint width.
- Approve the range and record the batch before the main order is released.
Substrate, Joints and Installation
Long plank formats can emphasize substrate unevenness and tile bow. Inspect flatness, use the permitted offset, maintain suitable coverage and keep movement joints in the required locations. A narrow grout joint cannot compensate for dimensional variation outside the product and installation tolerance.
For basement applications, resolve moisture and floor build-up before choosing the finish. The basement design guide covers the room-level planning conditions that affect a tile assembly.

Wood-Look Tile RFQ Checklist
- Manufacturer, collection, product code, body, size, thickness and finish
- Approved application, relevant test data and exposure limitations
- Shade range, caliber, rectified status, graphic variation and batch control
- Room quantities, cutting allowance, attic stock and replacement strategy
- Pattern, direction, offset, joint width, grout color and perimeter cuts
- Substrate preparation, adhesive, grout, profiles and movement joints
- Samples, dry layout, installed mock-up and inspection hold points
- Packaging, delivery, storage, protection, cleaning and care instructions
If the scheme combines wood-look tile with stone, use the types of stone guide to compare finish, variation, maintenance and sample controls across both materials.
Approve the Installed Effect
The strongest wood-look tile selection balances appearance with documented suitability and an achievable layout. Approve multiple pieces, the joint and the installation mock-up together so the delivered floor matches the intended range rather than a single sample.




