
By George House/18,Sep,2025
A kitchen island with sink can shorten daily work routes, add a second preparation zone and place washing closer to seating. It also brings water, waste, power, cabinet and countertop interfaces into the center of the room, where late changes are difficult to hide.
Plan the island as a coordinated assembly. Confirm its purpose, finished size, aisle clearance, sink and appliance models, service routes, storage, seating and floor penetrations before cabinet drawings or countertop cutting begin.
Kitchen Island with Sink Decisions at a Glance
| Decision | Information to confirm | Why it matters |
|---|---|---|
| Sink role | Preparation, cleanup, bar use or a second sink | Controls bowl size, faucet, storage and work-zone location |
| Island size | Cabinet modules, overhang, end panels and finished aisles | Prevents clashes with doors, drawers, stools and circulation |
| Services | Water, waste, venting, power and floor construction | Determines routing, access and installation sequence |
| Appliances | Dishwasher, disposer, filtration, refrigeration or outlets | Changes cabinet widths, power, drainage and maintenance access |
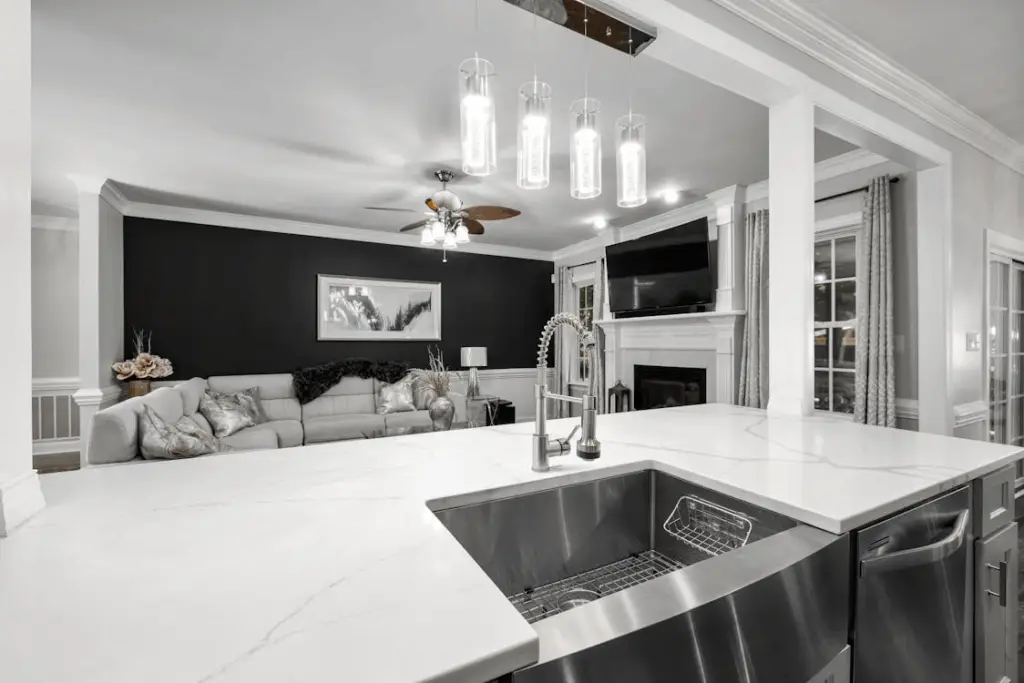
Define the Sink Role Before Choosing a Bowl
Preparation or Secondary Sink
A compact preparation sink can support rinsing and food preparation while the main cleanup sink remains at the perimeter. Confirm whether filtered water, a disposer, a drain board or waste sorting is required. Keep enough uninterrupted counter beside the bowl for the intended task.
Main Cleanup Sink
A main cleanup sink normally needs a larger bowl, dishwasher coordination, waste storage and more landing space. Check whether dirty dishes will cross the cooking or seating route. Place the dishwasher where its open door does not block the primary aisle.
Set Island Size and Finished Aisle Clearances
Measure from finished cabinet and appliance faces, not from unfinished walls. Include handles, open doors, stool depth and countertop overhangs. The kitchen island measurement guide explains how island size, work aisles and seating zones interact. Final clearances should follow the project layout, applicable requirements and the needs of the users.
Coordinate Water, Waste, Venting and Access
Show hot and cold water, waste, any required venting and isolation points on the coordinated drawings. The route depends on the floor build-up, structure and local plumbing requirements. Avoid assuming that pipes can pass through beams, post-tensioned slabs or finished floors without review.
Provide removable access where valves, traps, filters or equipment need maintenance. Coordinate cabinet backs, shelves and drawers around the actual service space. Confirm leak protection and testing responsibilities before the island is closed.
Plan the Dishwasher and Waste Zone
Use the selected dishwasher data rather than a generic opening. Check cabinet width, door swing, hose and cable routes, ventilation, fixing, floor level and service removal. Place bins close to preparation and cleanup without reducing sink-base access. The adjacent cabinet layout should keep heavy items and frequently used tools within practical reach.
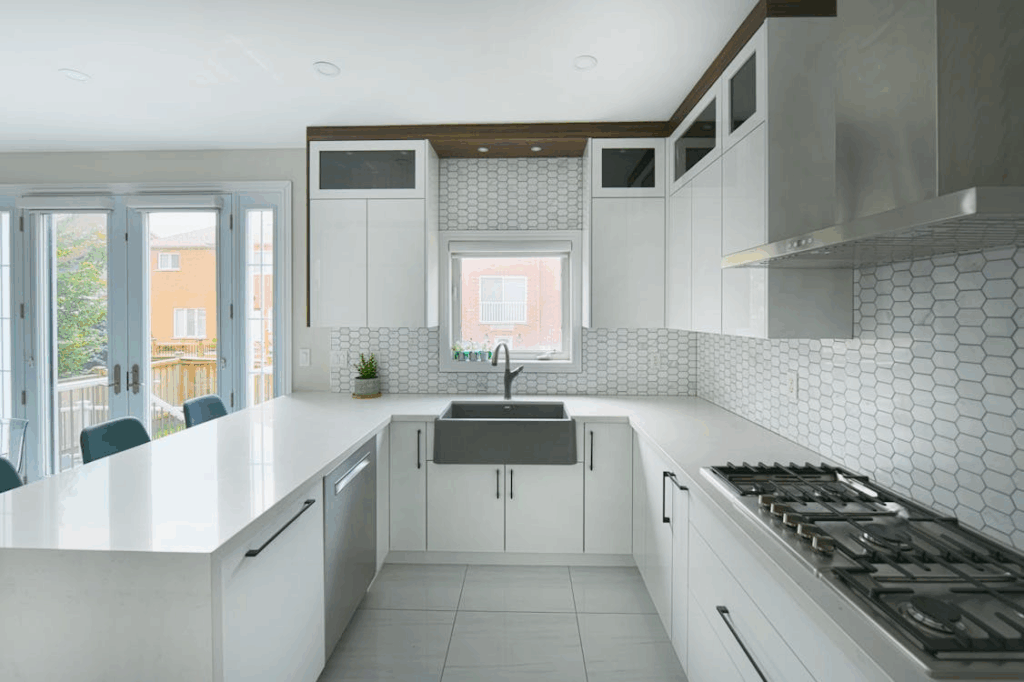
Protect Cabinets and Countertops Around Water
Specify the sink-base substrate, exposed edges, interior finish, sealants and protection around cutouts. Confirm how the sink is supported and whether it is top-mounted, under-mounted or integrated. The counter fabricator needs the approved sink template, faucet holes, accessory holes, joint positions and support details before cutting.
Cabinet construction, door style and finish should match the water exposure and cleaning routine. Compare frame profiles and finish directions in the shaker kitchen cabinet guide, then record the selected sample and edge treatment.
Coordinate Power, Lighting and Controls
List the dishwasher, disposer, water treatment, charging and small-appliance loads. Confirm outlet locations, protection, switching and separation from water with the electrical designer and applicable rules. Pendant lighting should align with the island, but the ceiling fixing, sight lines and task-light coverage also need review.
Separate Seating from Wet Work
Avoid placing the sink directly in front of every seat when splashing, drying racks or dirty dishes would dominate the view. Provide a clear serving zone and coordinate stool width, knee space and end circulation. Review the complete room through the custom kitchen design page so the island supports the cooking, storage and appliance plan.
Build a Comparable Island BOQ and Quotation
Separate cabinets, end panels, countertop, sink, faucet, accessories, appliance panels, hardware, services and installation items. State quantities, dimensions, materials, finishes and exclusions. Use the kitchen cabinet cost and quotation guide to compare the same scope across offers rather than relying on one total price.
Freeze Drawings, Models and Samples Before Production
- Finished island plan, elevations and section
- Sink, faucet, dishwasher and accessory models
- Water, waste, power and lighting points
- Cabinet modules, fillers, end panels and maintenance access
- Countertop material, edge, joint, support and cutout details
- Approved cabinet, counter, hardware and sealant samples
- Installation sequence and site-measurement responsibility
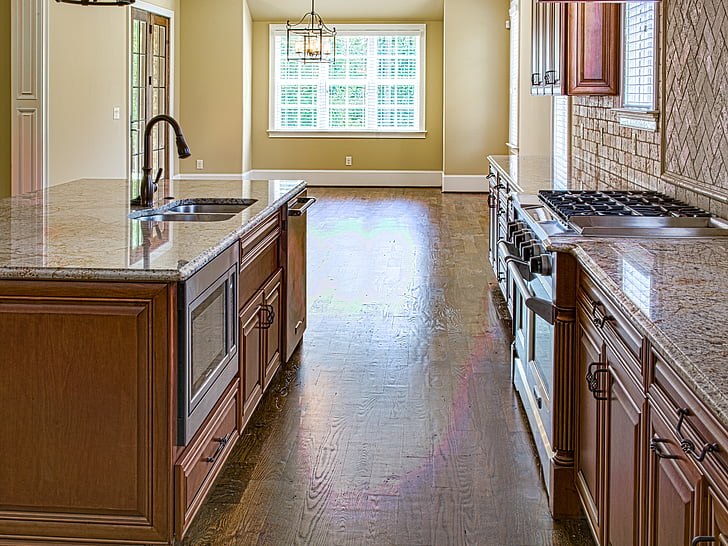
Kitchen Island with Sink FAQ
Can a Sink Be Added to an Existing Island?
Sometimes, but the floor, structure, water, waste, venting, power and cabinet space must be checked first. A retrofit can require disruptive floor work, so verify the route before ordering the sink or changing the cabinets.
Should Standard Cabinets Determine the Island Size?
Standard modules are useful starting points, but finished dimensions also include fillers, end panels, doors, handles and counter overhangs. Check the standard kitchen cabinet size guide, then resolve the final island around the room and selected equipment.
Finalize the Island as One Coordinated Package
A successful kitchen island with sink connects workflow and appearance to measurable dimensions, approved product models and accessible service routes. Freeze the cabinet, countertop, plumbing, electrical and appliance information together before production or floor work begins.




