
By George House/13,Apr,2026
A green bathroom can be pale and quiet, deep and dramatic or natural and textural. The useful starting point is not the shade name alone. Compare undertone, lighting, surface area, sheen and neighboring materials, then coordinate the wet-zone finishes, fixtures and maintenance requirements.
Keep the fixture schedule connected to the palette. The sanitary ware project guide helps organize basins, WCs, taps, wastes, accessories and installation information as one package.
Define where green will appear
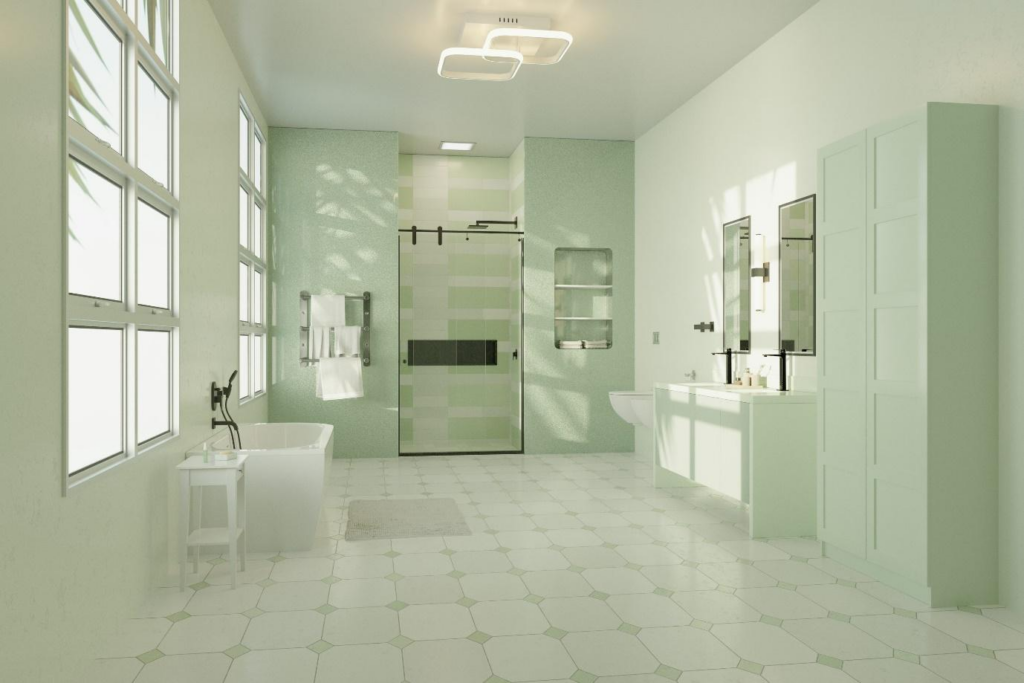
Decide whether green is the dominant wall or tile color, a cabinet finish, a stone or terrazzo tone, or a smaller accent. A broad green wall has more visual weight than a basin or towel. Mark each finish on the elevations so the intended area, edges and junctions are clear.
Separate dry walls, splash areas, shower walls and floors. The same color can be delivered by paint, tile, stone, laminate or lacquer, but those products have different substrates, joints, cleaning limits and moisture details. Select each product for its location before matching the color.
Compare undertones under the project lighting
Sage, olive, blue-green and emerald labels vary between suppliers. Place samples beside the actual white, timber, stone, metal and grout options. Review them vertically and horizontally because light reaches walls and floors differently. Check daylight, task lighting and evening lighting before approval.
The interior lighting guide explains how ambient, task and accent layers change the way finishes read. Record lamp color, control zones and mirror lighting with the finish decision rather than correcting color after installation.
Build a controlled palette
| Palette direction | Useful checks |
|---|---|
| Sage with light timber | Compare warm and cool undertones, timber variation and clear-coat sample |
| Deep green with light stone | Check contrast, vein movement, sealant, grout and reflected light |
| Olive with terracotta tones | Review surface texture, module, joint color and water exposure |
| Blue-green with neutral gray | Confirm the gray undertone and avoid mixing unrelated cool tones |
These combinations are starting points, not fixed rules. Limit the number of dominant finishes visible from one viewpoint, then repeat smaller cues such as a metal finish or timber tone. Approve the actual products together because catalog color names do not establish a match.
Coordinate the vanity, basin and hardware
A green vanity can carry most of the color while walls remain neutral. Confirm door profile, substrate, edge treatment, sheen, handle finish and moisture-resistant construction. The 36-inch bathroom vanity guide shows how exact cabinet, top, basin, plumbing and clearance dimensions should be coordinated even when the nominal size is known.
A colored basin or worktop can become the focal surface, but confirm batch variation, overflow, waste, tap-hole arrangement, cleaning products and replacement availability. Keep metal finishes consistent where practical, while allowing required differences between decorative hardware and technical components.
Plan tiles, grout and wet-zone details
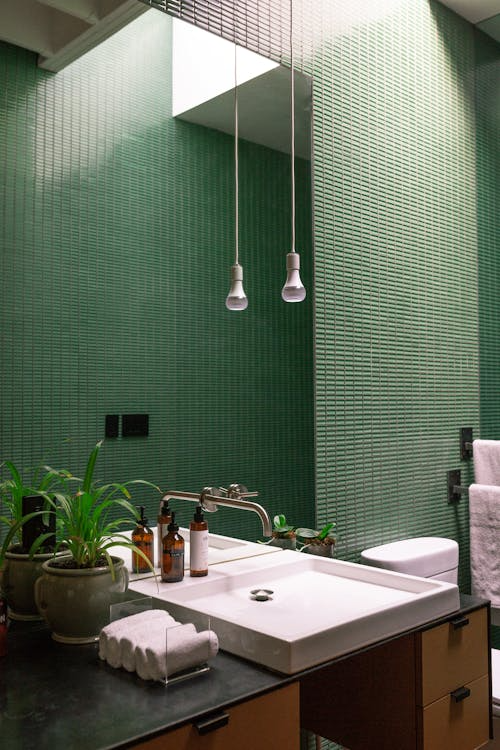
Tile module, joint pattern and grout color affect the palette as much as the tile face. On floors, check project slip requirements, slope to wastes, transitions and cleanability. On shower walls, coordinate waterproofing interfaces, niches, trims, penetrations and movement joints. The bathroom floor tile guide provides a practical layout and selection workflow.
Natural stone, glazed ceramic, porcelain and manufactured slabs can all deliver green tones, but they do not share the same absorption, sealing, edge or maintenance requirements. Request the product data and approved care method for the specific finish and exposure.
Use texture and pattern deliberately
Fluted cabinet fronts, small-format tiles, terrazzo chips, veined stone and patterned wallpaper each add visual activity. Choose one or two strong textures and keep the remaining surfaces quieter. In splash-prone areas, confirm that wallpaper, timber and decorative panels are approved for the substrate, ventilation and cleaning conditions.
Coordinate ventilation, access panels, outlets, switches, mirrors and lighting before finishes are ordered. A fan grille, inspection hatch or socket placed without reference to the tile grid can disrupt an otherwise controlled elevation. Show these items on the same drawing as the joints and vanity. Confirm sealant colors at sanitary fixtures and changes of plane, and keep maintenance access removable rather than concealing it behind a fixed decorative surface.
Approve a sample board and finish schedule
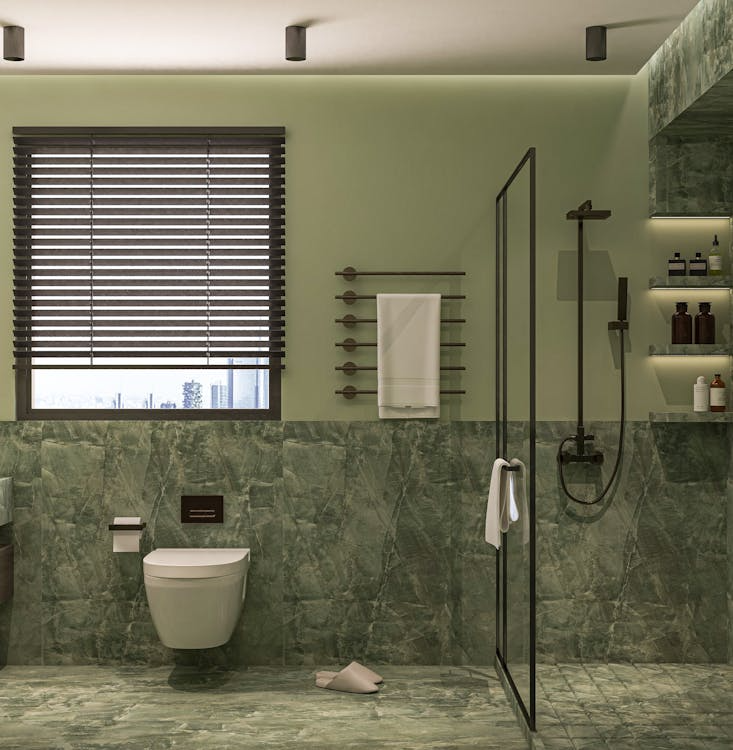
- Label every sample with supplier, product code, color, finish, size and batch reference where applicable.
- Show wall, floor, vanity, worktop, grout, sealant, metal and sanitary-ware finishes on the elevations.
- Review samples under the proposed lighting and retain the signed approval set for site comparison.
- Confirm waterproofing, substrate, fixing, joint, trim and access-panel responsibilities before installation.
- Issue compatible cleaning instructions and keep spare tiles or finish samples for future matching.
For a coordinated bathroom package or quotation, share the plans, elevations, fixture schedule and finish references for review.




