
By George House/02,May,2026
Standard shower pan sizes are useful for early bathroom planning, but the final opening must follow the selected manufacturer’s technical drawing. Nominal size, actual outside dimensions, curb position, drain location and finished wall thickness can differ.
Choose the pan only after checking the user, room, enclosure, waterproofing, structure and waste connection as one coordinated system.
Common Shower Pan Footprints
| Nominal Form | Common Planning Examples | Verify Before Ordering |
|---|---|---|
| Square | 32 × 32, 34 × 34 or 36 × 36 in | Actual dimensions, curb and corner enclosure compatibility |
| Rectangular | 30 × 60, 32 × 60, 36 × 48 or 36 × 60 in | Left, right or center drain and entry side |
| Corner | Neo-angle or quadrant formats around 36 or 38 in | Door geometry, wall angle and matching enclosure |
| Accessible or low-threshold | Project- and manufacturer-specific formats | Entry transition, water containment, code and installation detail |
| Custom tiled base | Set by the coordinated room layout | Slope, membrane, drain, structure and tile-format build-up |
These examples are planning references, not universal manufacturing dimensions. Use the standard shower dimensions guide to check the complete enclosure and circulation area around the base.
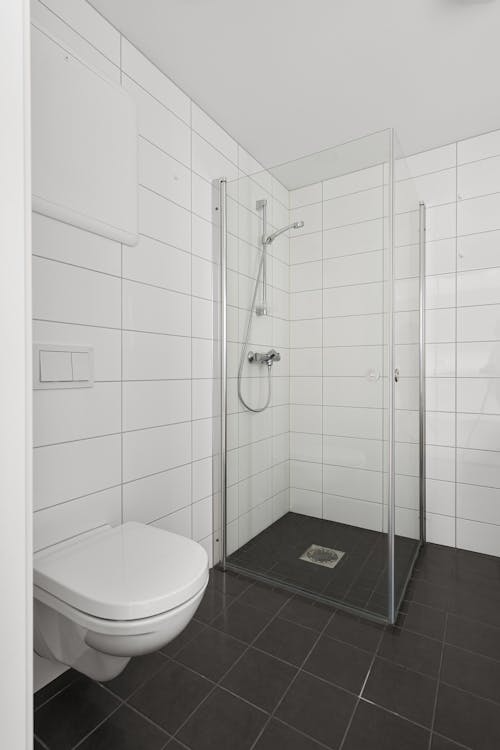
Measure the Finished Opening
- Survey framing, walls, floor level, waste position and service routes.
- Confirm whether the supplier dimension refers to framing, board, finish or the pan itself.
- Add the specified wall substrate, membrane and finish build-up.
- Check the doorway, delivery path and space needed to place the pan.
- Dry-fit the pan and enclosure components before permanent connection.
- Reconfirm level, support, drain alignment and required clearances.
The drain, slope and tile format must work together. For tiled bases, review the relationships in the shower floor tile size guide before approving the pan or tray build-up.
Select the Drain Location
| Drain Option | Coordination Impact |
|---|---|
| Center | May suit new construction when the waste route is flexible |
| Left or right offset | Can align with an existing tub waste, subject to actual product drawing |
| Rear offset | Keeps the standing area clearer but must match structure and waste access |
| Linear | Requires coordinated slope, waterproofing, grate, outlet and cleaning access |
Do not move a waste line based only on a catalog image. Obtain the drain-center dimensions and connection detail for the exact product, then coordinate access for installation and maintenance.
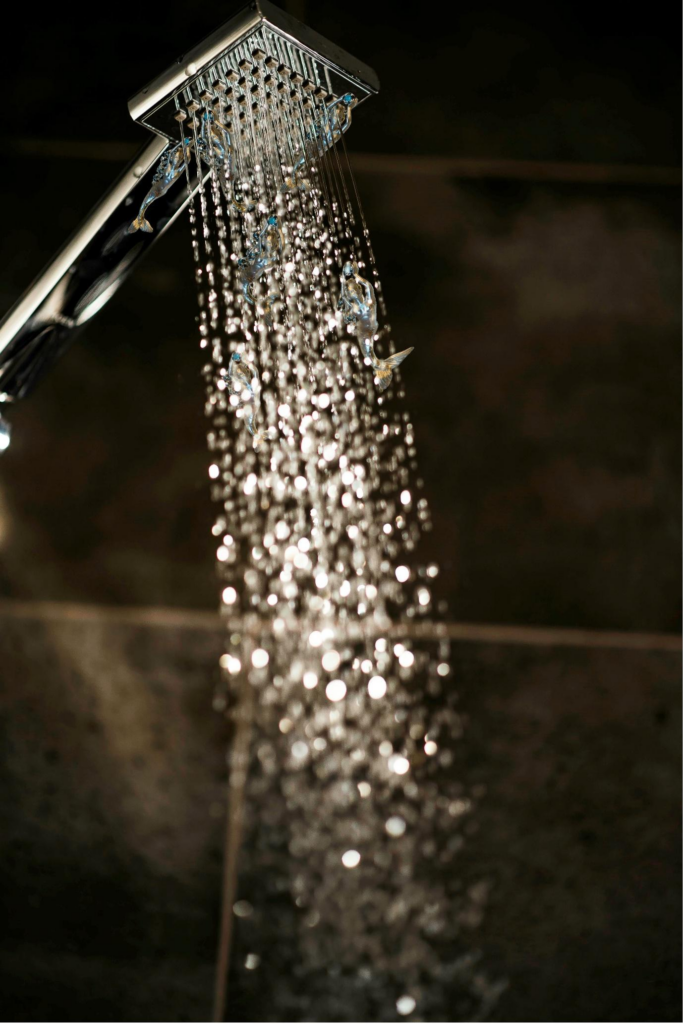
Coordinate Enclosure and Fixtures
- Match curb or threshold geometry to the enclosure channel and door sweep.
- Keep the door swing clear of the toilet, vanity and room door.
- Confirm wall plumbness and reinforcement for glass or hardware.
- Set valve, outlet and showerhead positions for the intended users.
- Check that shelves, seats and grab rails do not disrupt required clearances.
Fixture height should be coordinated with the user and enclosure rather than copied blindly. Use the shower head height guide during elevation planning.
Installation and Waterproofing Controls
- Inspect the substrate and framing against the product instructions.
- Provide the required full support, level condition and fastening method.
- Install the drain connection with accessible, compatible components.
- Integrate wall waterproofing, flanges, corners and penetrations as a tested or approved system.
- Complete the specified water or leak test before finishes conceal the work.
- Protect the pan from impact, debris and incompatible cleaners through handover.
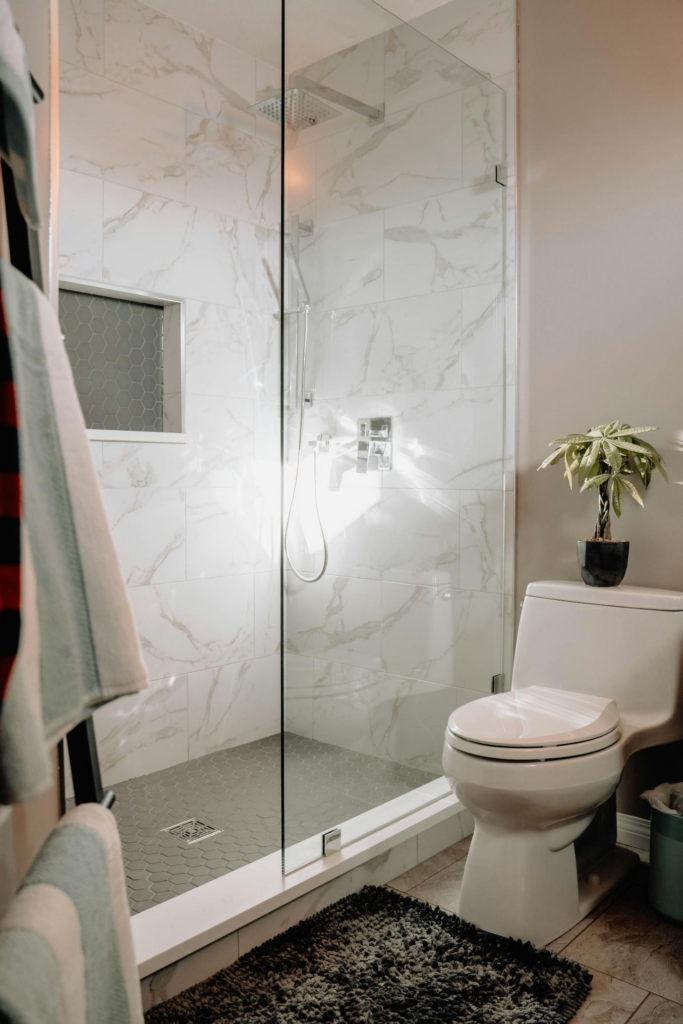
Finish and Product Coordination
Color and pattern decisions should follow the wet-area performance checks. Review the bathroom floor tile ideas guide for drainage, grip, joint and cleaning considerations around the shower.
Shower Pan RFQ Checklist
- Manufacturer, model, nominal and actual dimensions, material and finish
- Curb, threshold, flange, entry side and enclosure compatibility
- Drain position, outlet size, waste route and access requirements
- Substrate, support, fixing, waterproofing and sealant instructions
- Load, slip, accessibility or code evidence required for the project
- Samples, technical drawings, installation guide and warranty
- Delivery access, protection, inspection, testing and cleaning
- Matching fixtures and fittings coordinated through the sanitary ware product hub
Approve the Exact Pan and Opening
Use standard shower pan sizes to test the layout, then replace every nominal assumption with the selected product drawing. Approval should cover the finished opening, drain, enclosure, waterproofing, support and installation sequence together.




